You might have waited for this for a long time and thought that I forgot about the case studies series. Well, I did not, but life sometimes undermines your best plans. But here we are again with another DigitalLith case studies episode.
Last time it was about generating heavy grain. This time it is again but with a different approach. This time we look into the grain gradient parameter more closely.
The grain gradient is a parameter which allows us to control a bit the appearance of grain. The default value is 1. If we increase the parameter we will see the grain smoothing out more in the highlights, but appearing faster in the shadows. Decreasing it below one the grain will creep into the highlights faster.
Our aim in this episode is to create a look where almost all of the tonal gradient is built from grain and less so from the color gradient. For this what we need is a lookup table which has a very smooth gradient from highlights to mid tones and only the very shadows going into the darks. We can get this kind of lookup table by using the CaseStudies5Mult lookup table from last time.
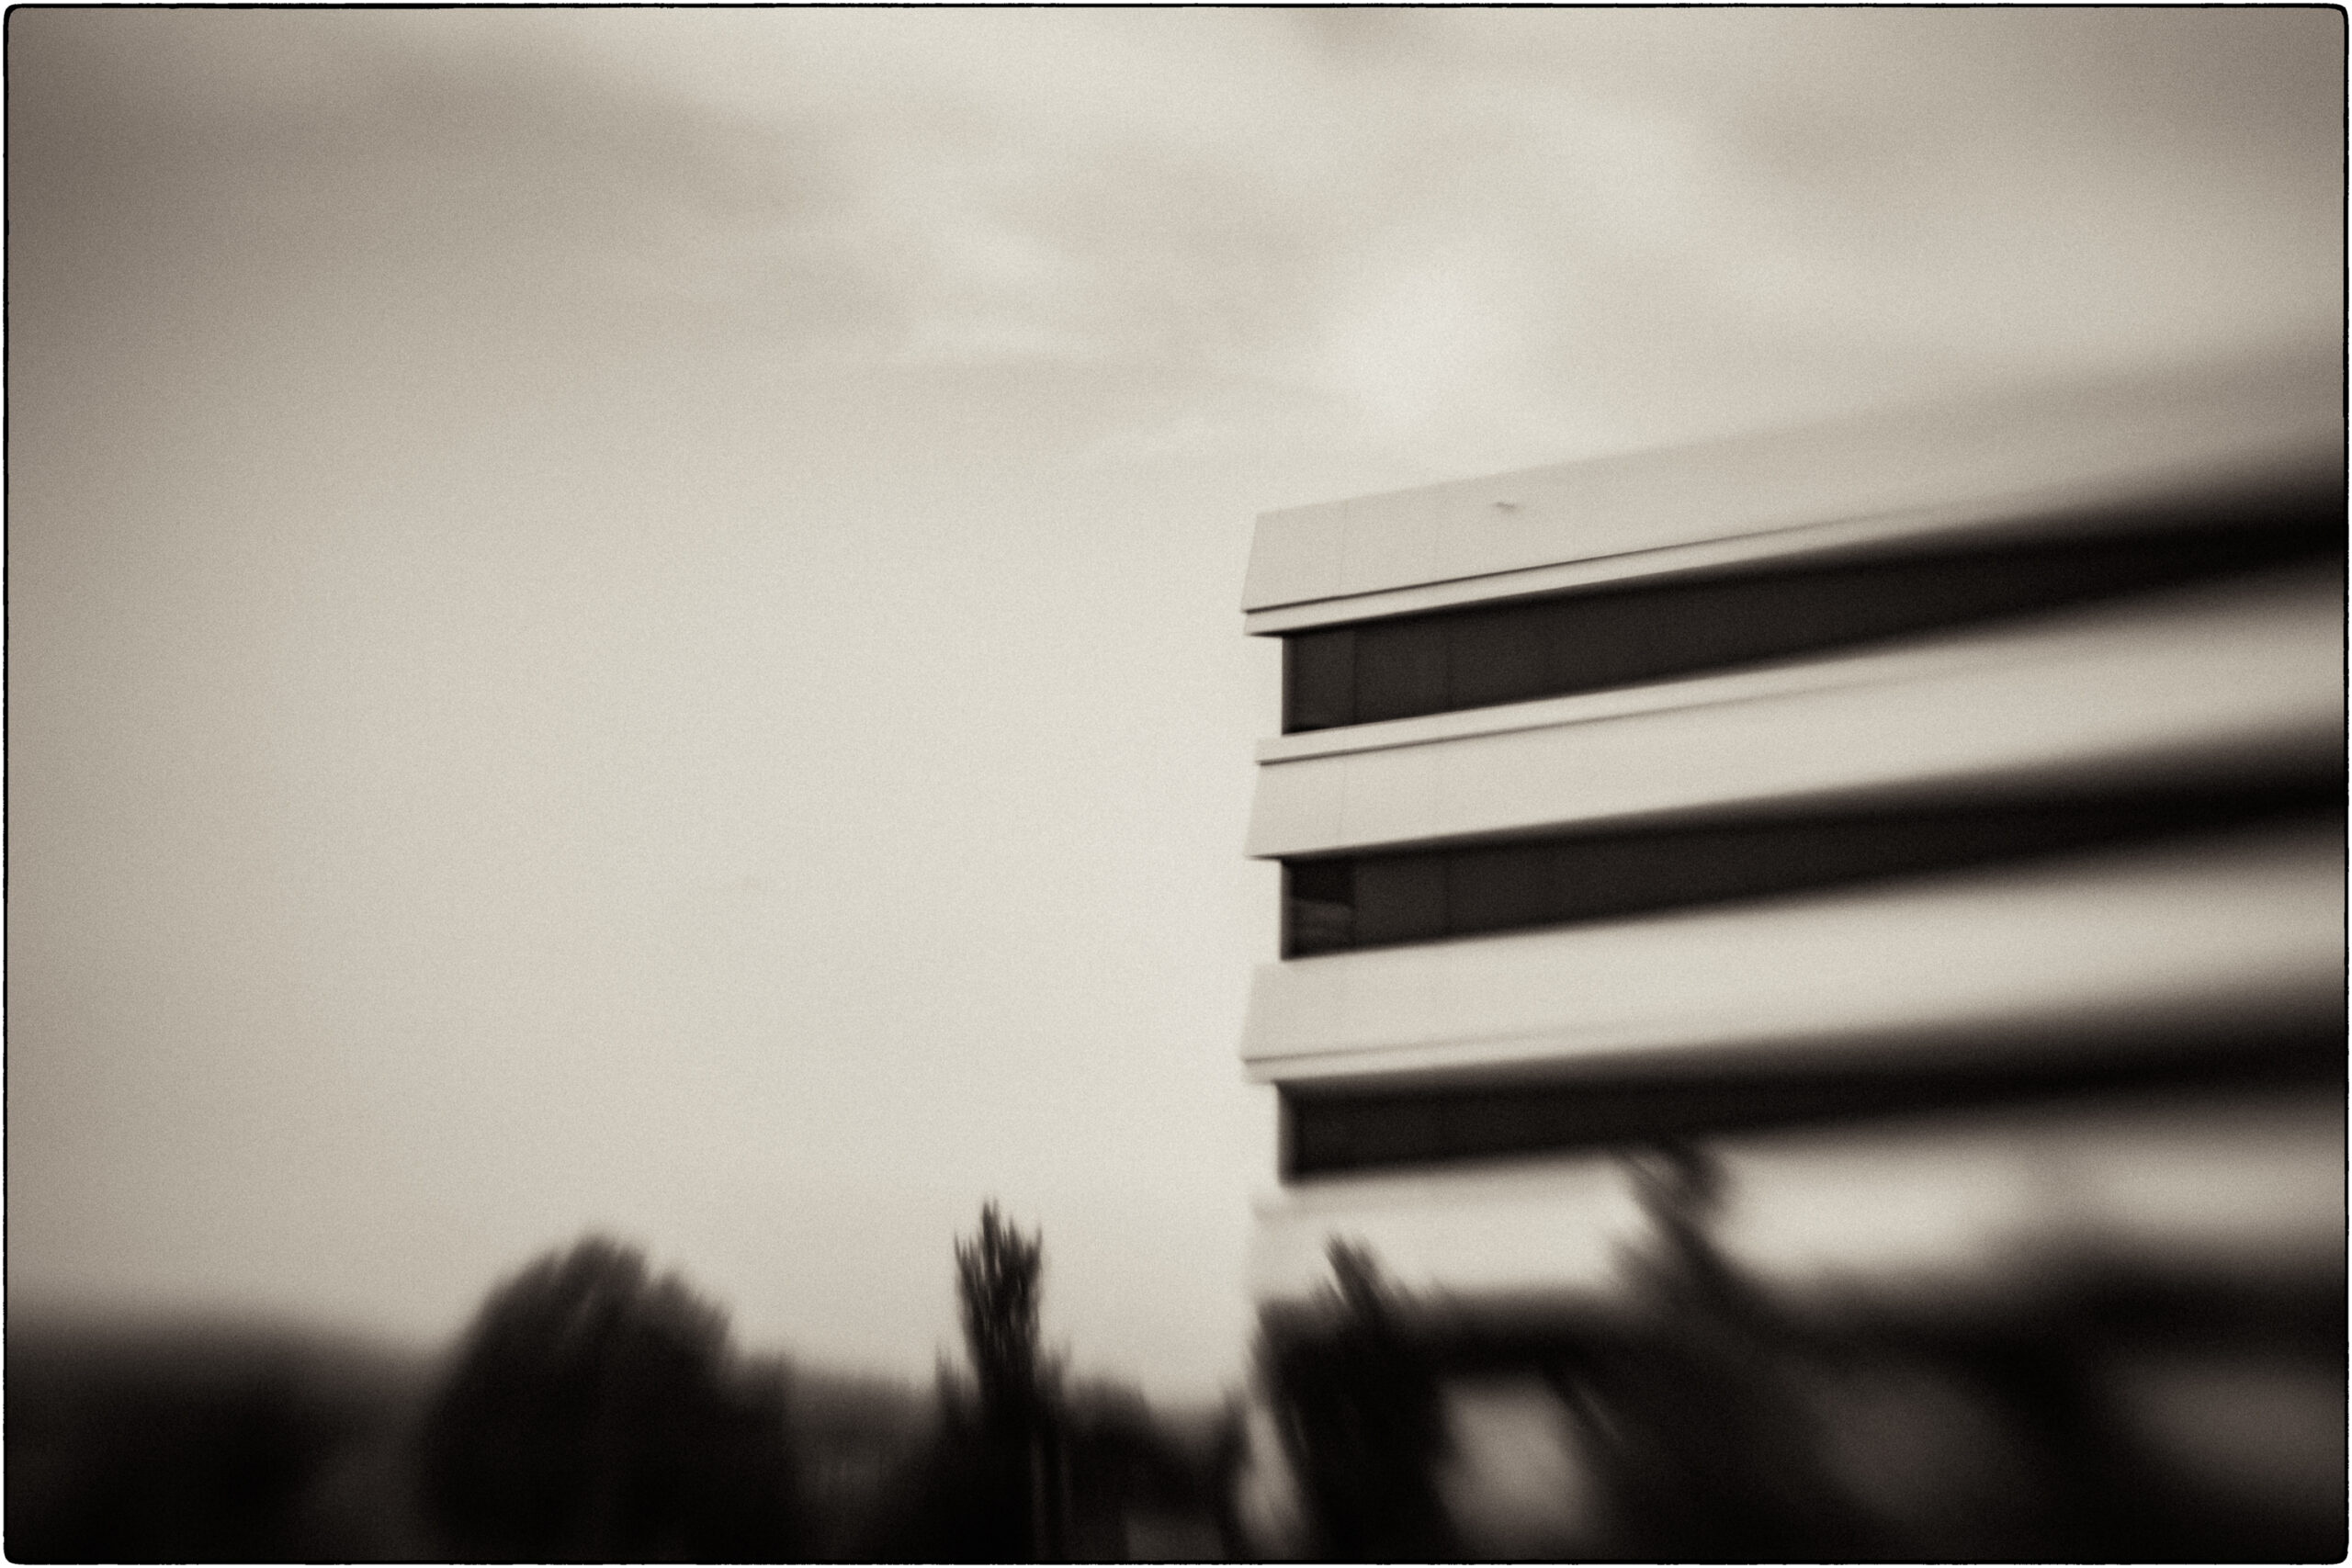
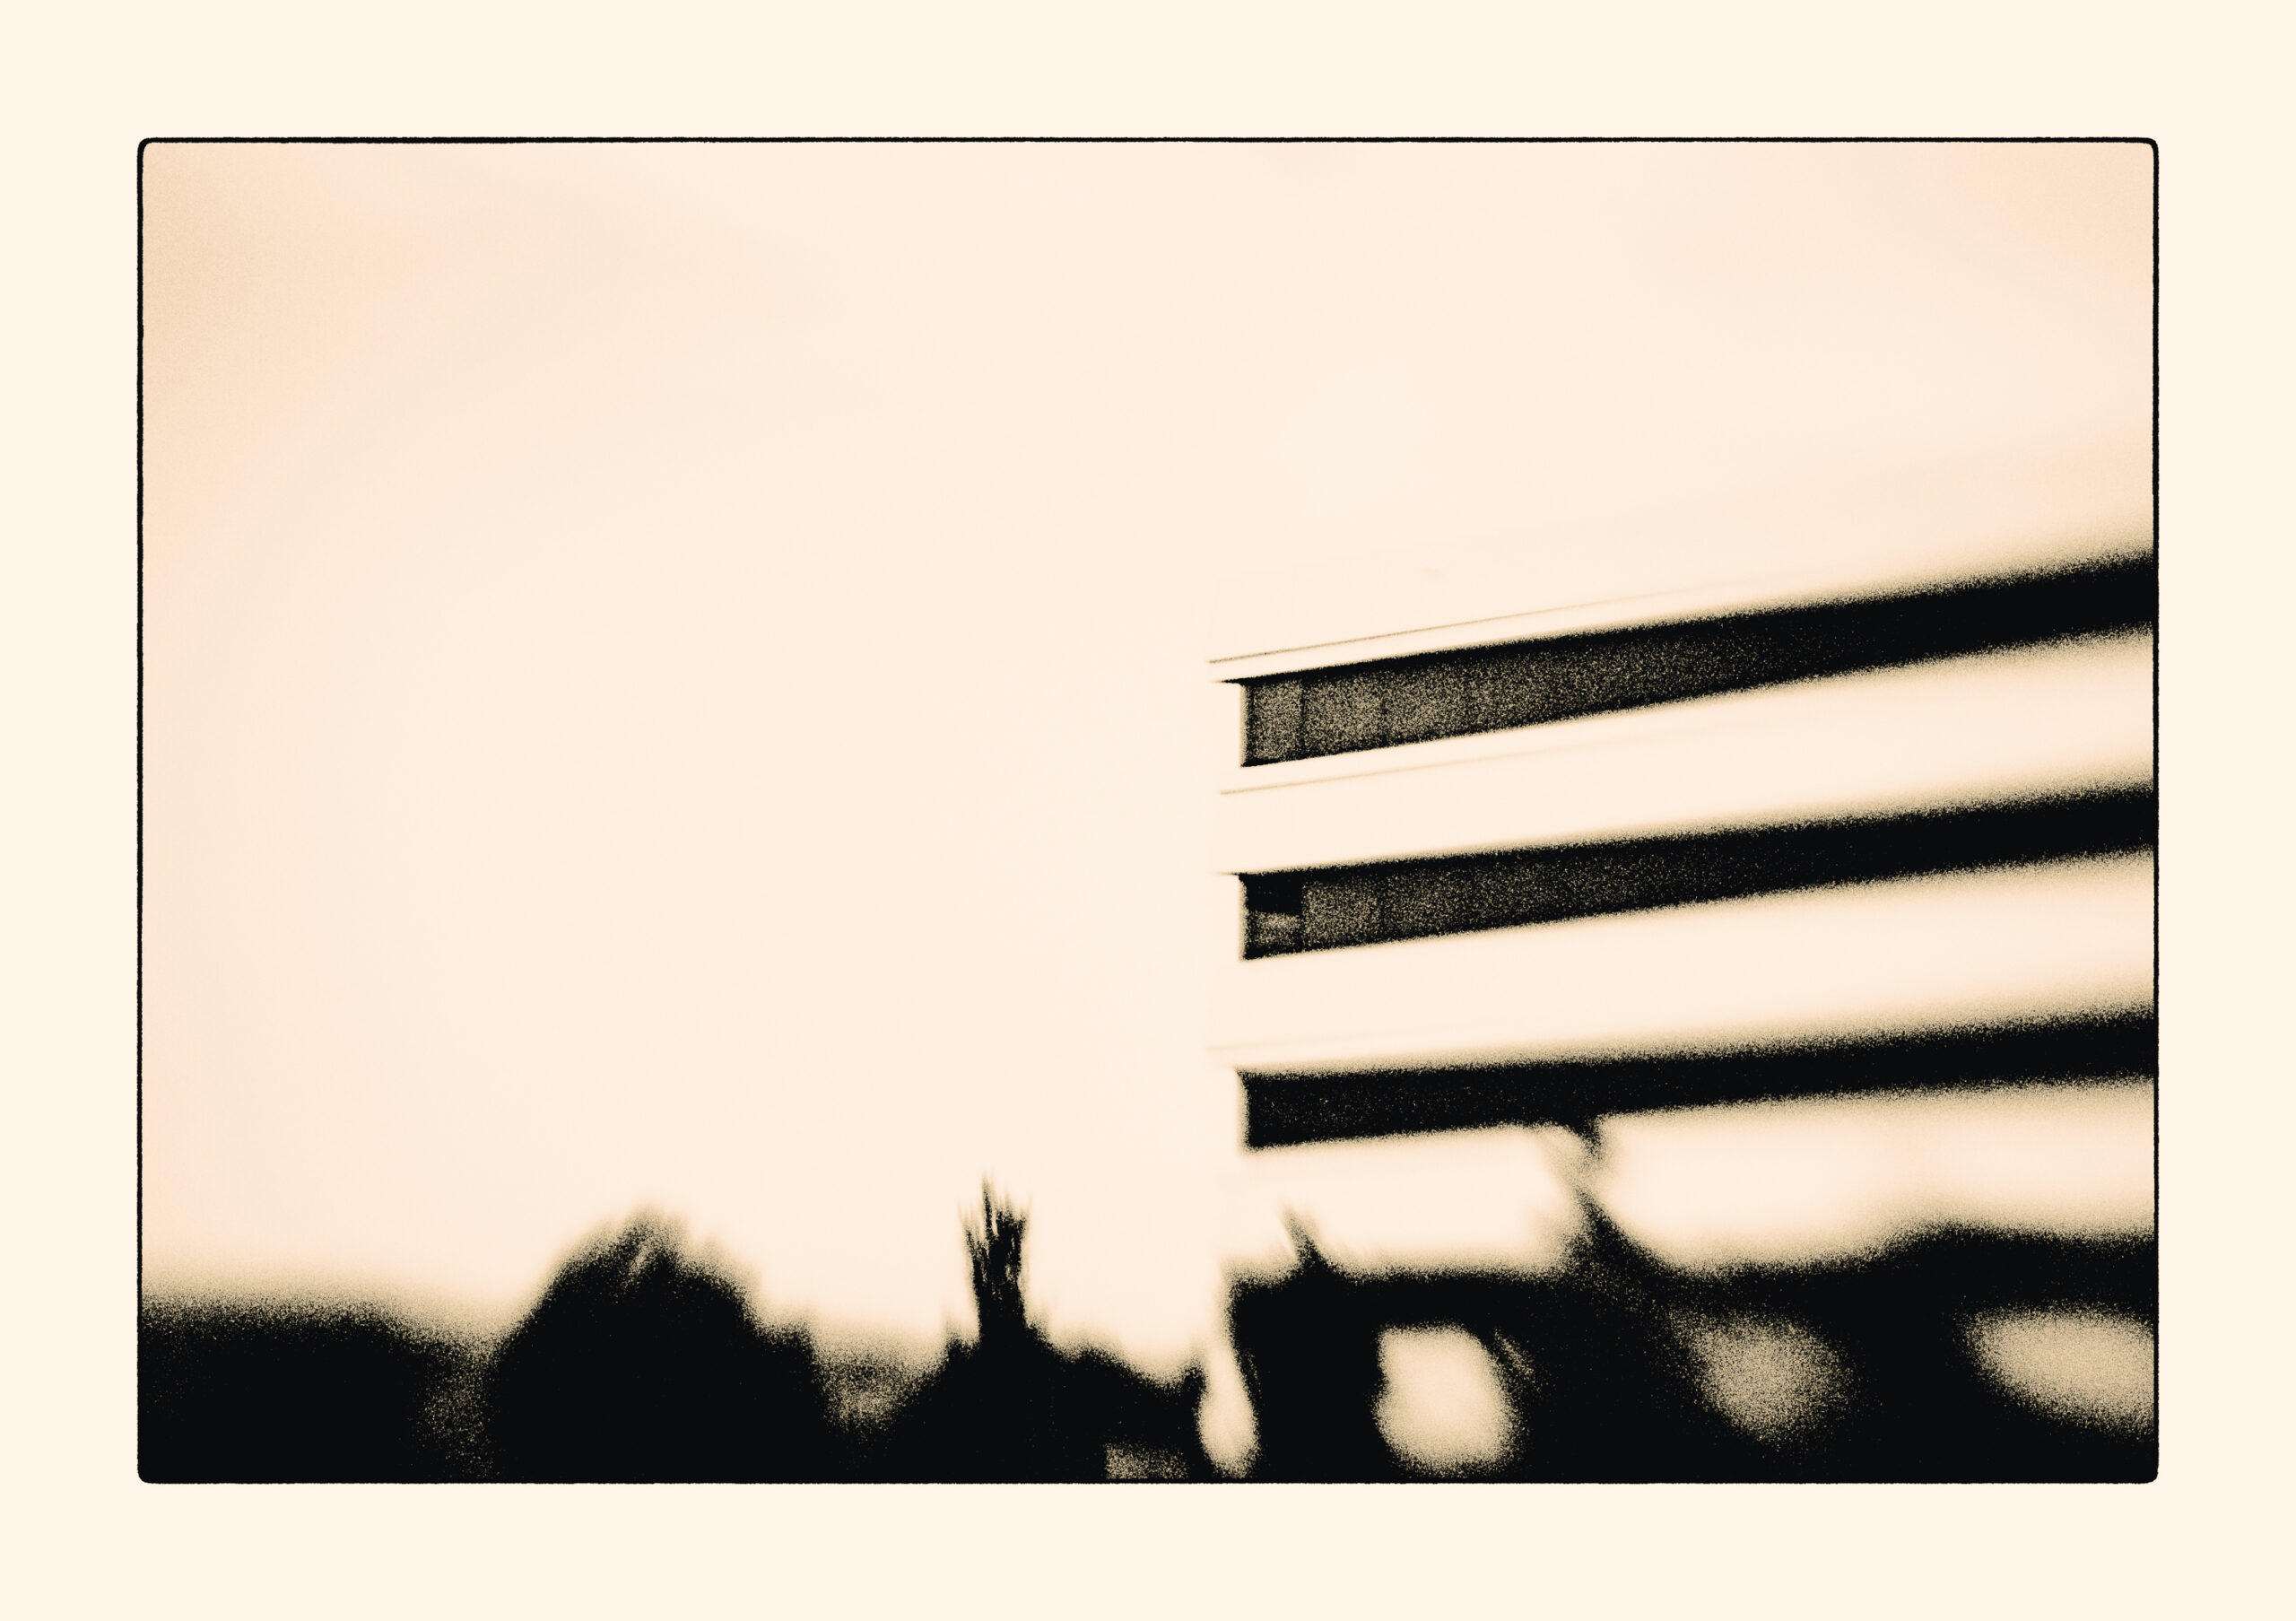
The example image is one that I took with my handicraft toy lens.
As always, you can download it so that you can try yourself: Click!
We start again by resetting the development parameters and then selecting out CaseStudies5Mult lookup table. The first development does not look too promising with this coloring setting. So I am not going to even show it here. What I want to show here is how to control the grain from shadows to highlights by using the grain gradient. The grain gradient does not influence the deep shadows. The deep shadows do not get any deeper as a result of the grain gradient – maybe a bit lighter. But it controls the emergence of grain in mid-tones and highlights. So let us go ahead and get our shadows to where we want them. Since we are going with a high grain value and do not want to have the grain getting too coarse we start with Sulfite set to a value of 9 and increase the grain value to 1. Yes 1. One. Since all this speeds up development we also have to increase the dilution. I would go with a value of 40 and to have a bit more control towards the end of development let us set dilution increase to 2.
In the Image Adjustments we use the standard to have a frame of 10 percent and we also set the blur to 2.
Here is the first result:
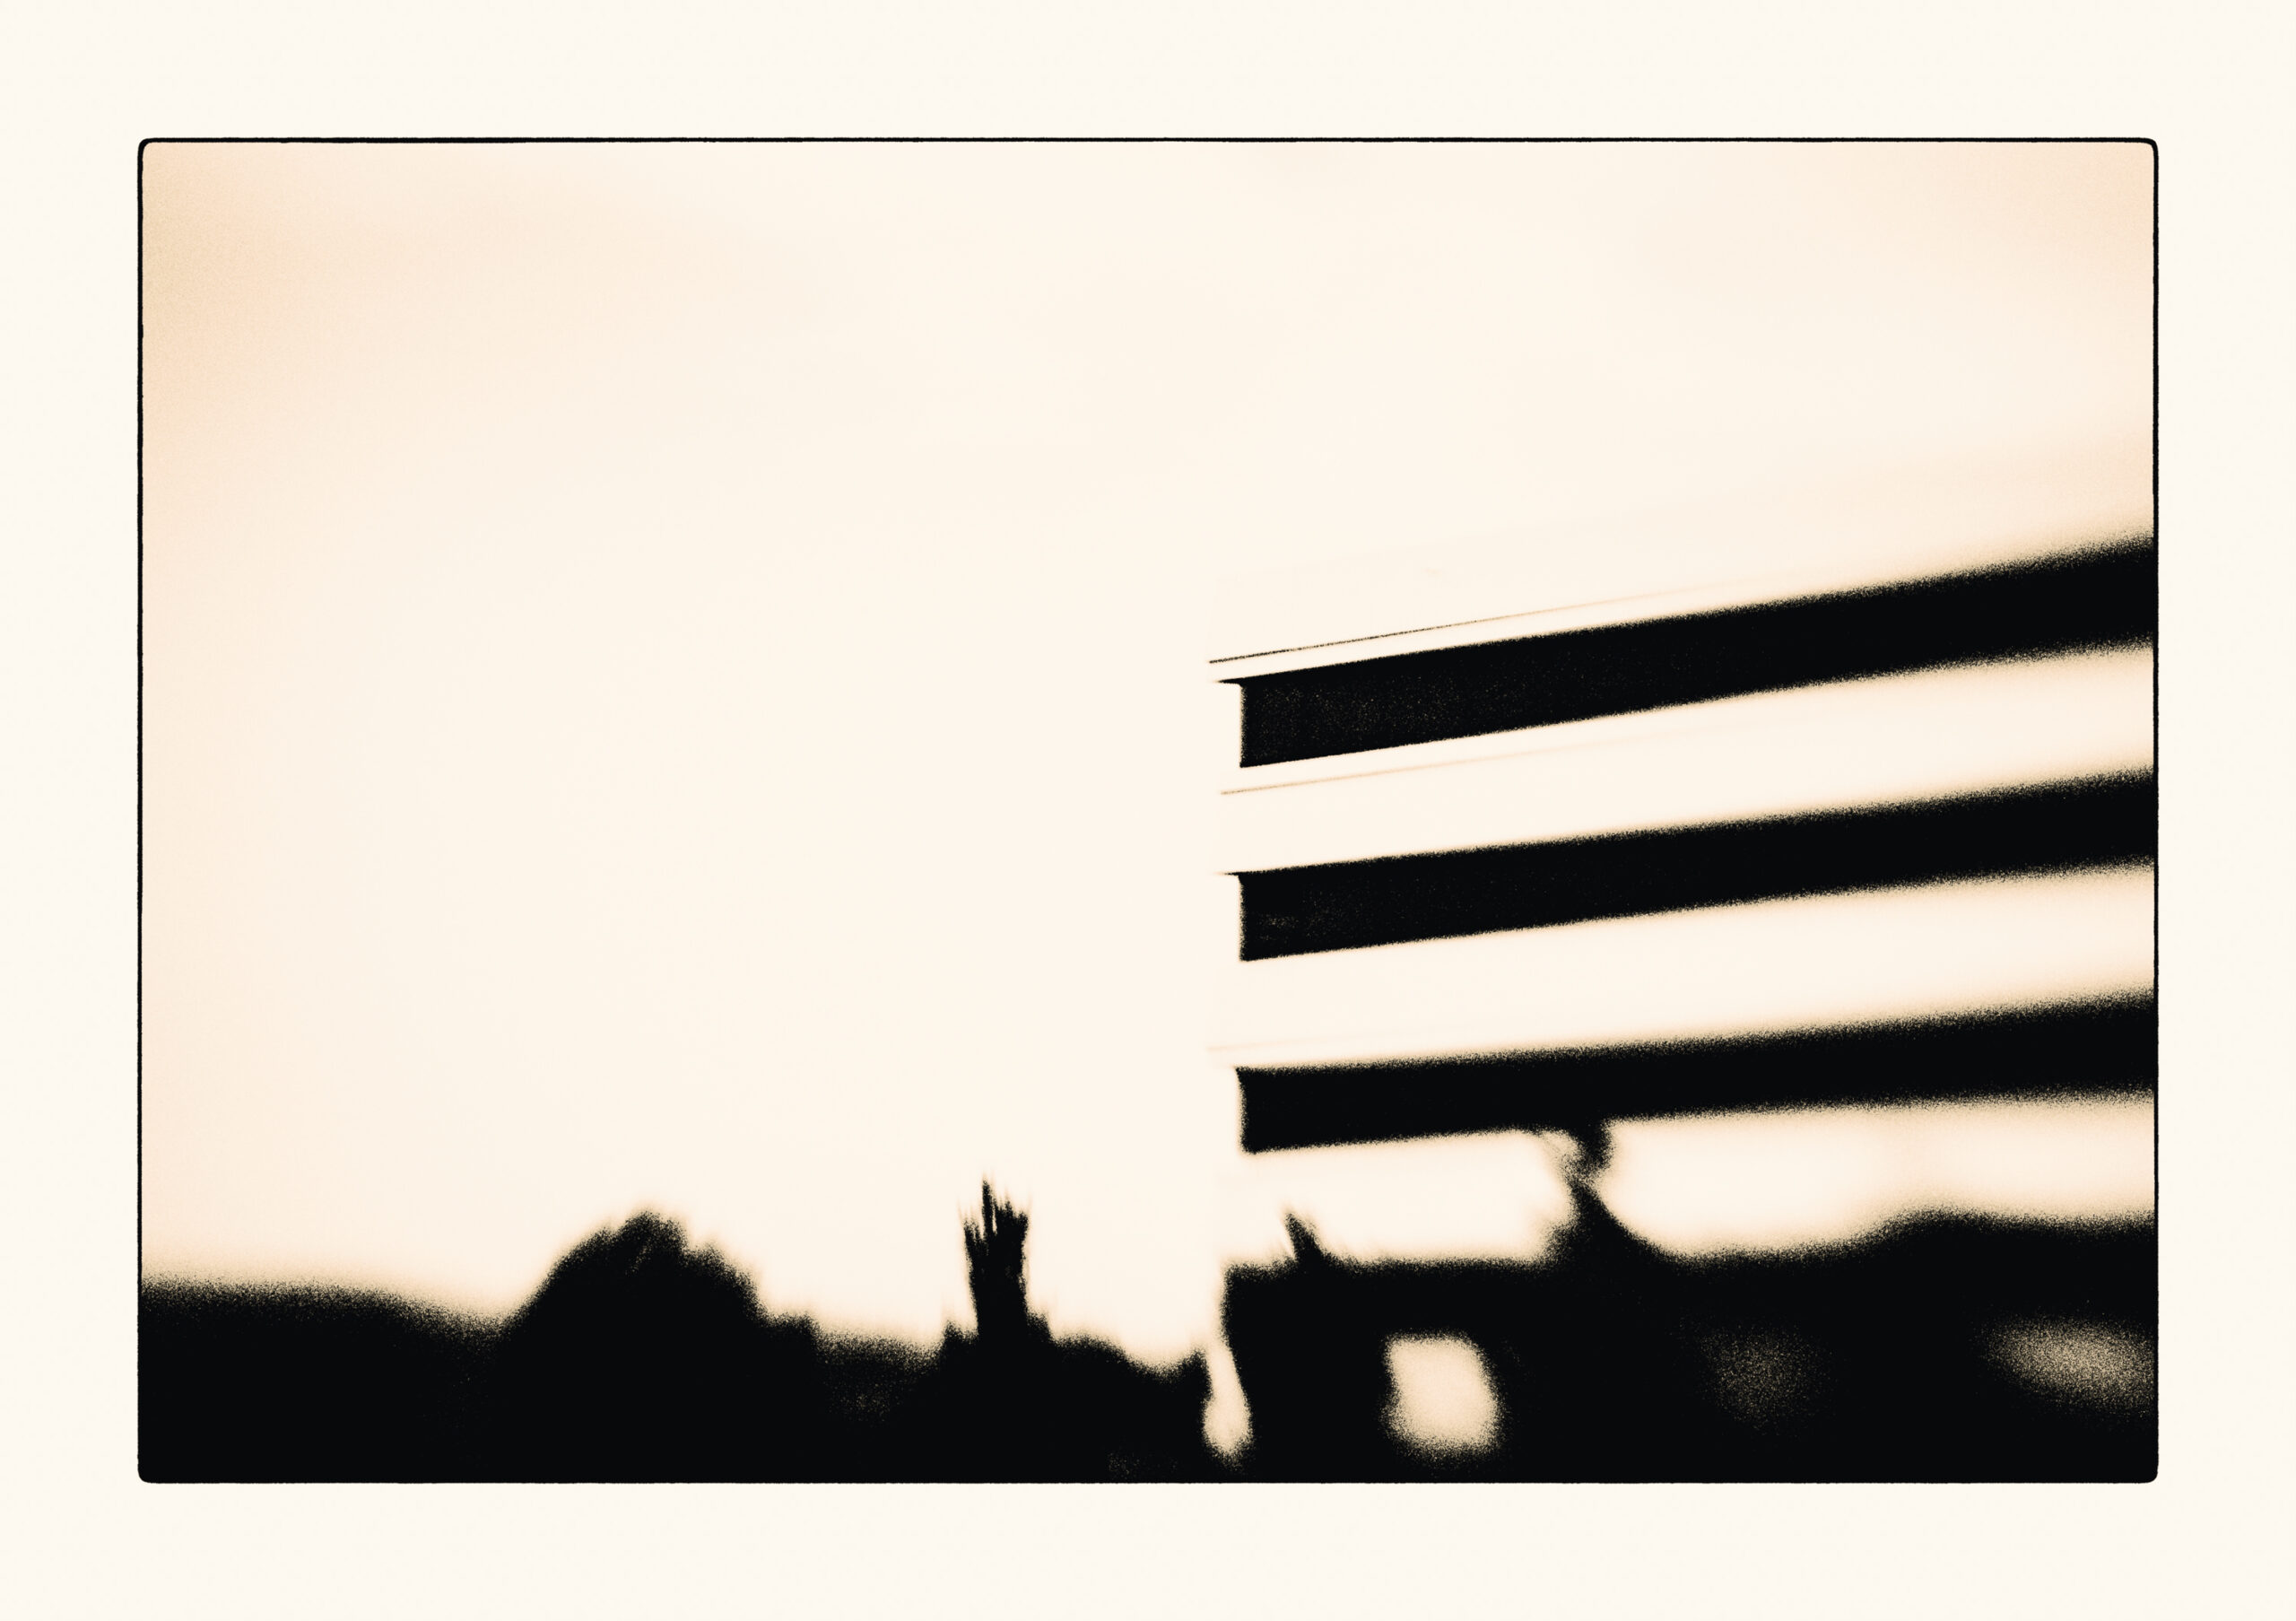
As you can see: No definition in the highlights and the shadows are a bit blocked up. But we will deal with the shadows in a second, first we go wild with the highlight contrast – which will block the shadows even more. But it will bring a lot of grain into the highlights – too much grain. And that will then get tamed back to where we want it with the grain gradient. But first let’s go for the highlight contrast which we set to 10. Here is the result:
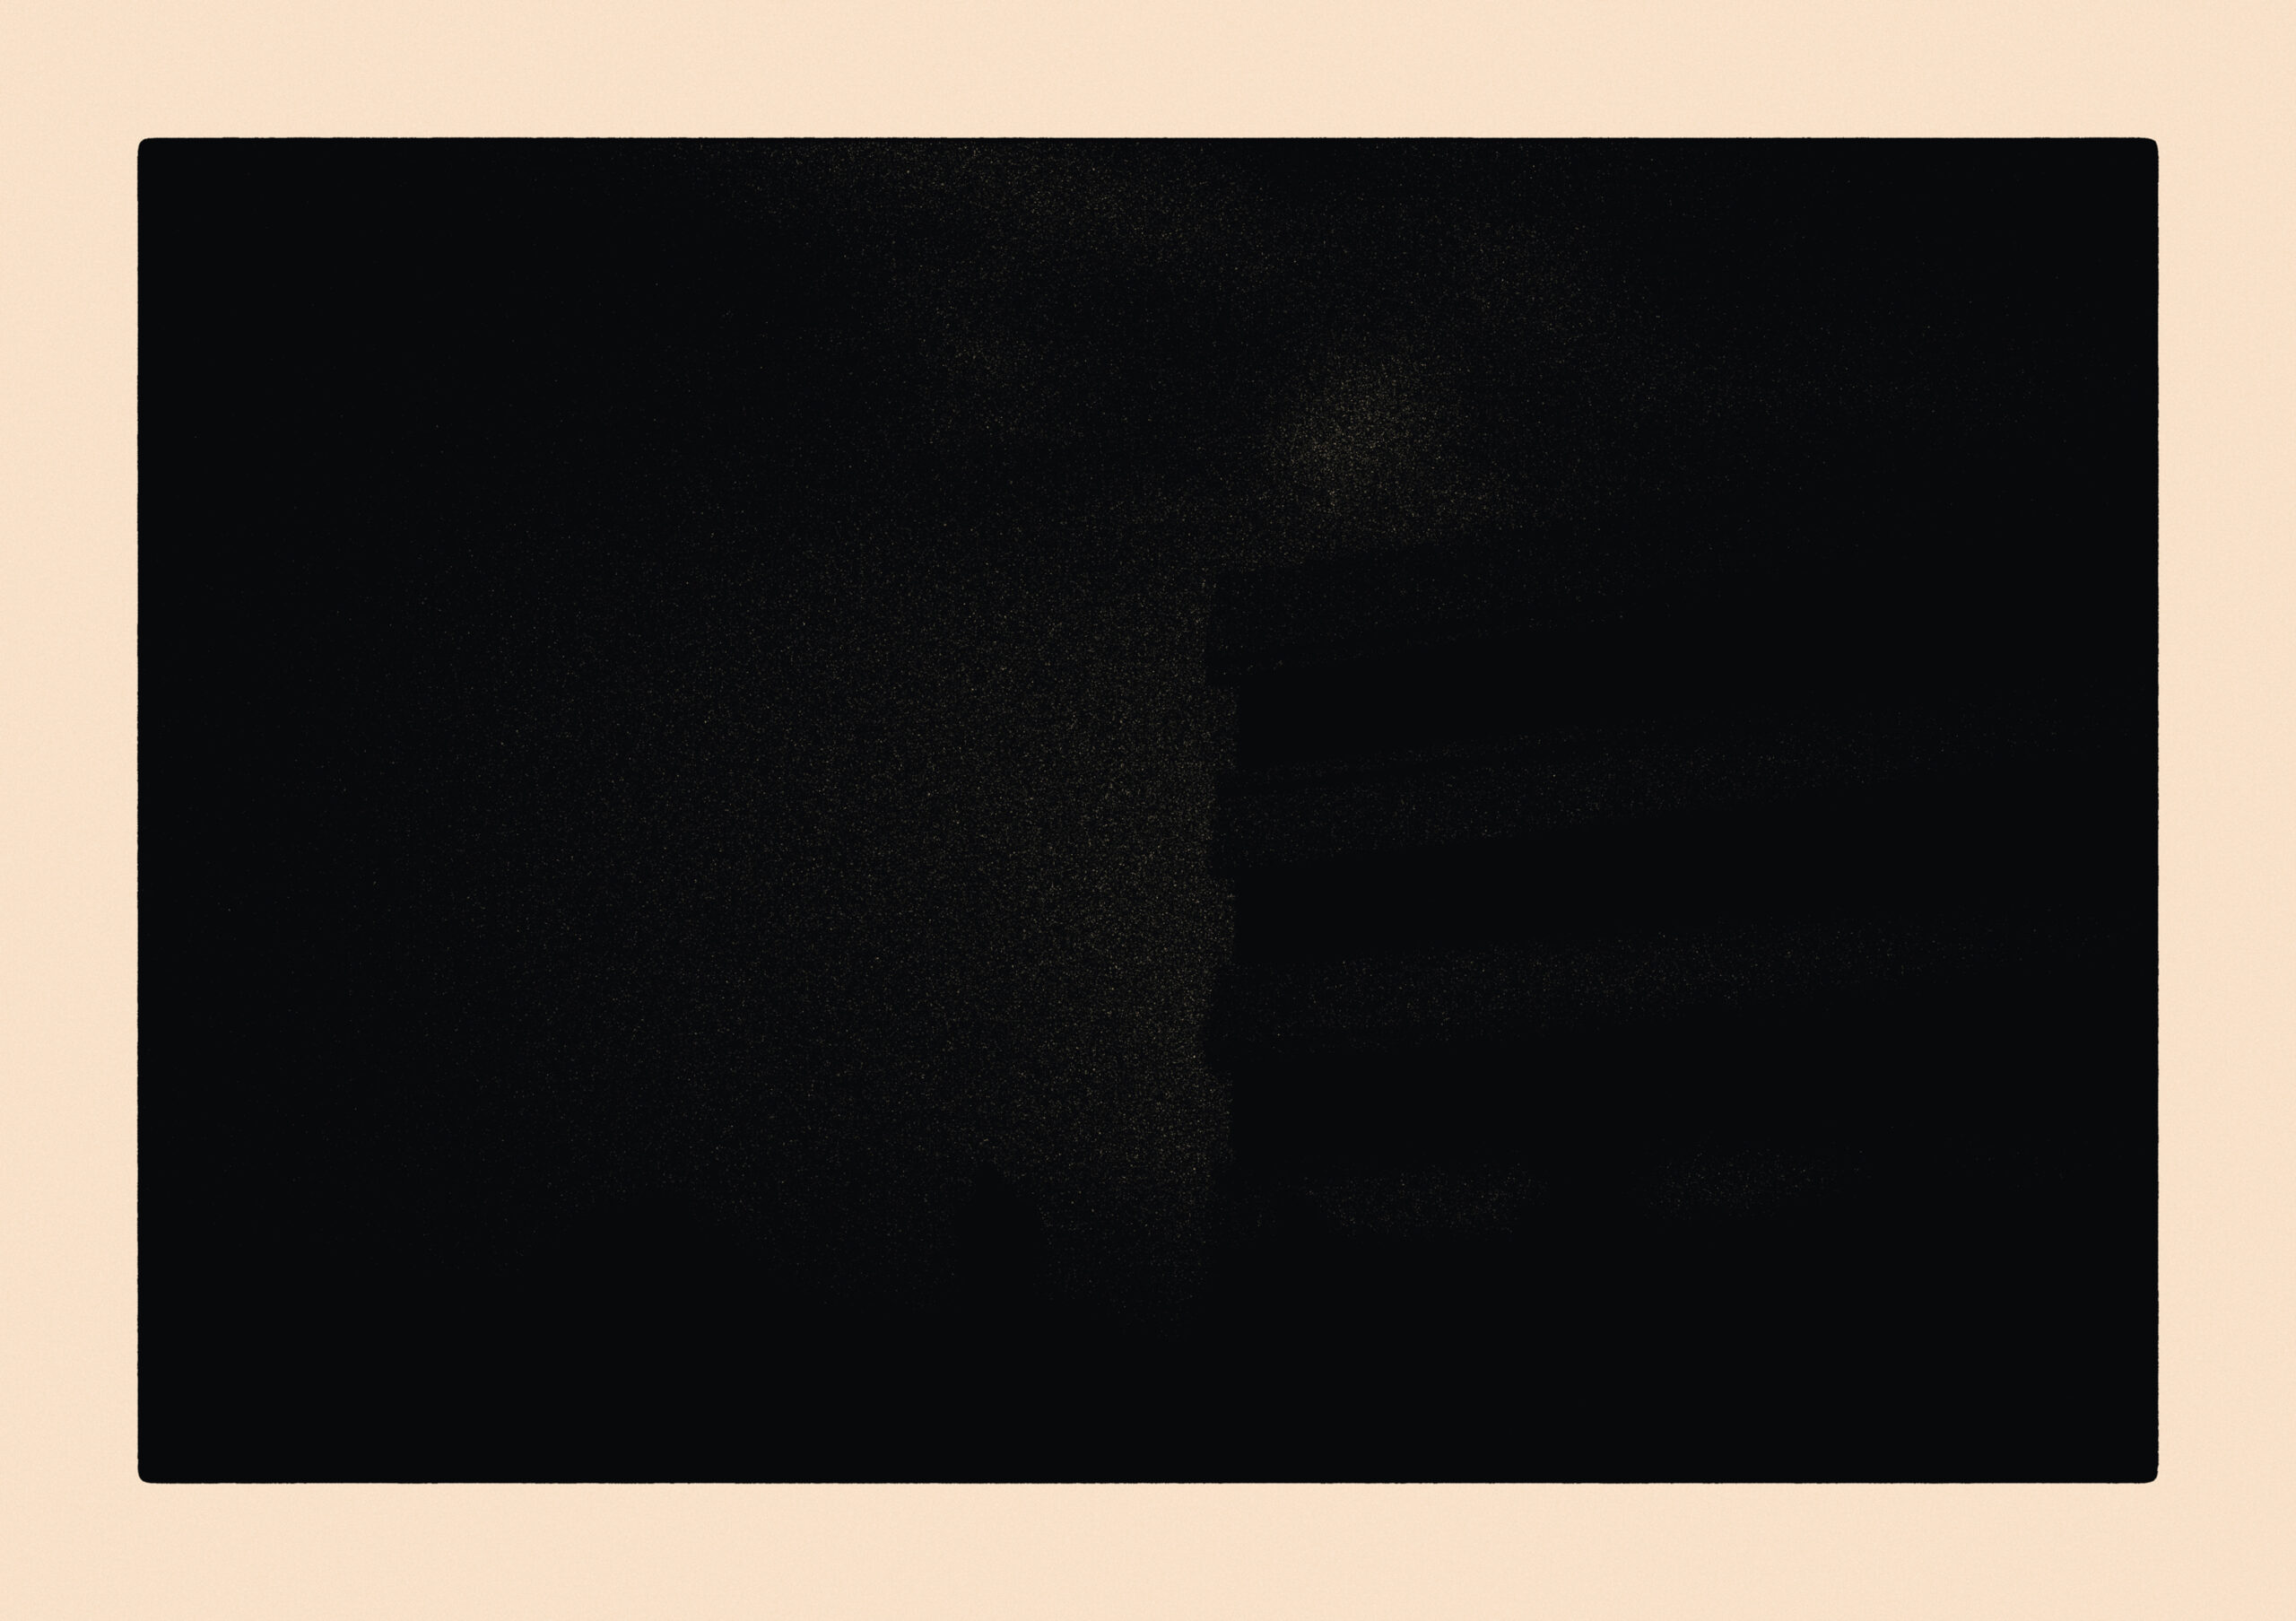
OK, this is indeed something we need to work on. It is hard to see anything, although there is a hint of the facade and even more of a hint for the very highlights. And here comes the grain gradient into the game. The grain gradient will bring the emergence of grain more towards the shadows for higher values. Let us see what this means. We set it to a value of 2 and get the following:
As you can see, a quite dramatic impact. But not enough. Let us go a bit further and set it to 2.5 and we do want to lighten up the highlights a bit, this can be done by setting the exposure to -0.5.
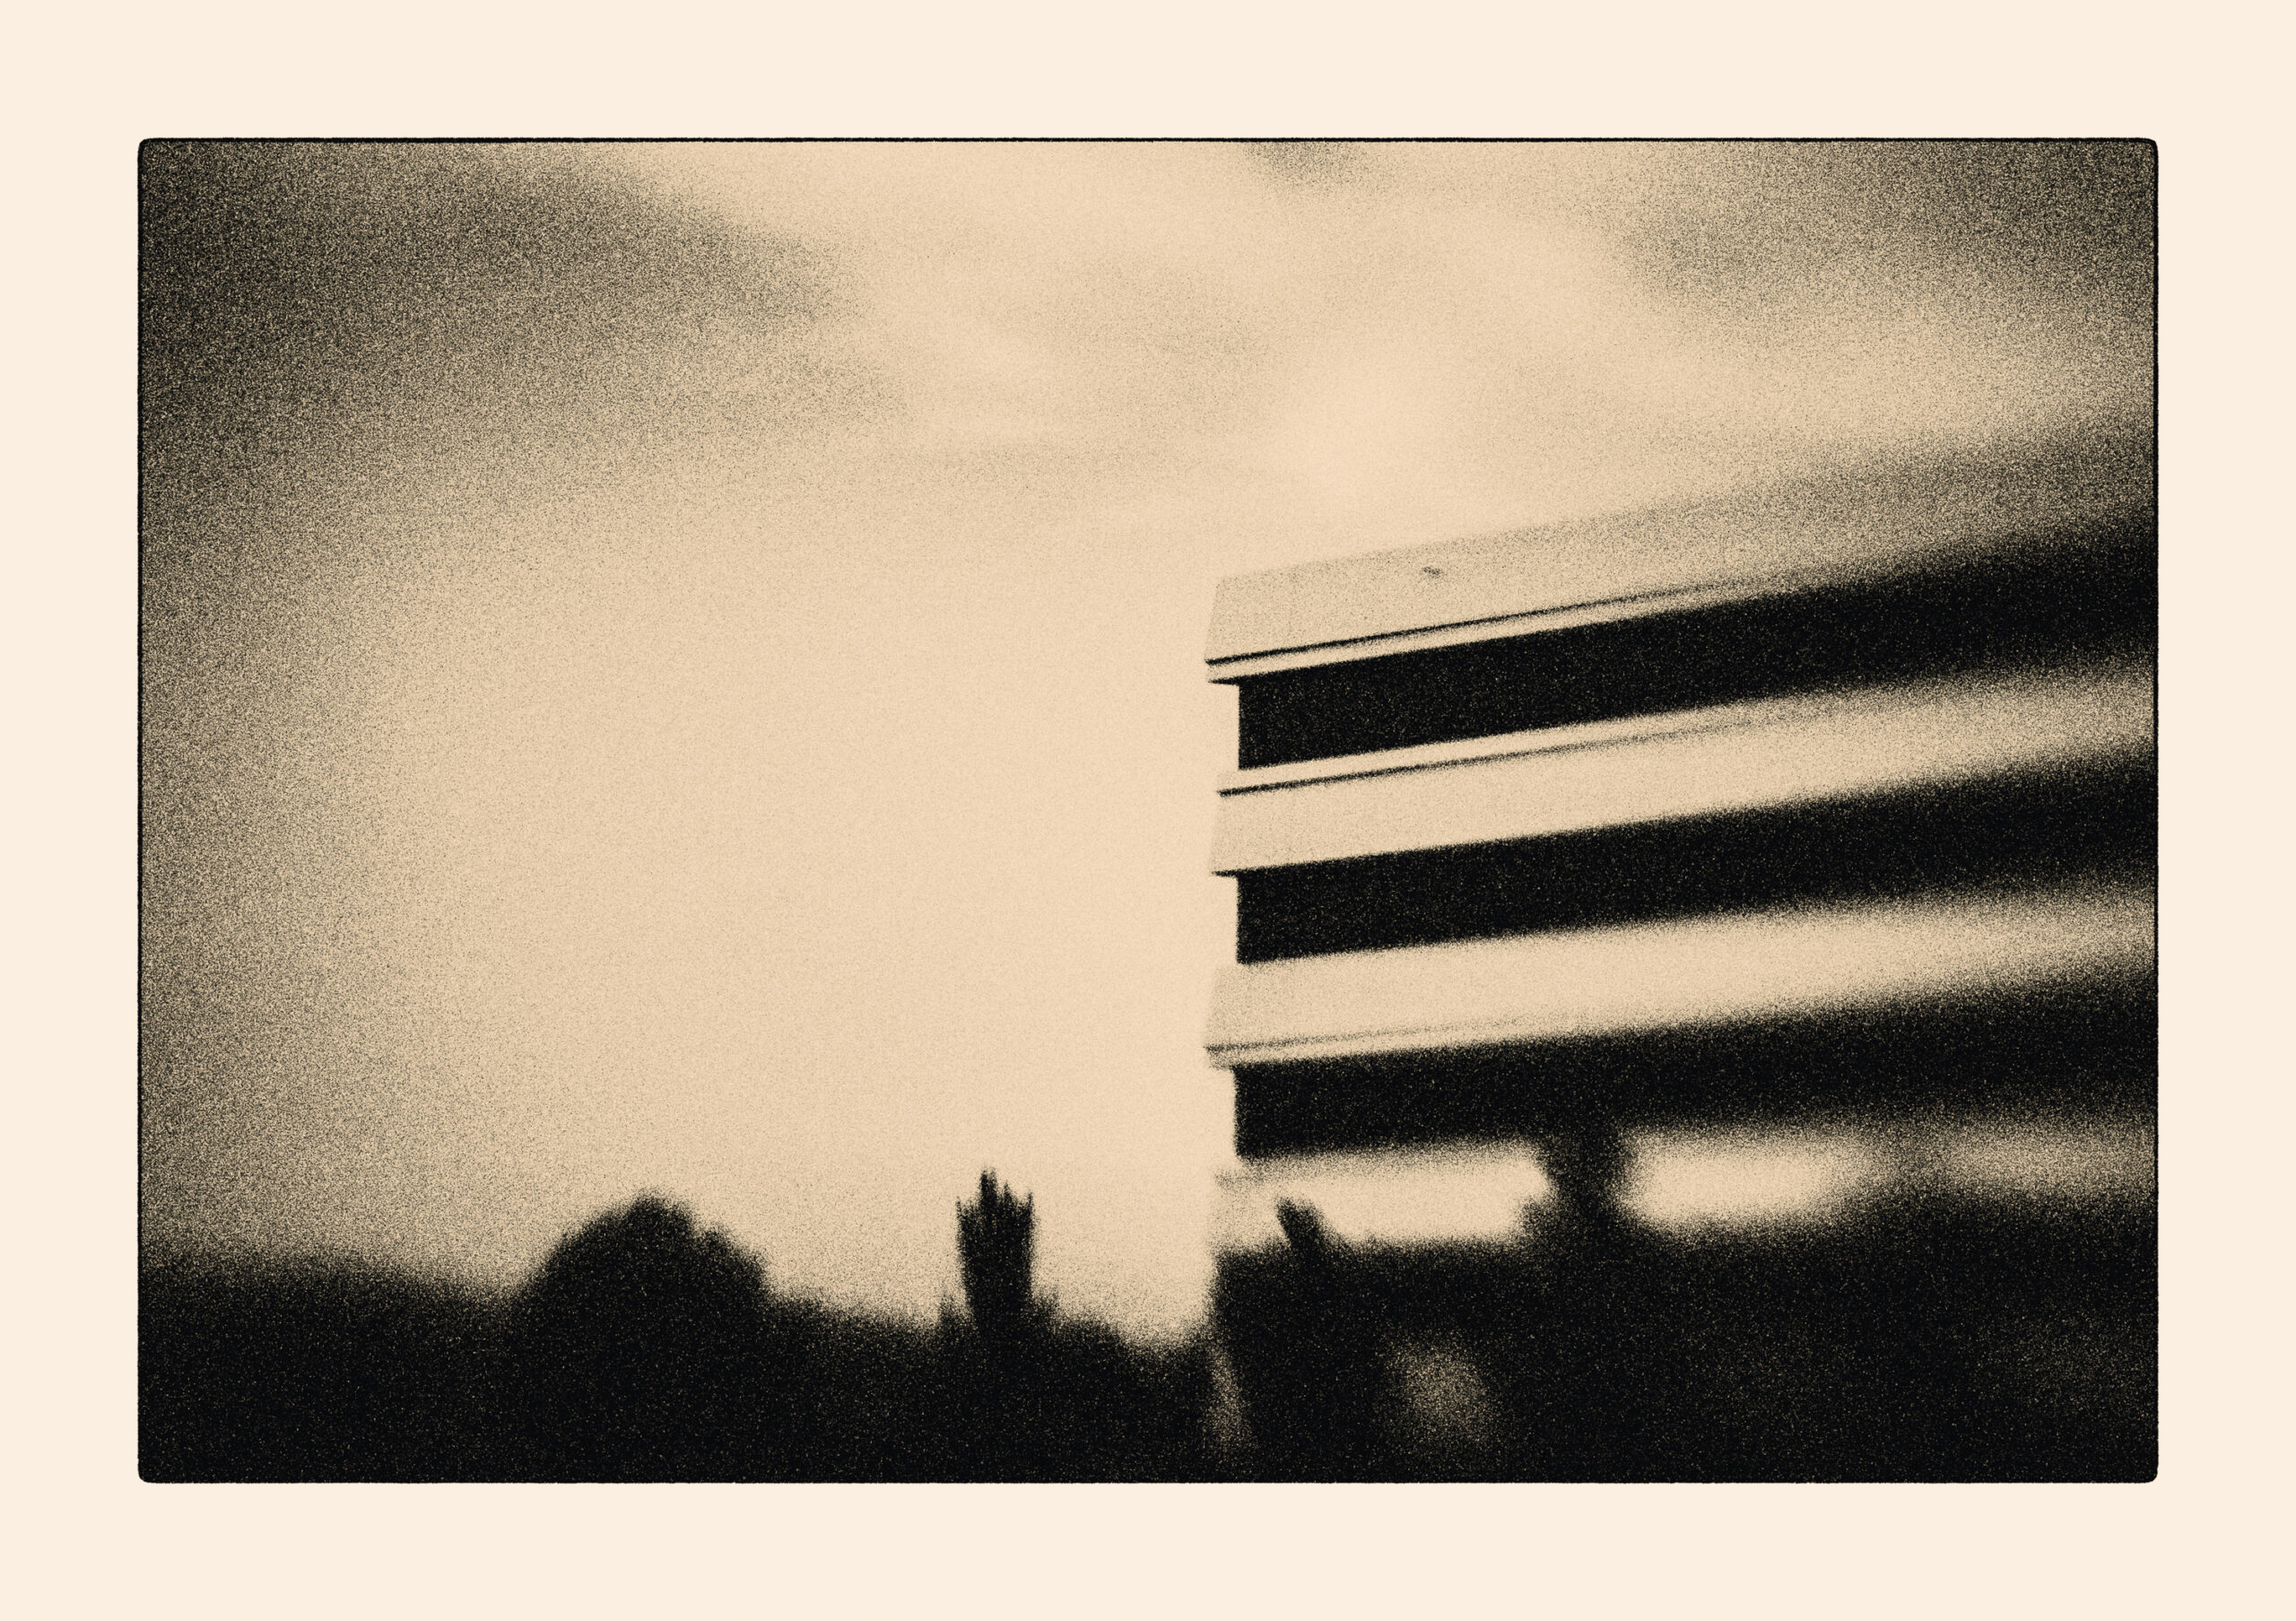
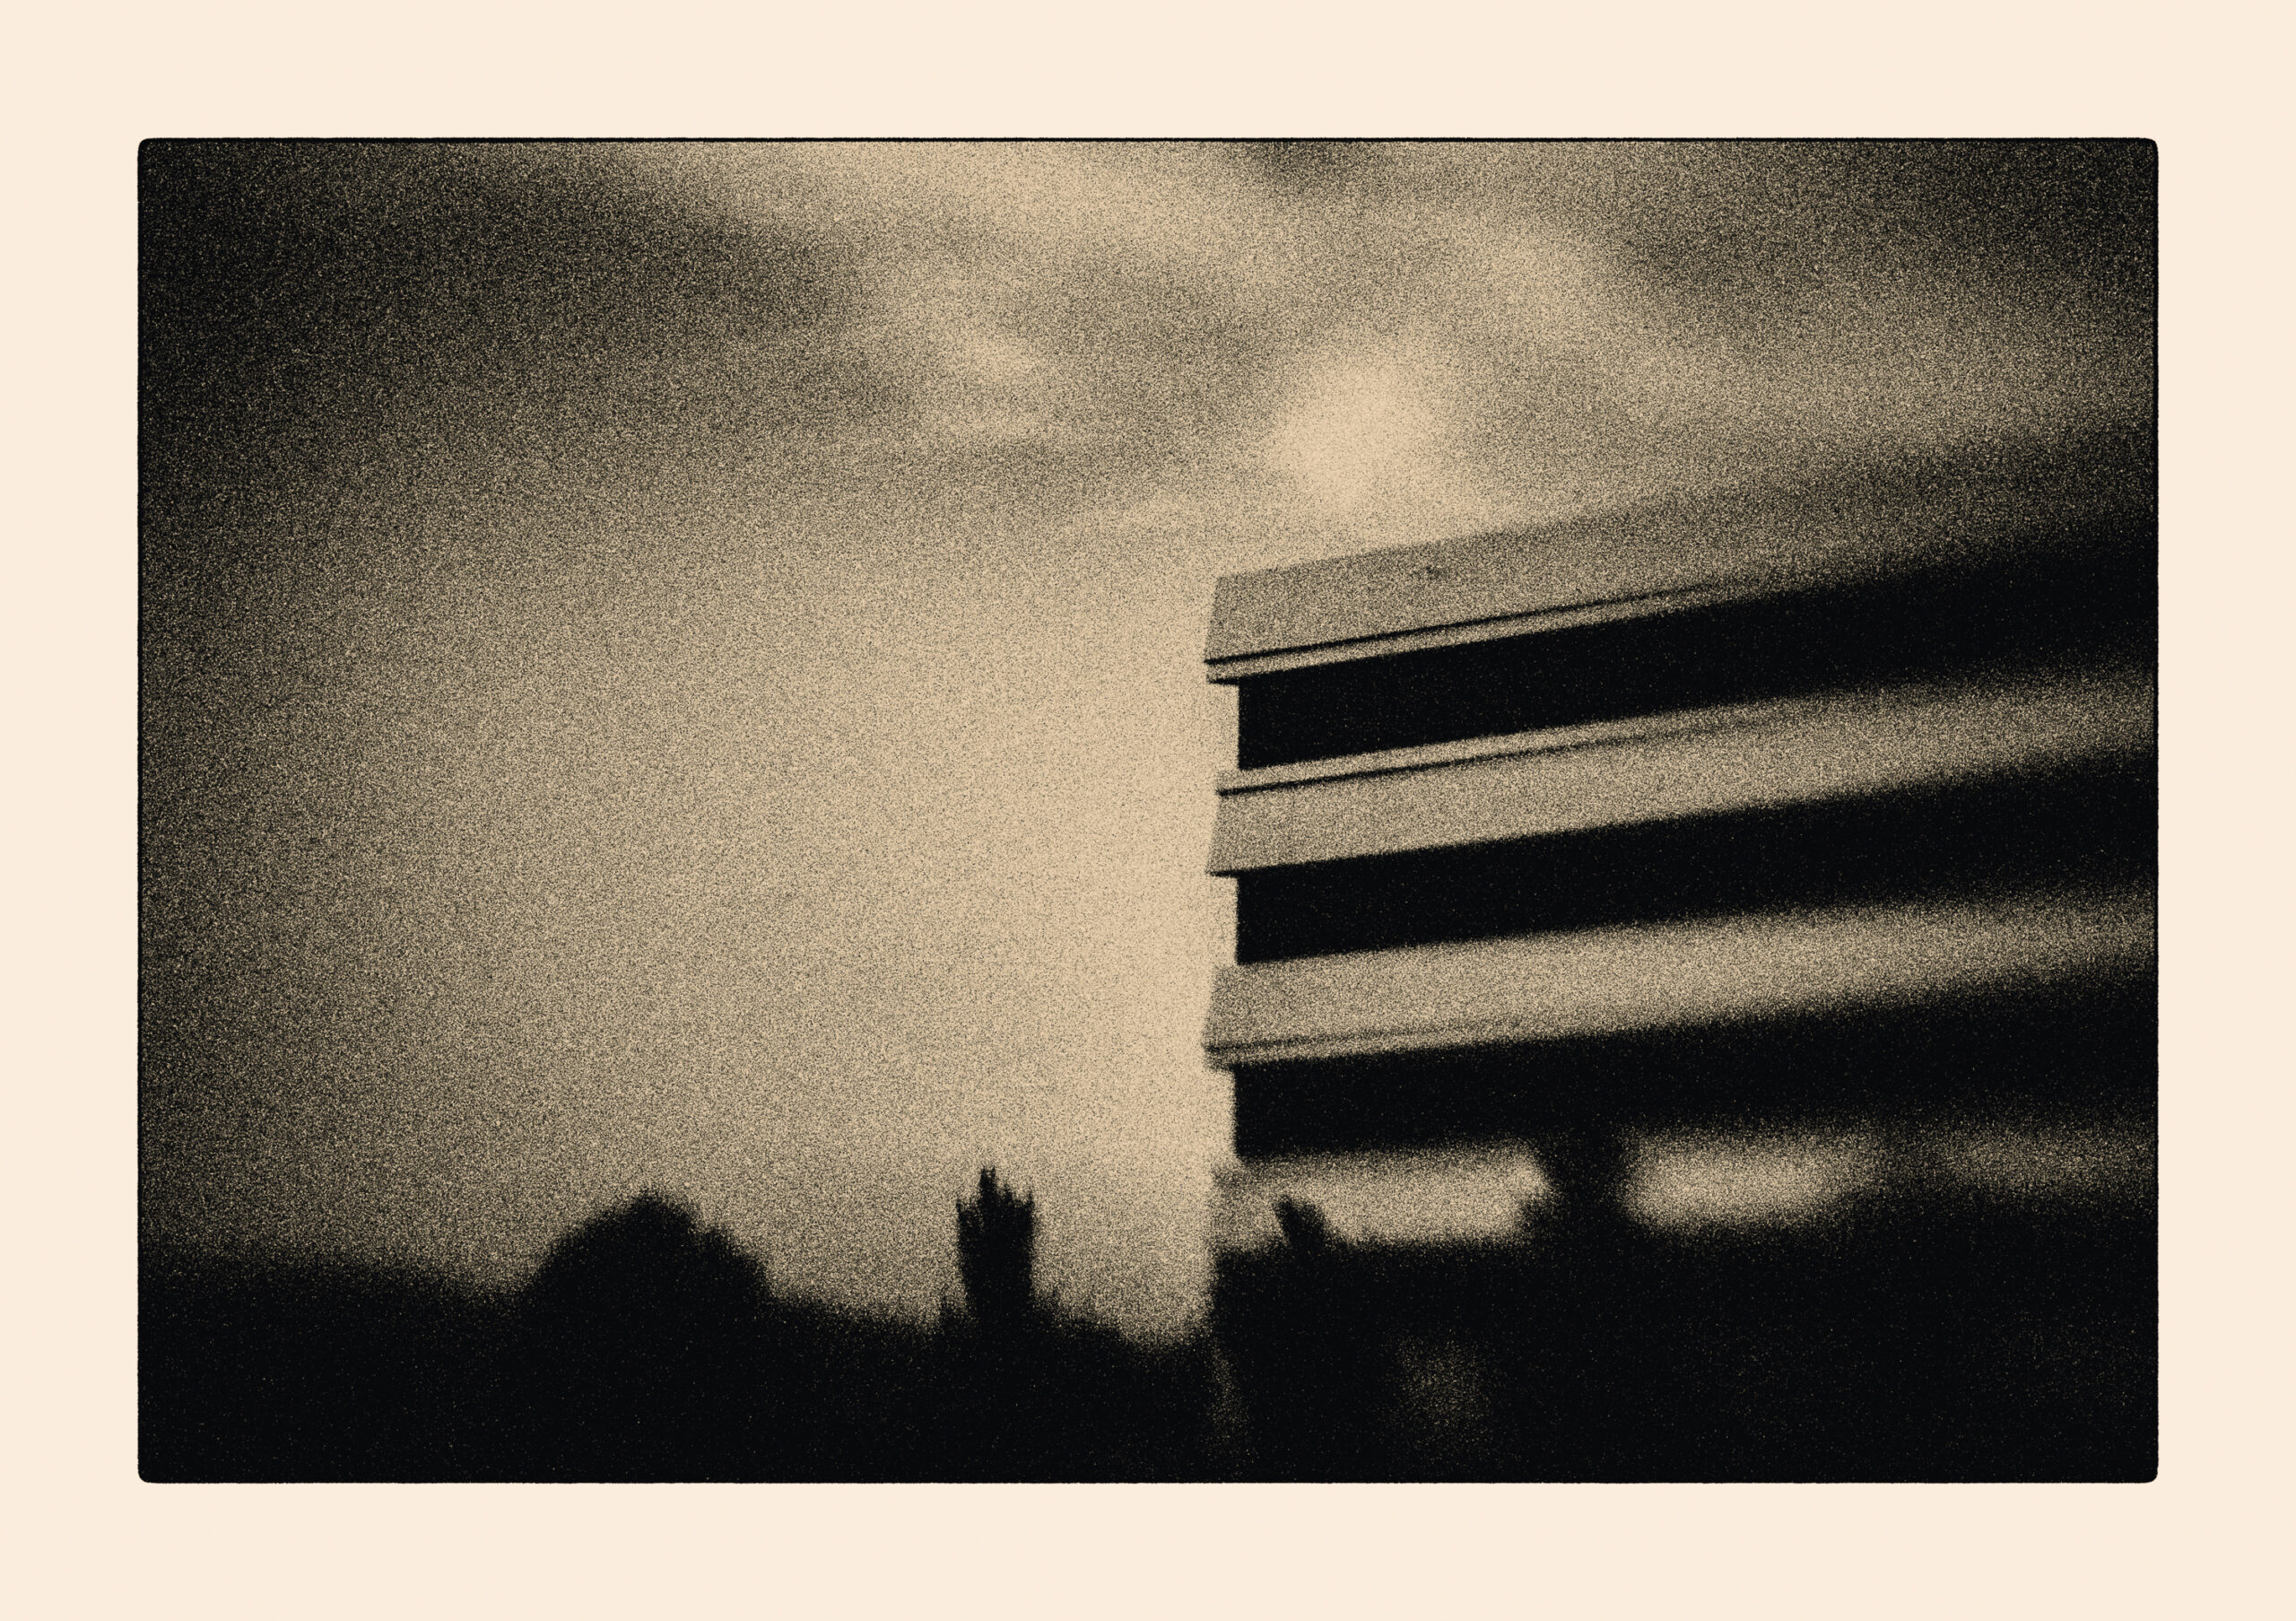
Yes a bit too much, let us take it back a bit and go with 2.2 which results in the following image:
This already looks promising. At this point in time I would reduce tray movement a bit and set it to 75 to get a slight bit of definition into the deep shadows.

This is where I wanted to go.
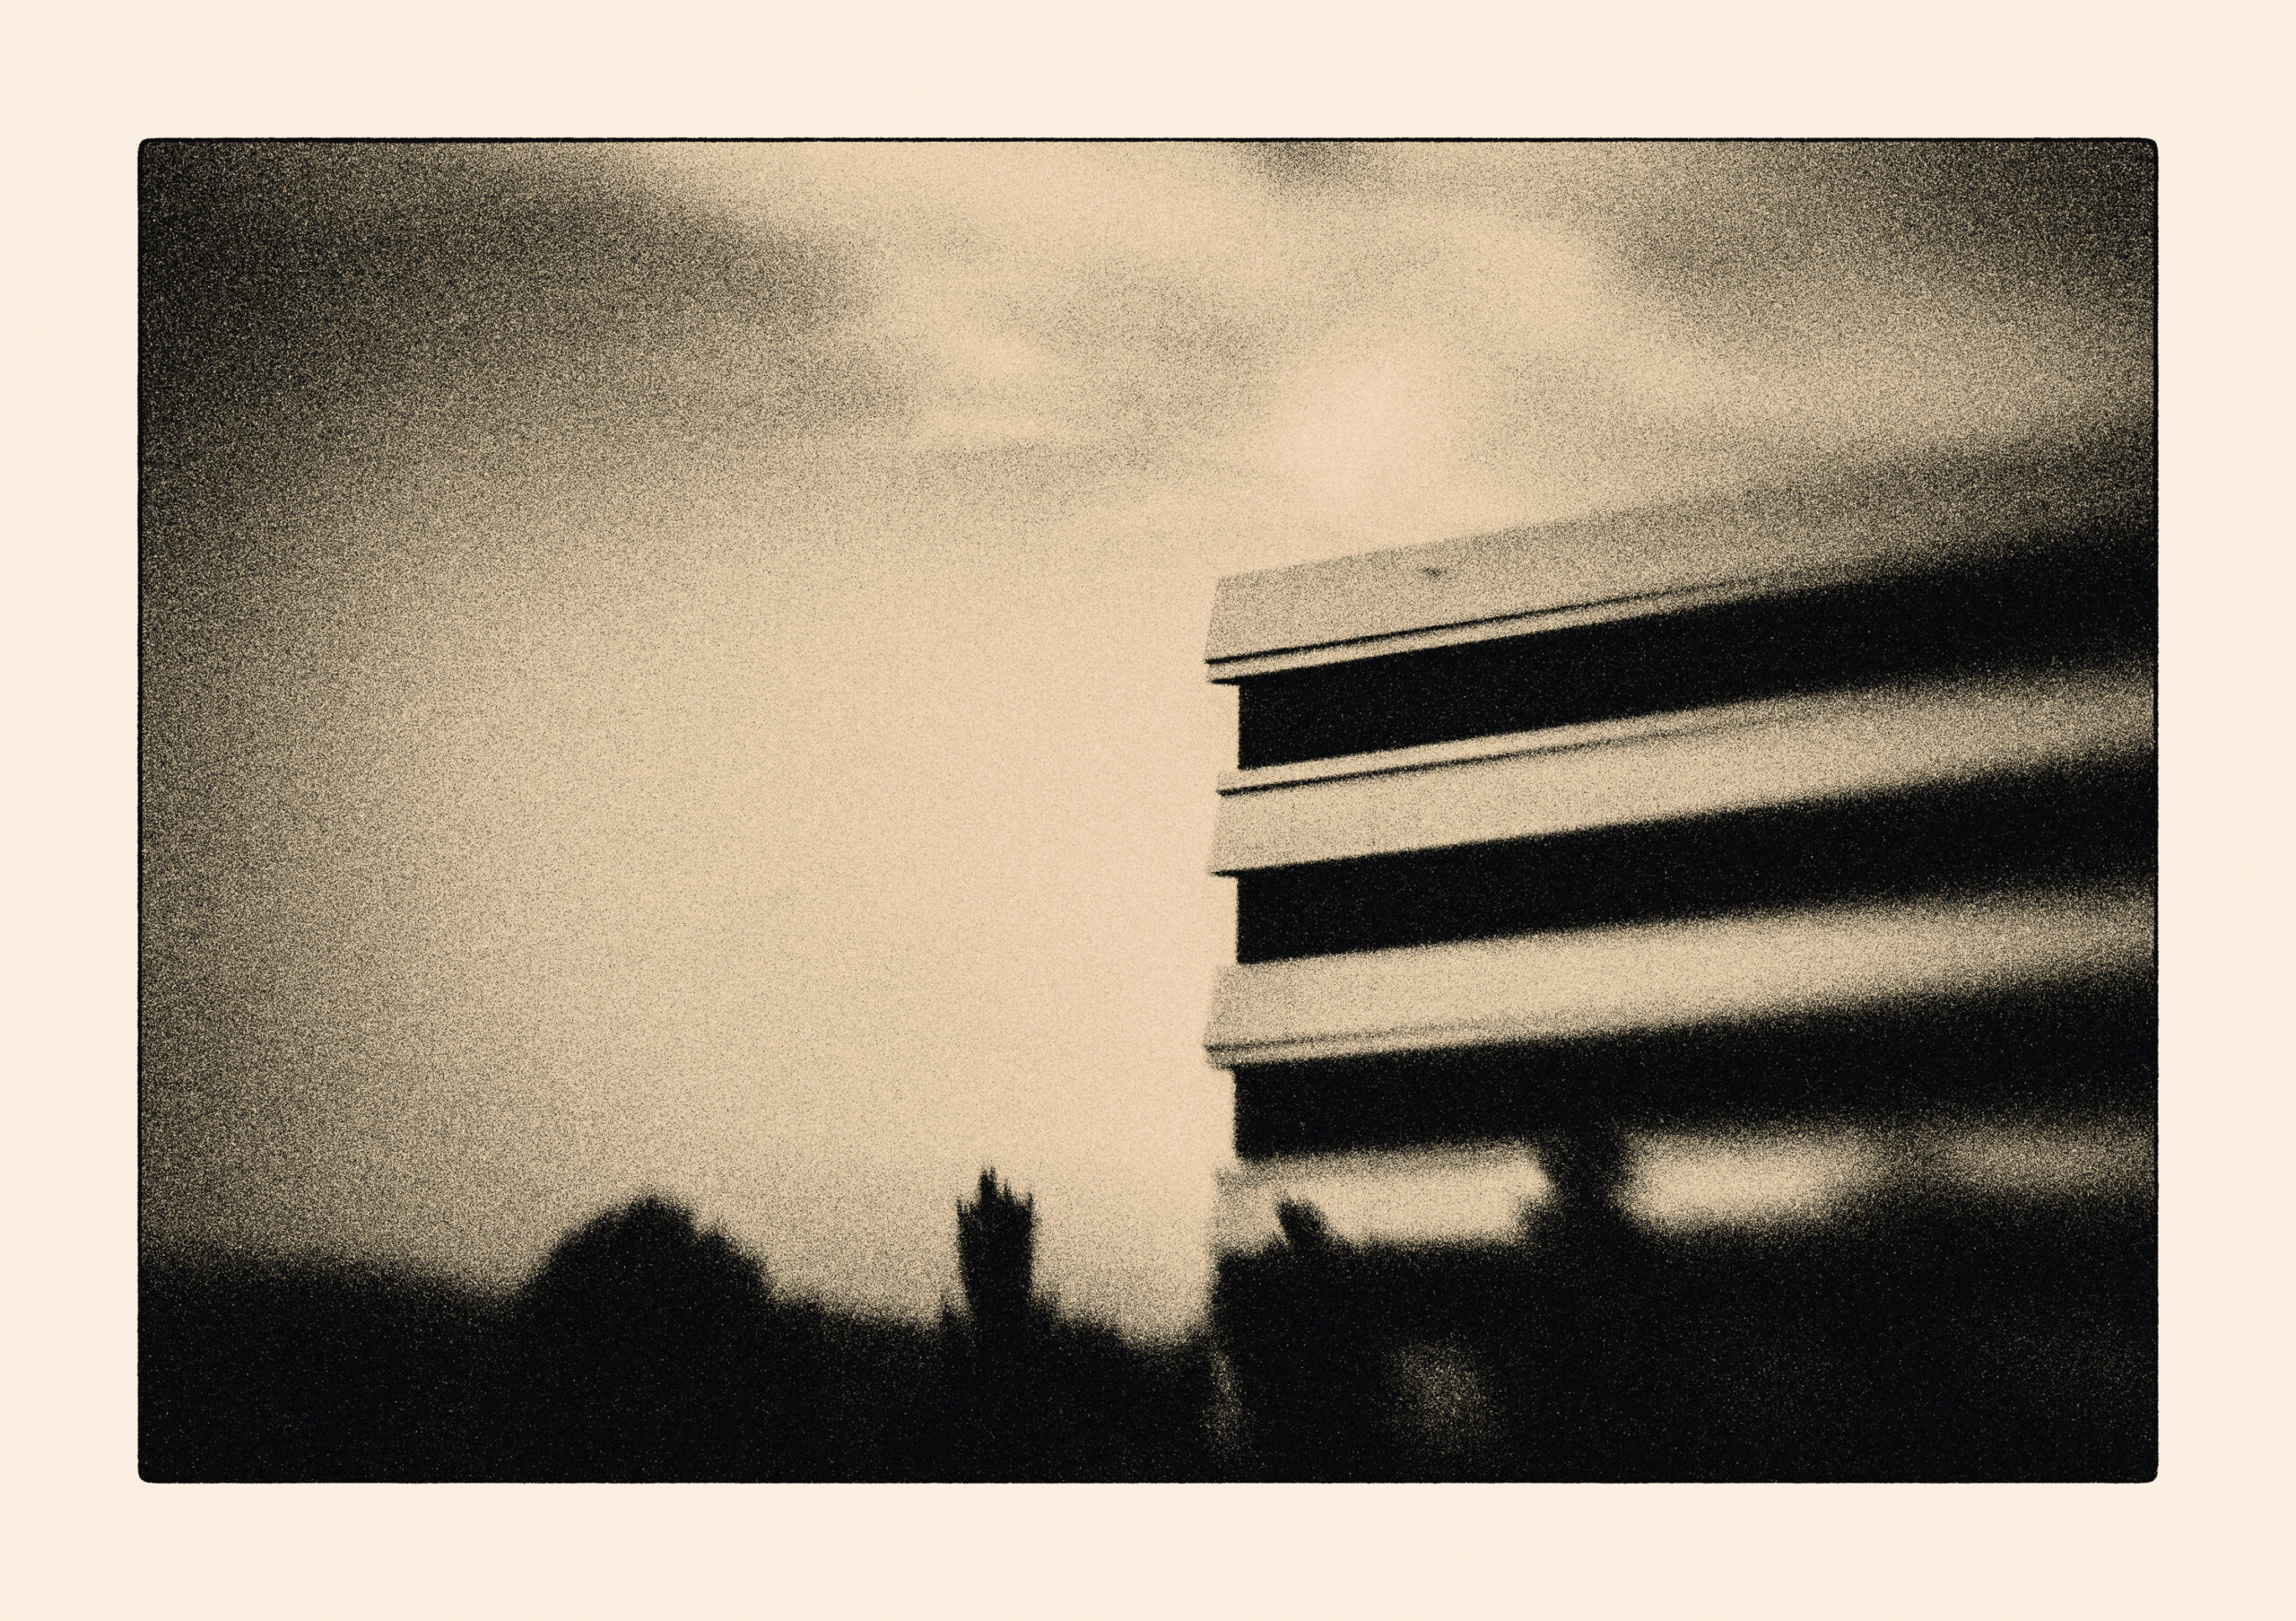
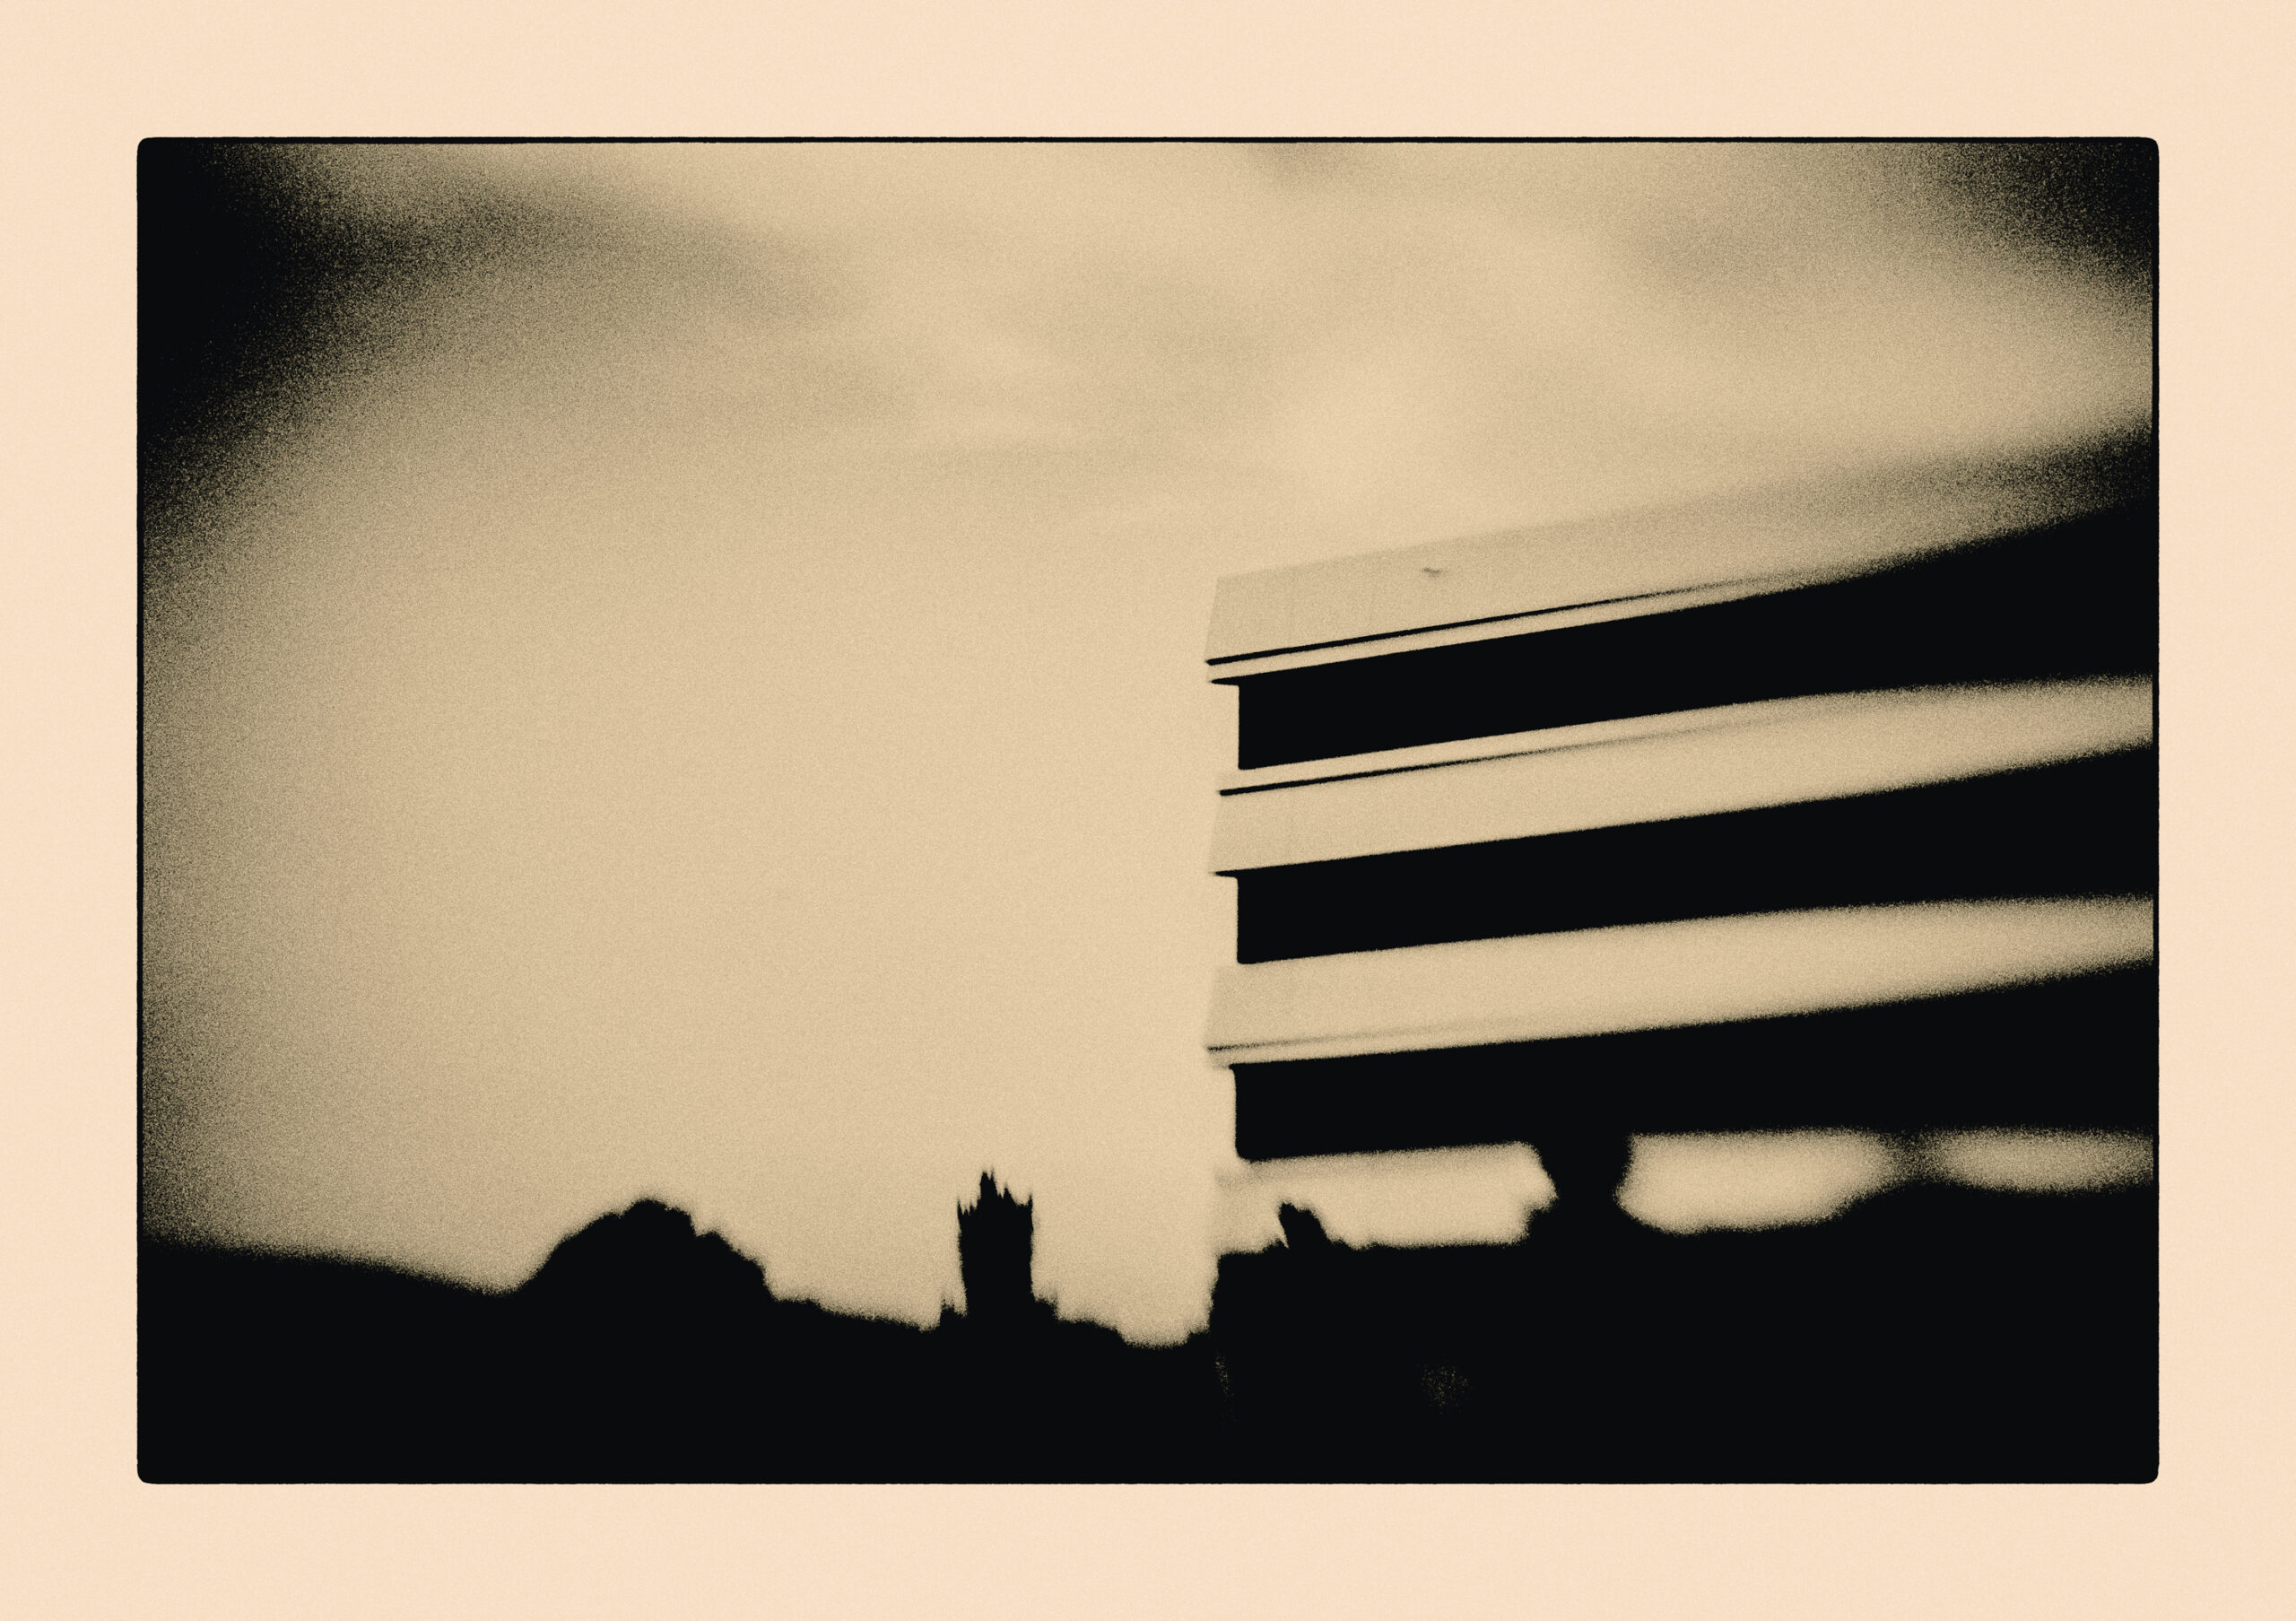
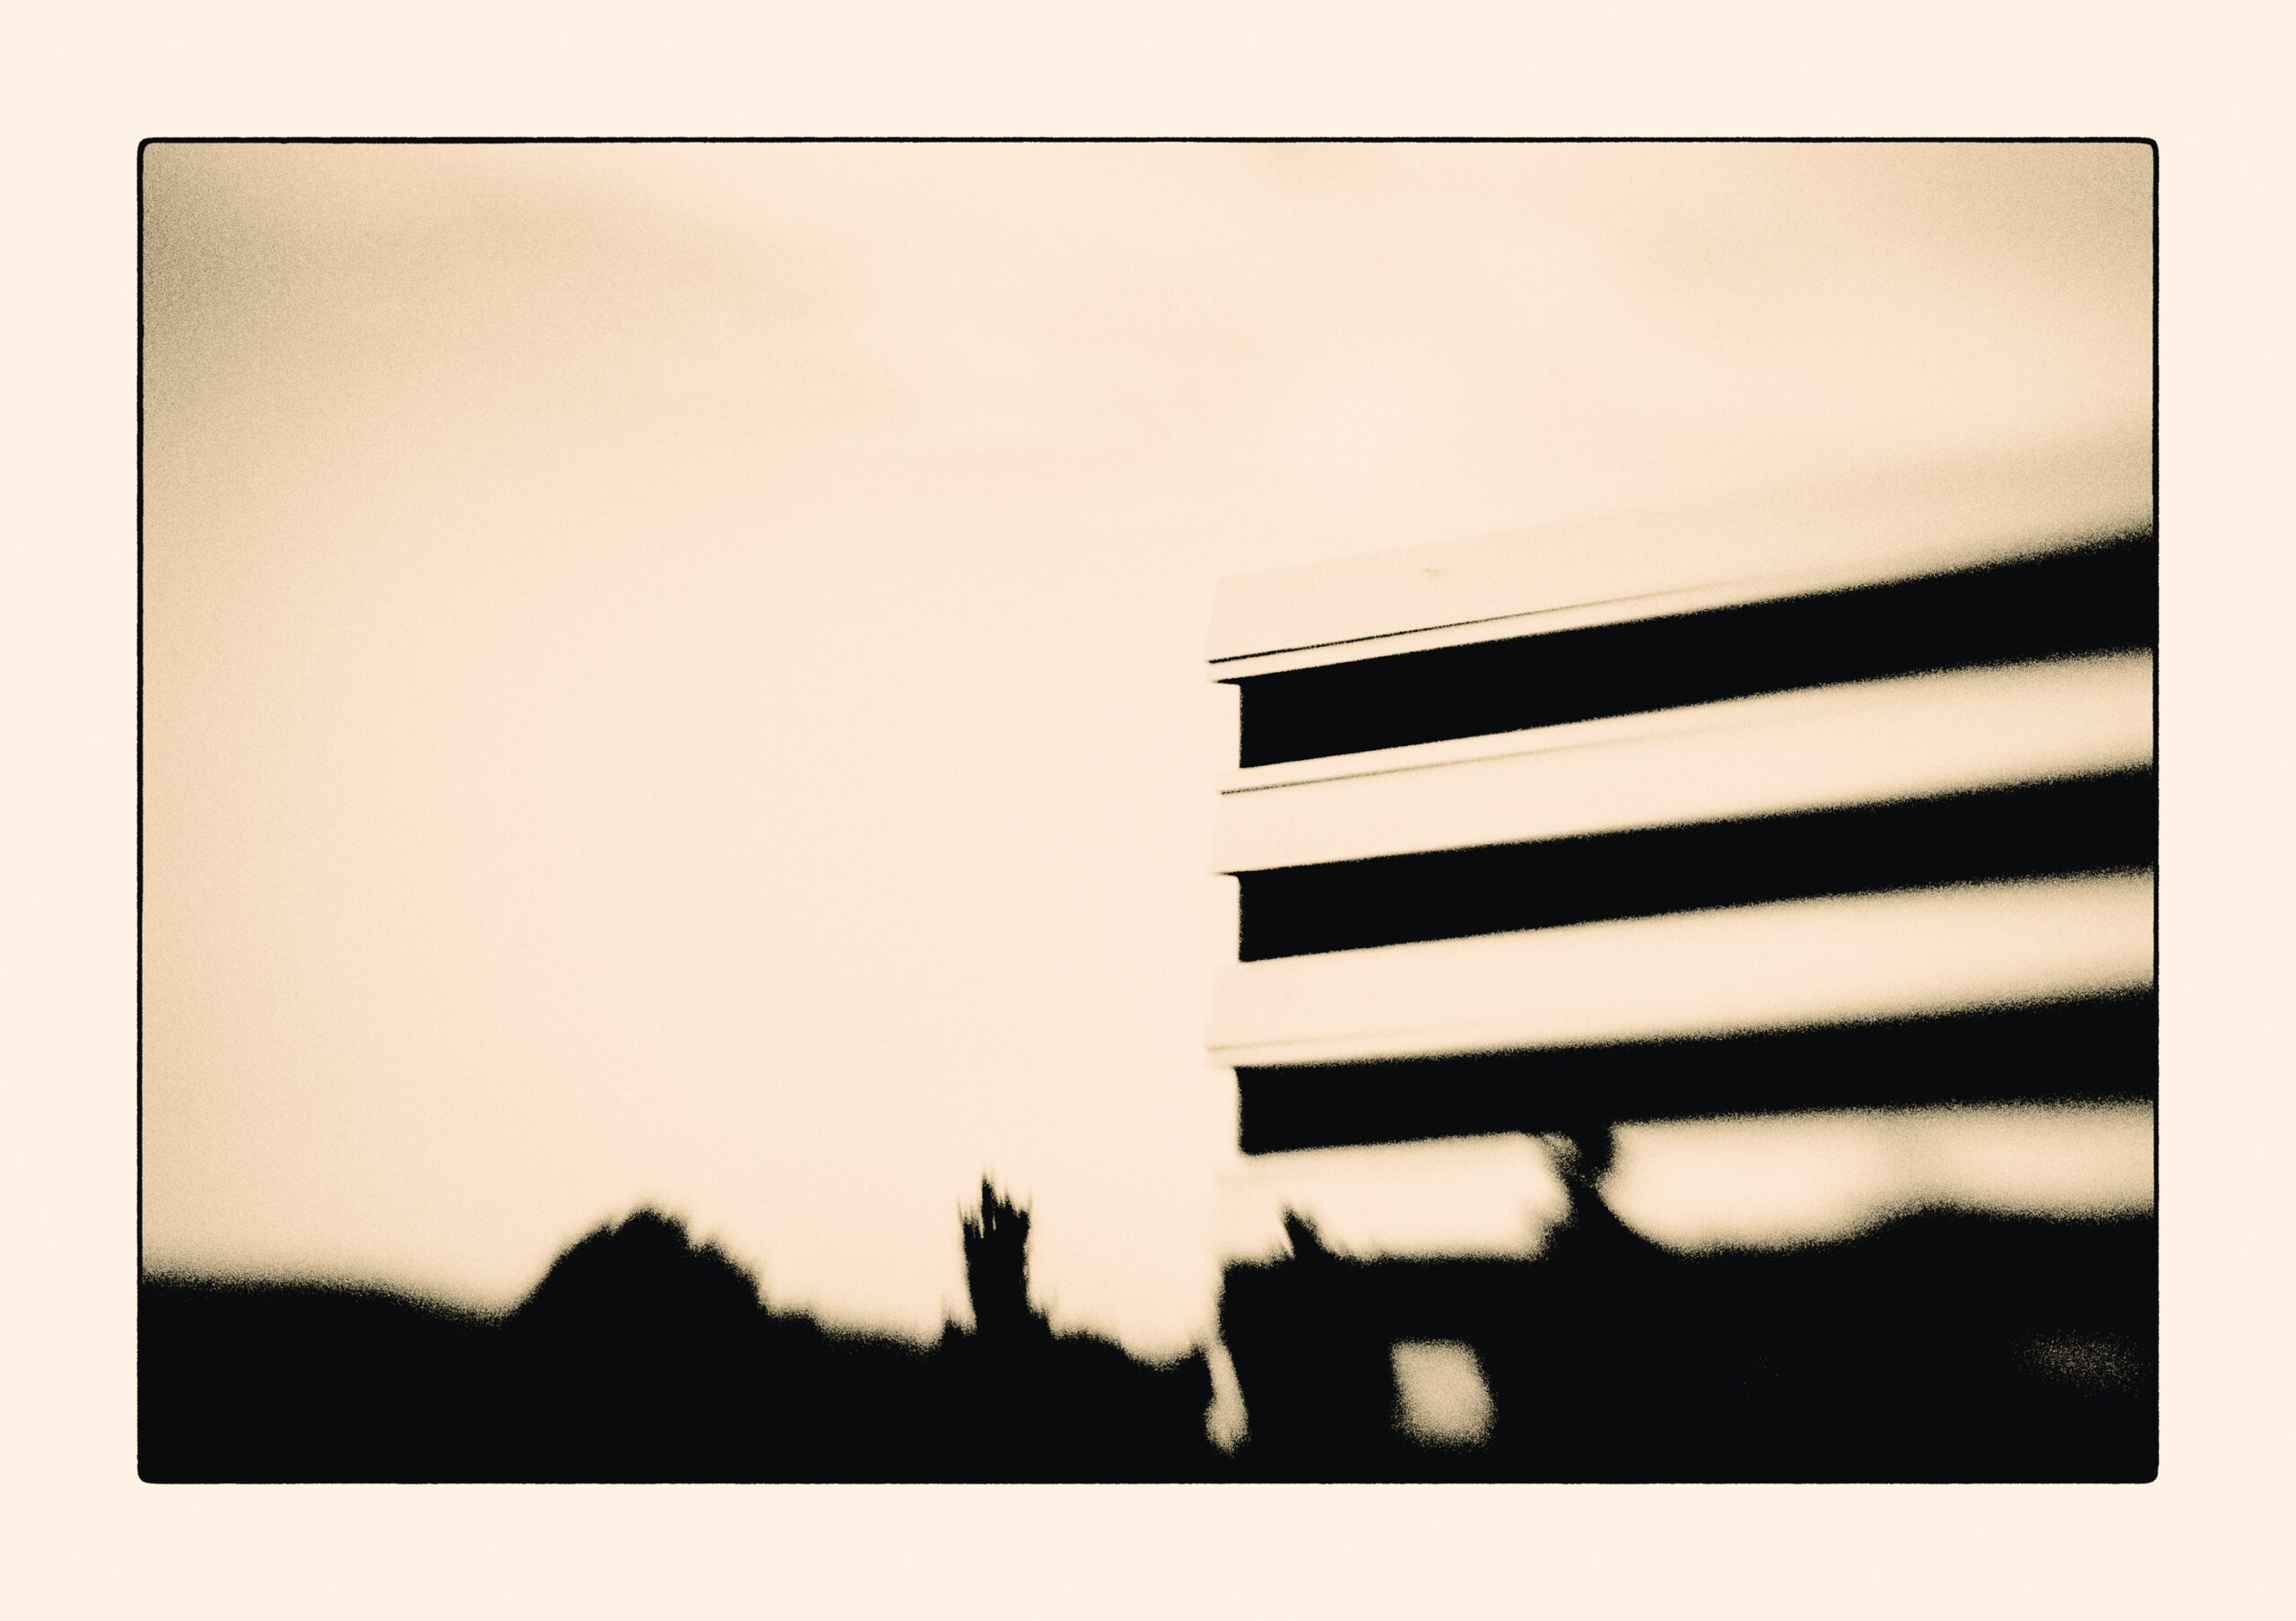
And this will end todays case studies episode. Go ahead and play around with the grain gradient. We used it here to the extreme with a very high value of grain. You can also use it with lower grain values. Also try values between 0 and 1. Here are three images done with the following settings:
Reset parameters, use CaseStudies5Lab lookup table, set the grain parameter to 0.5, the dilution to 40 and the exposure to 2.
Now from left to right you see the grain gradient of 0.5, 1 and 2.
Next time we will see a totally different method to create grain.