Welcome to another episode of the DigitalLith Case Studies. Last time we created grain by using the grain development parameter. This time we are still in the grain business, but we won’t touch the grain parameter. Instead we give a closer look to the sulfite/bromide parameters and see how we can engage some grain by changing these two guys.

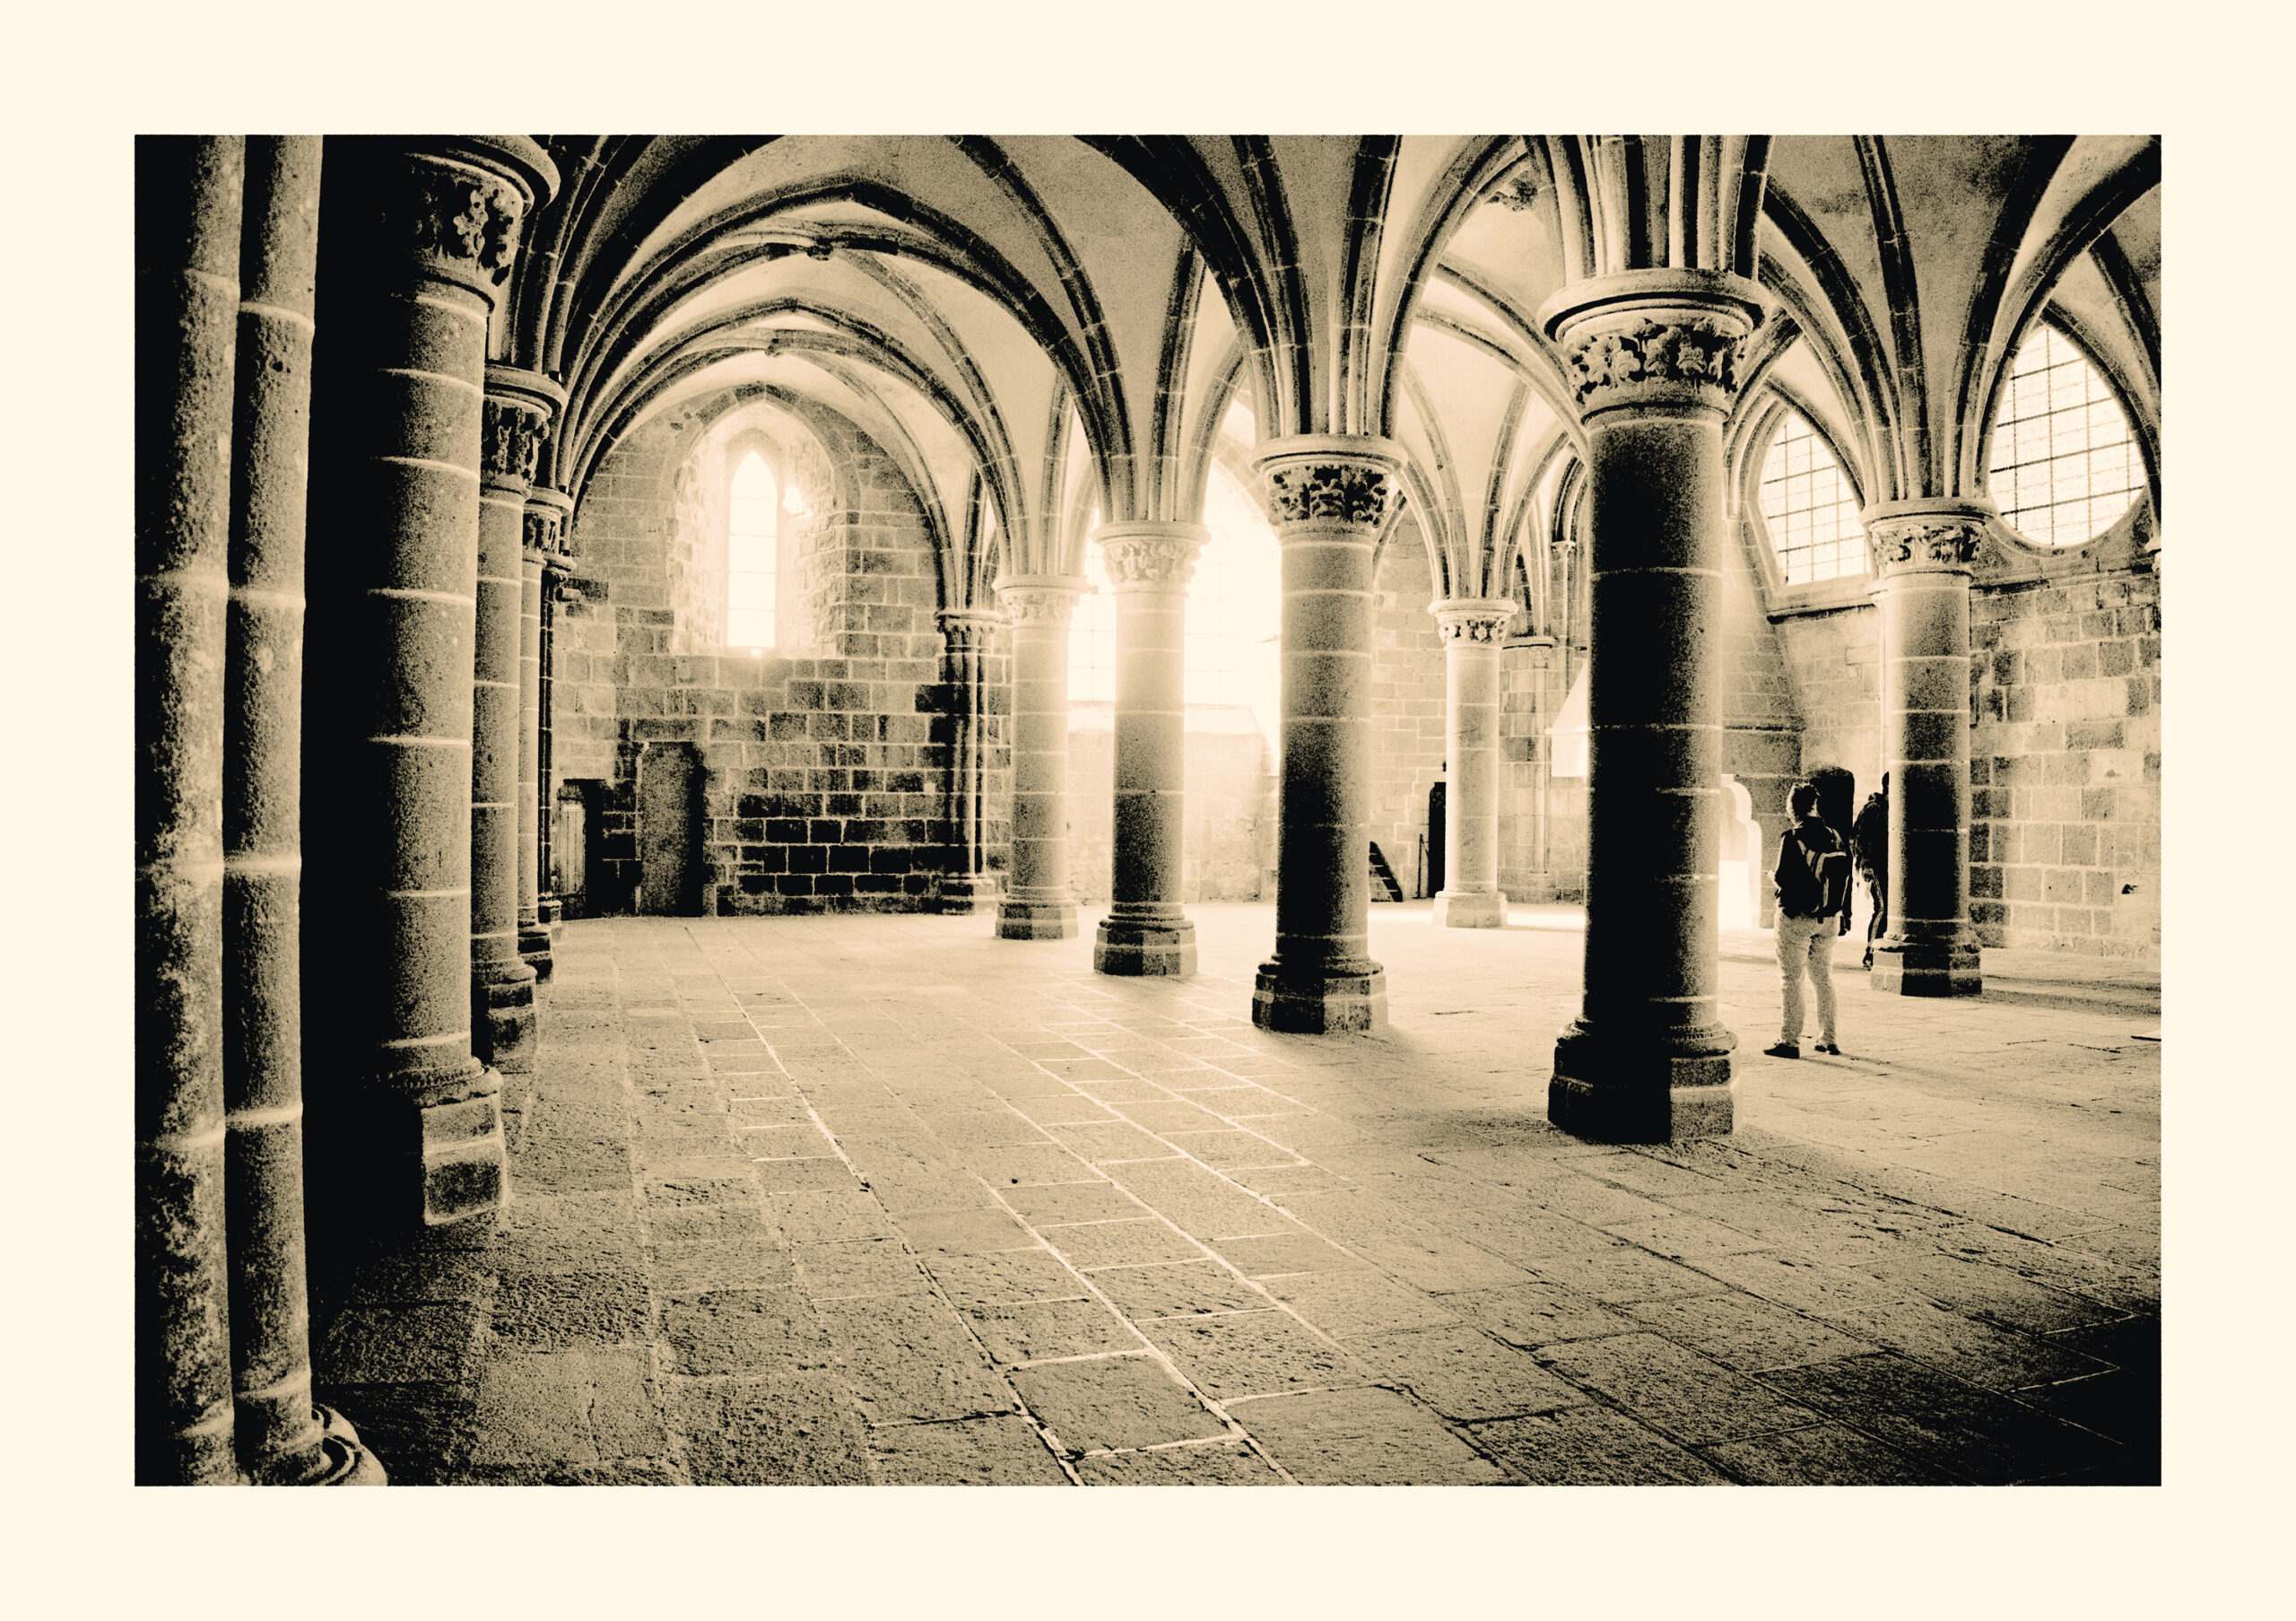
As in the last episodes I continue to give you access to the image I use for demonstrating. This time it is an image I brought back from a vacation in the northern part of France. I found this while visiting Mont St. Michel. It is a rather dark but contrasty image – because the situation there was rather dark but contrasty with very bright highlights. But I developed it less contrasty than I normally do. Here you can download the full size image: Click!
We start again with a reset of our parameters, adding a border and some coloring using the preset I provided last time which you hopefully still have stored in your presets.
Give it a try. It might come out a little bit dark, so you might want to set tray movement to 80 and also increase exposure to 1. What you will get is something like this:
Now, as already said, in this episode we are going to have a closer look to the sulfite and bromide parameters. First of all these parameters describe a ratio. If you set them to 2 and 1 is the same as setting them to 4 and 2 or 1 and 0.5. Last two episodes we had the sulfite being at 2 and the bromide at 1. Increasing the bromide will cause the following:
- Give the image more contrast
- Make the image grainier or make the grain more pronounced. It kind of sharpens the grain
- Increase the development time
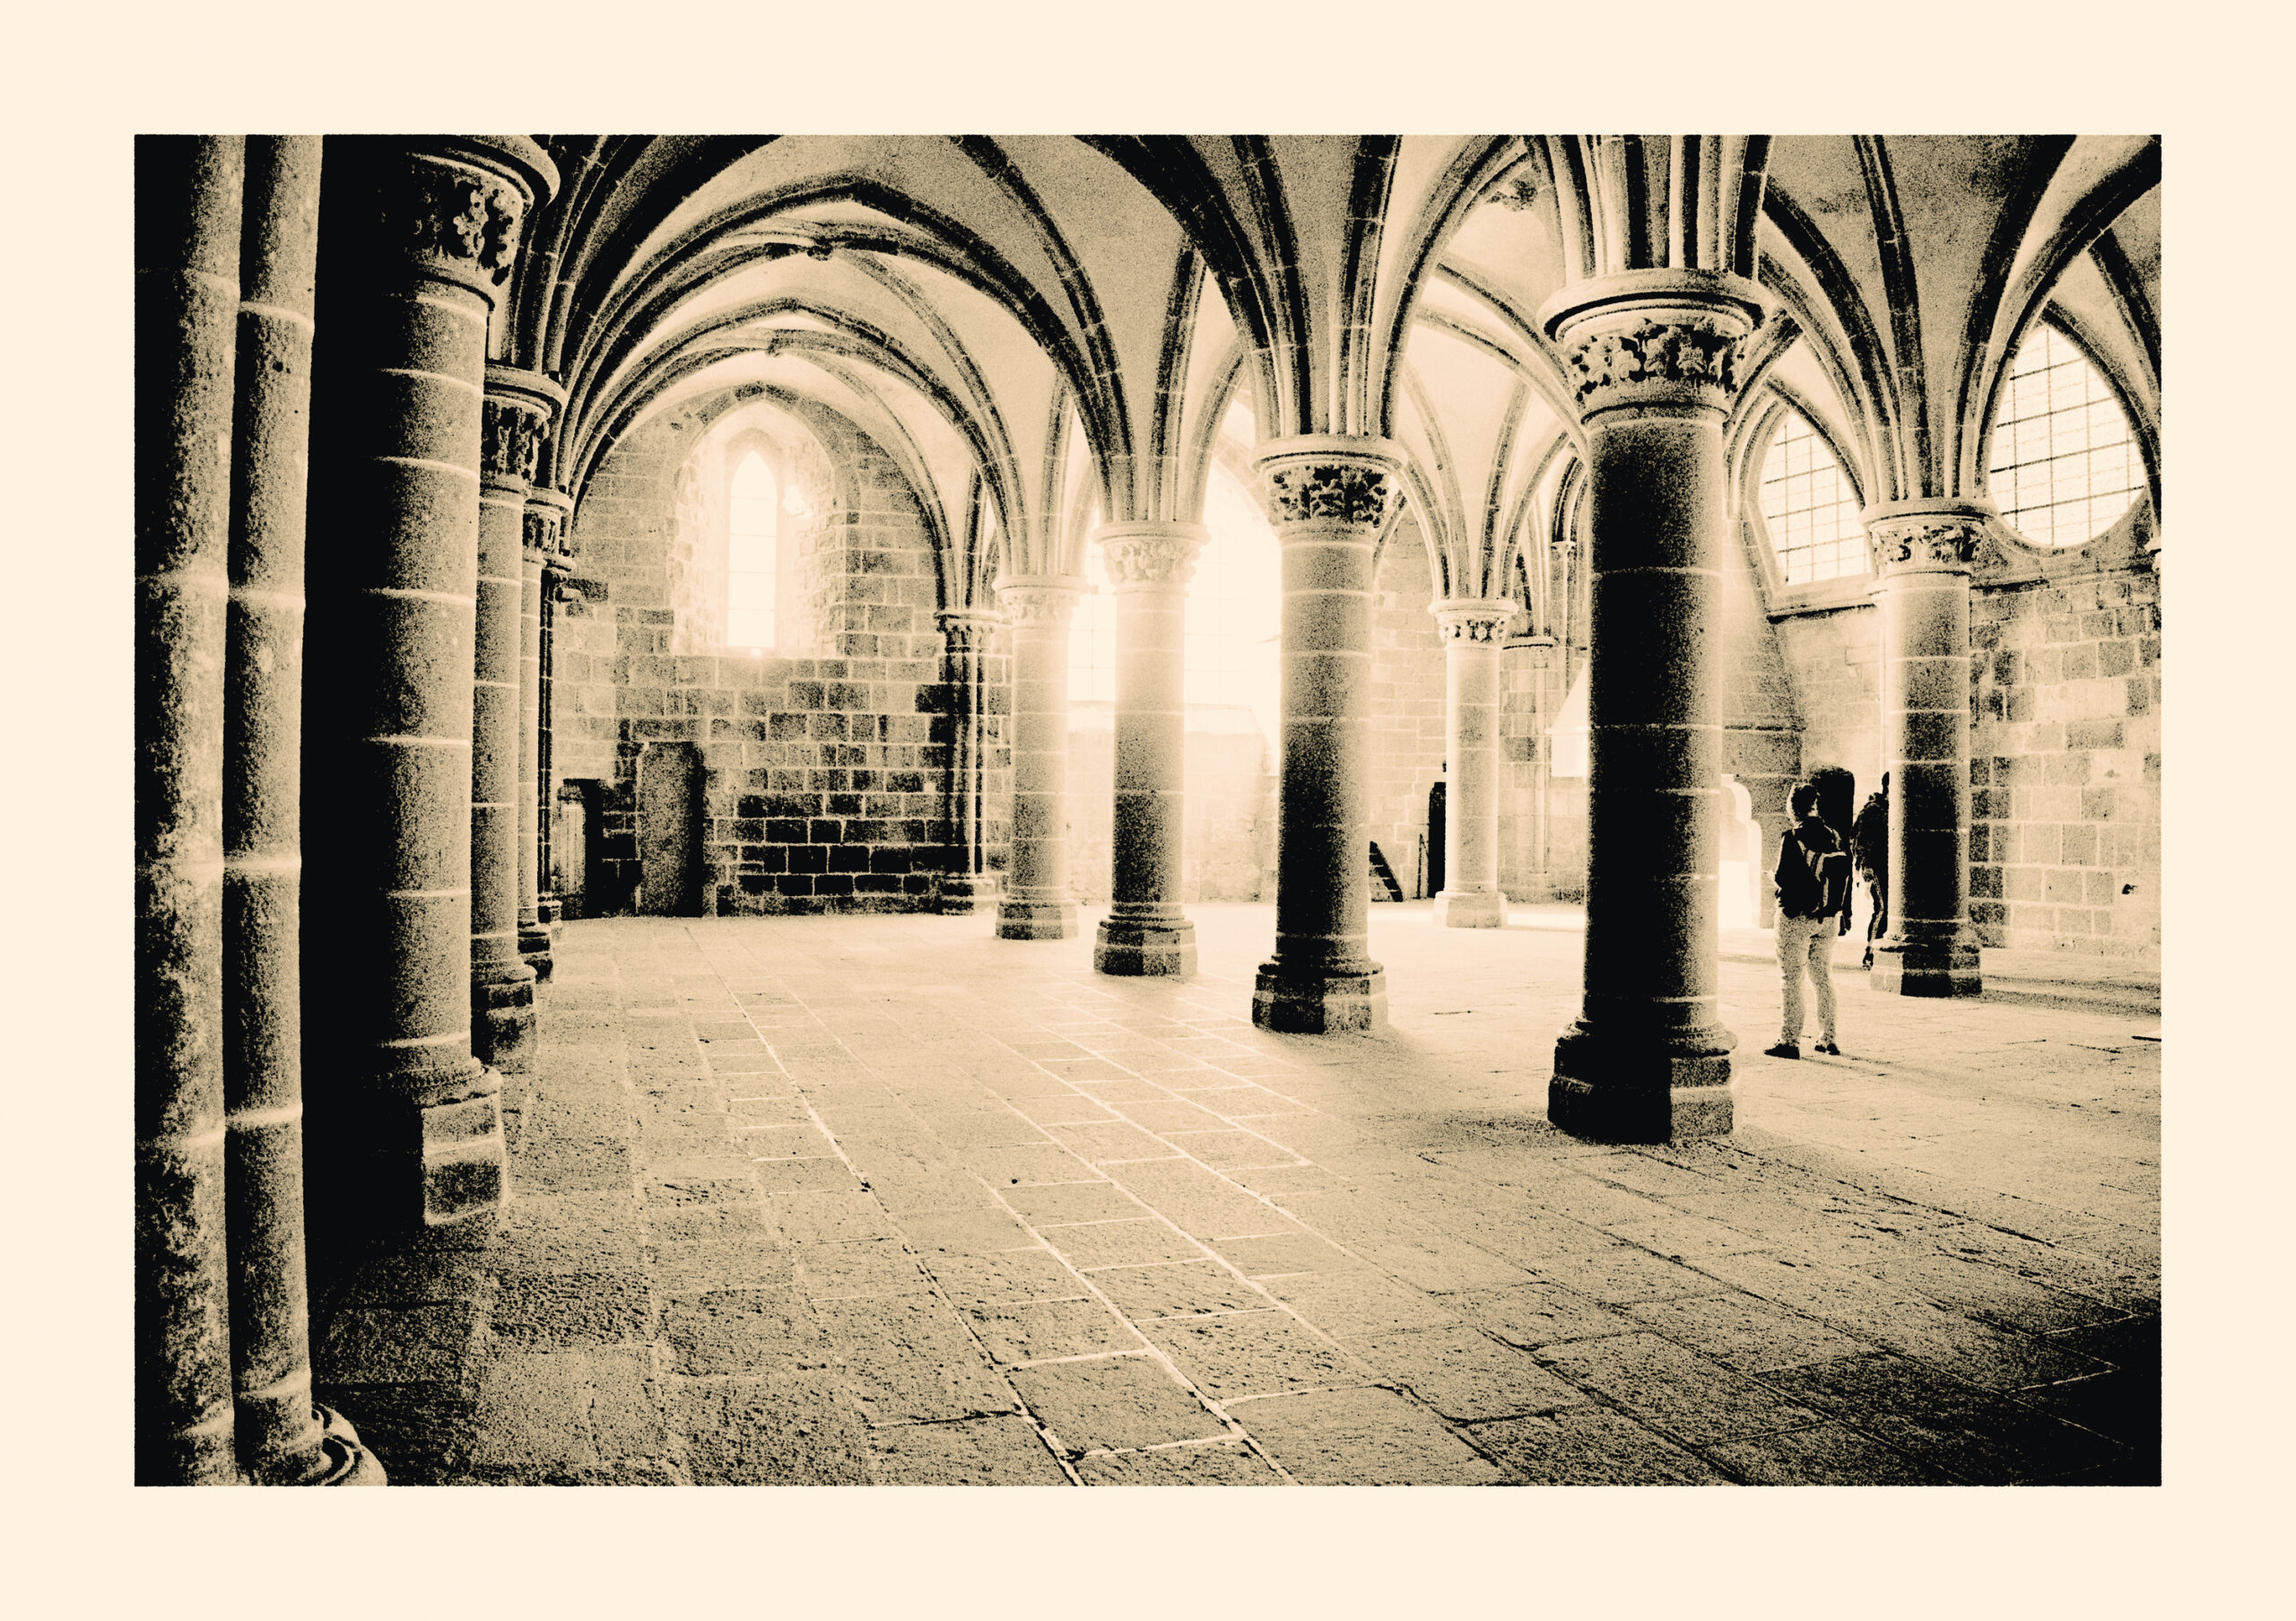
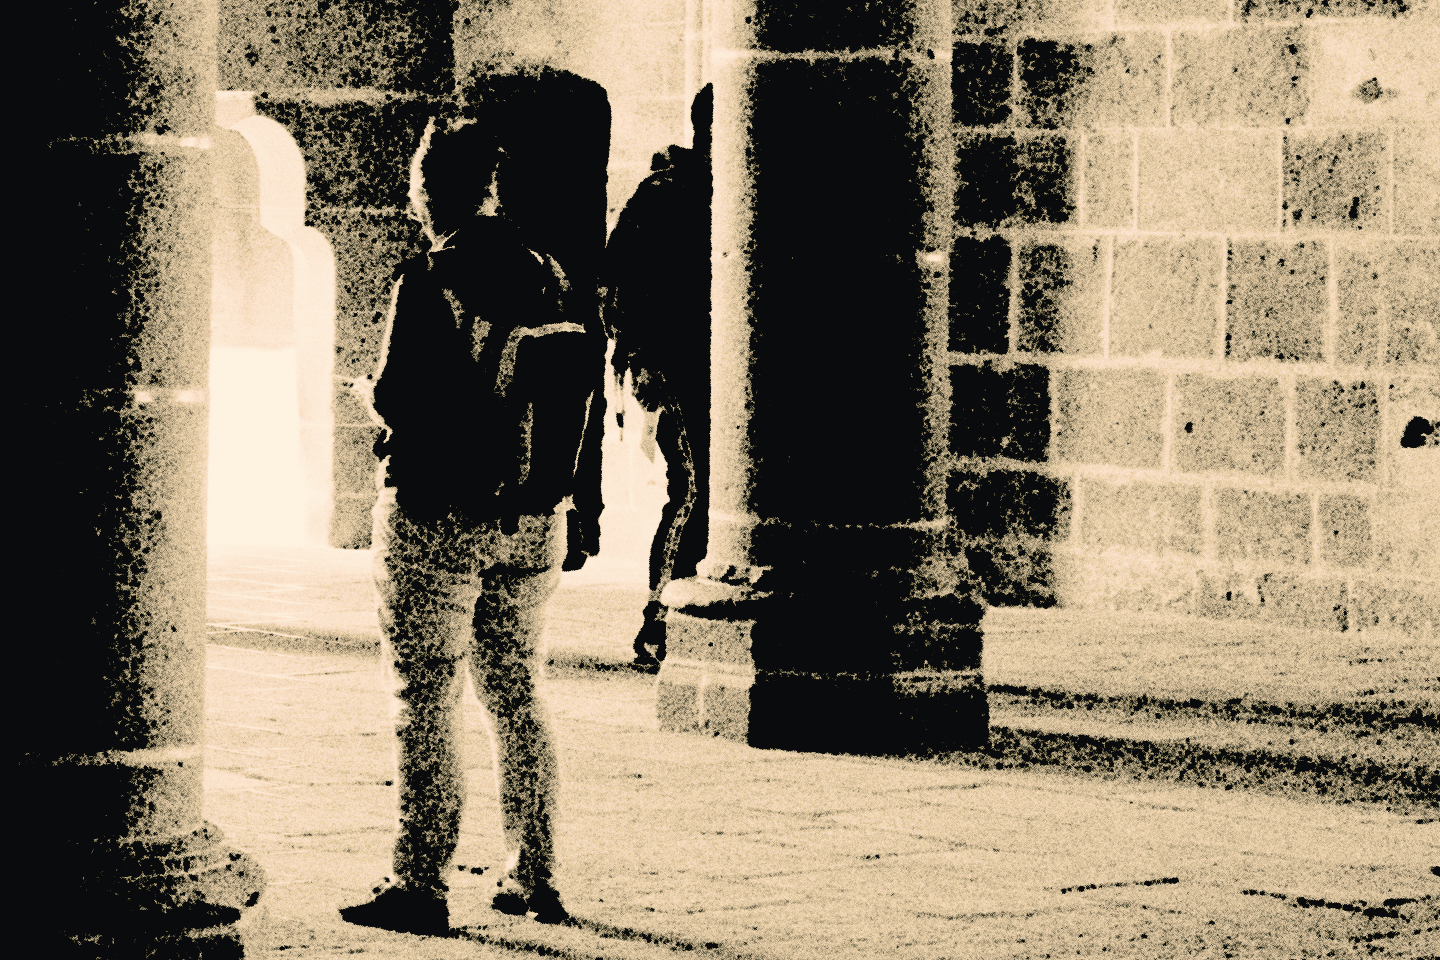
We want to increase bromide and therefore after resetting the parameters again set the bromide to 2 and the sulfite to 1. Looking at the above list we will need to work against some of the effects. Again we want to stay in the range of 100 for the development time. So decrease the dilution. Do your own tests, I already did and ended up with a dilution of 12. I increased the exposure to 2 to work against the increased contrast while I also decreased tray movement to 80. Exposure will bring down the highlights whereas tray movement will bring up the shadows. Give it a try and you will end up with an image similar to this one:
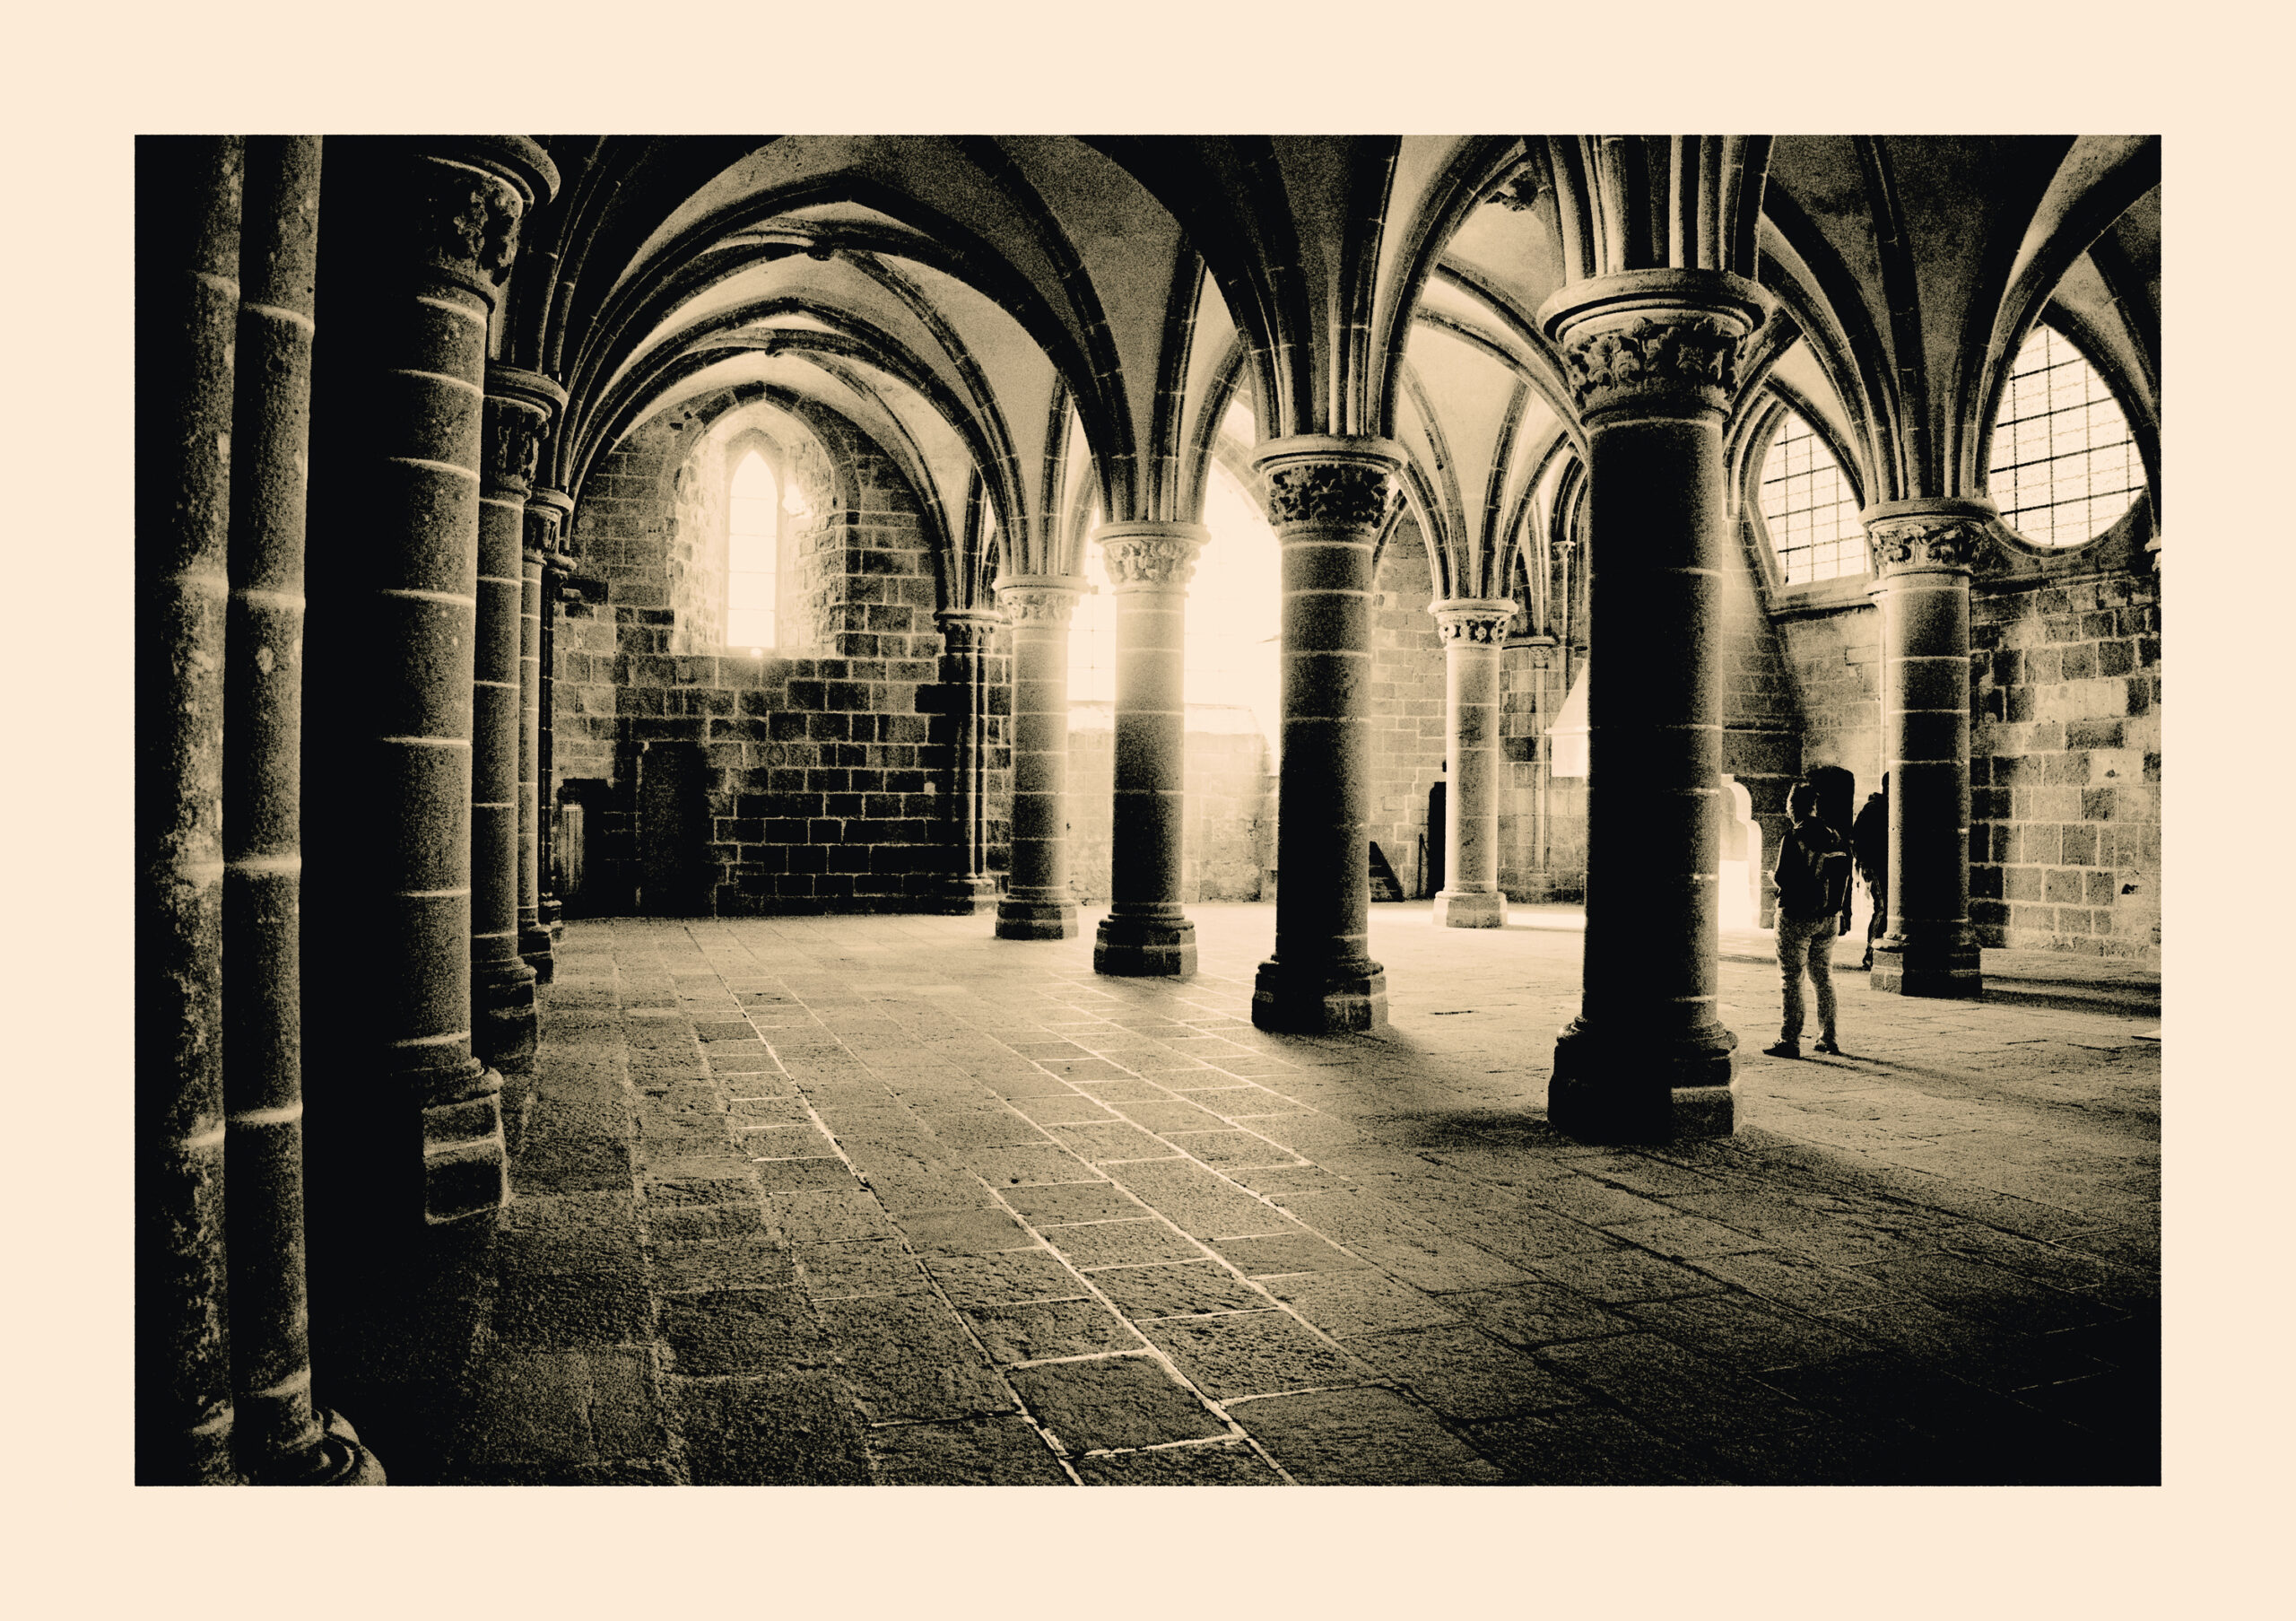
Looking at it I am a little bit disappointed about the mid-tones. I do want to increase mid-tone contrast. Therefore I set mid-tone gradient to 1.3 but then I also need to bring up the shadows a bit by setting tray movement to 75. What we get is this one:
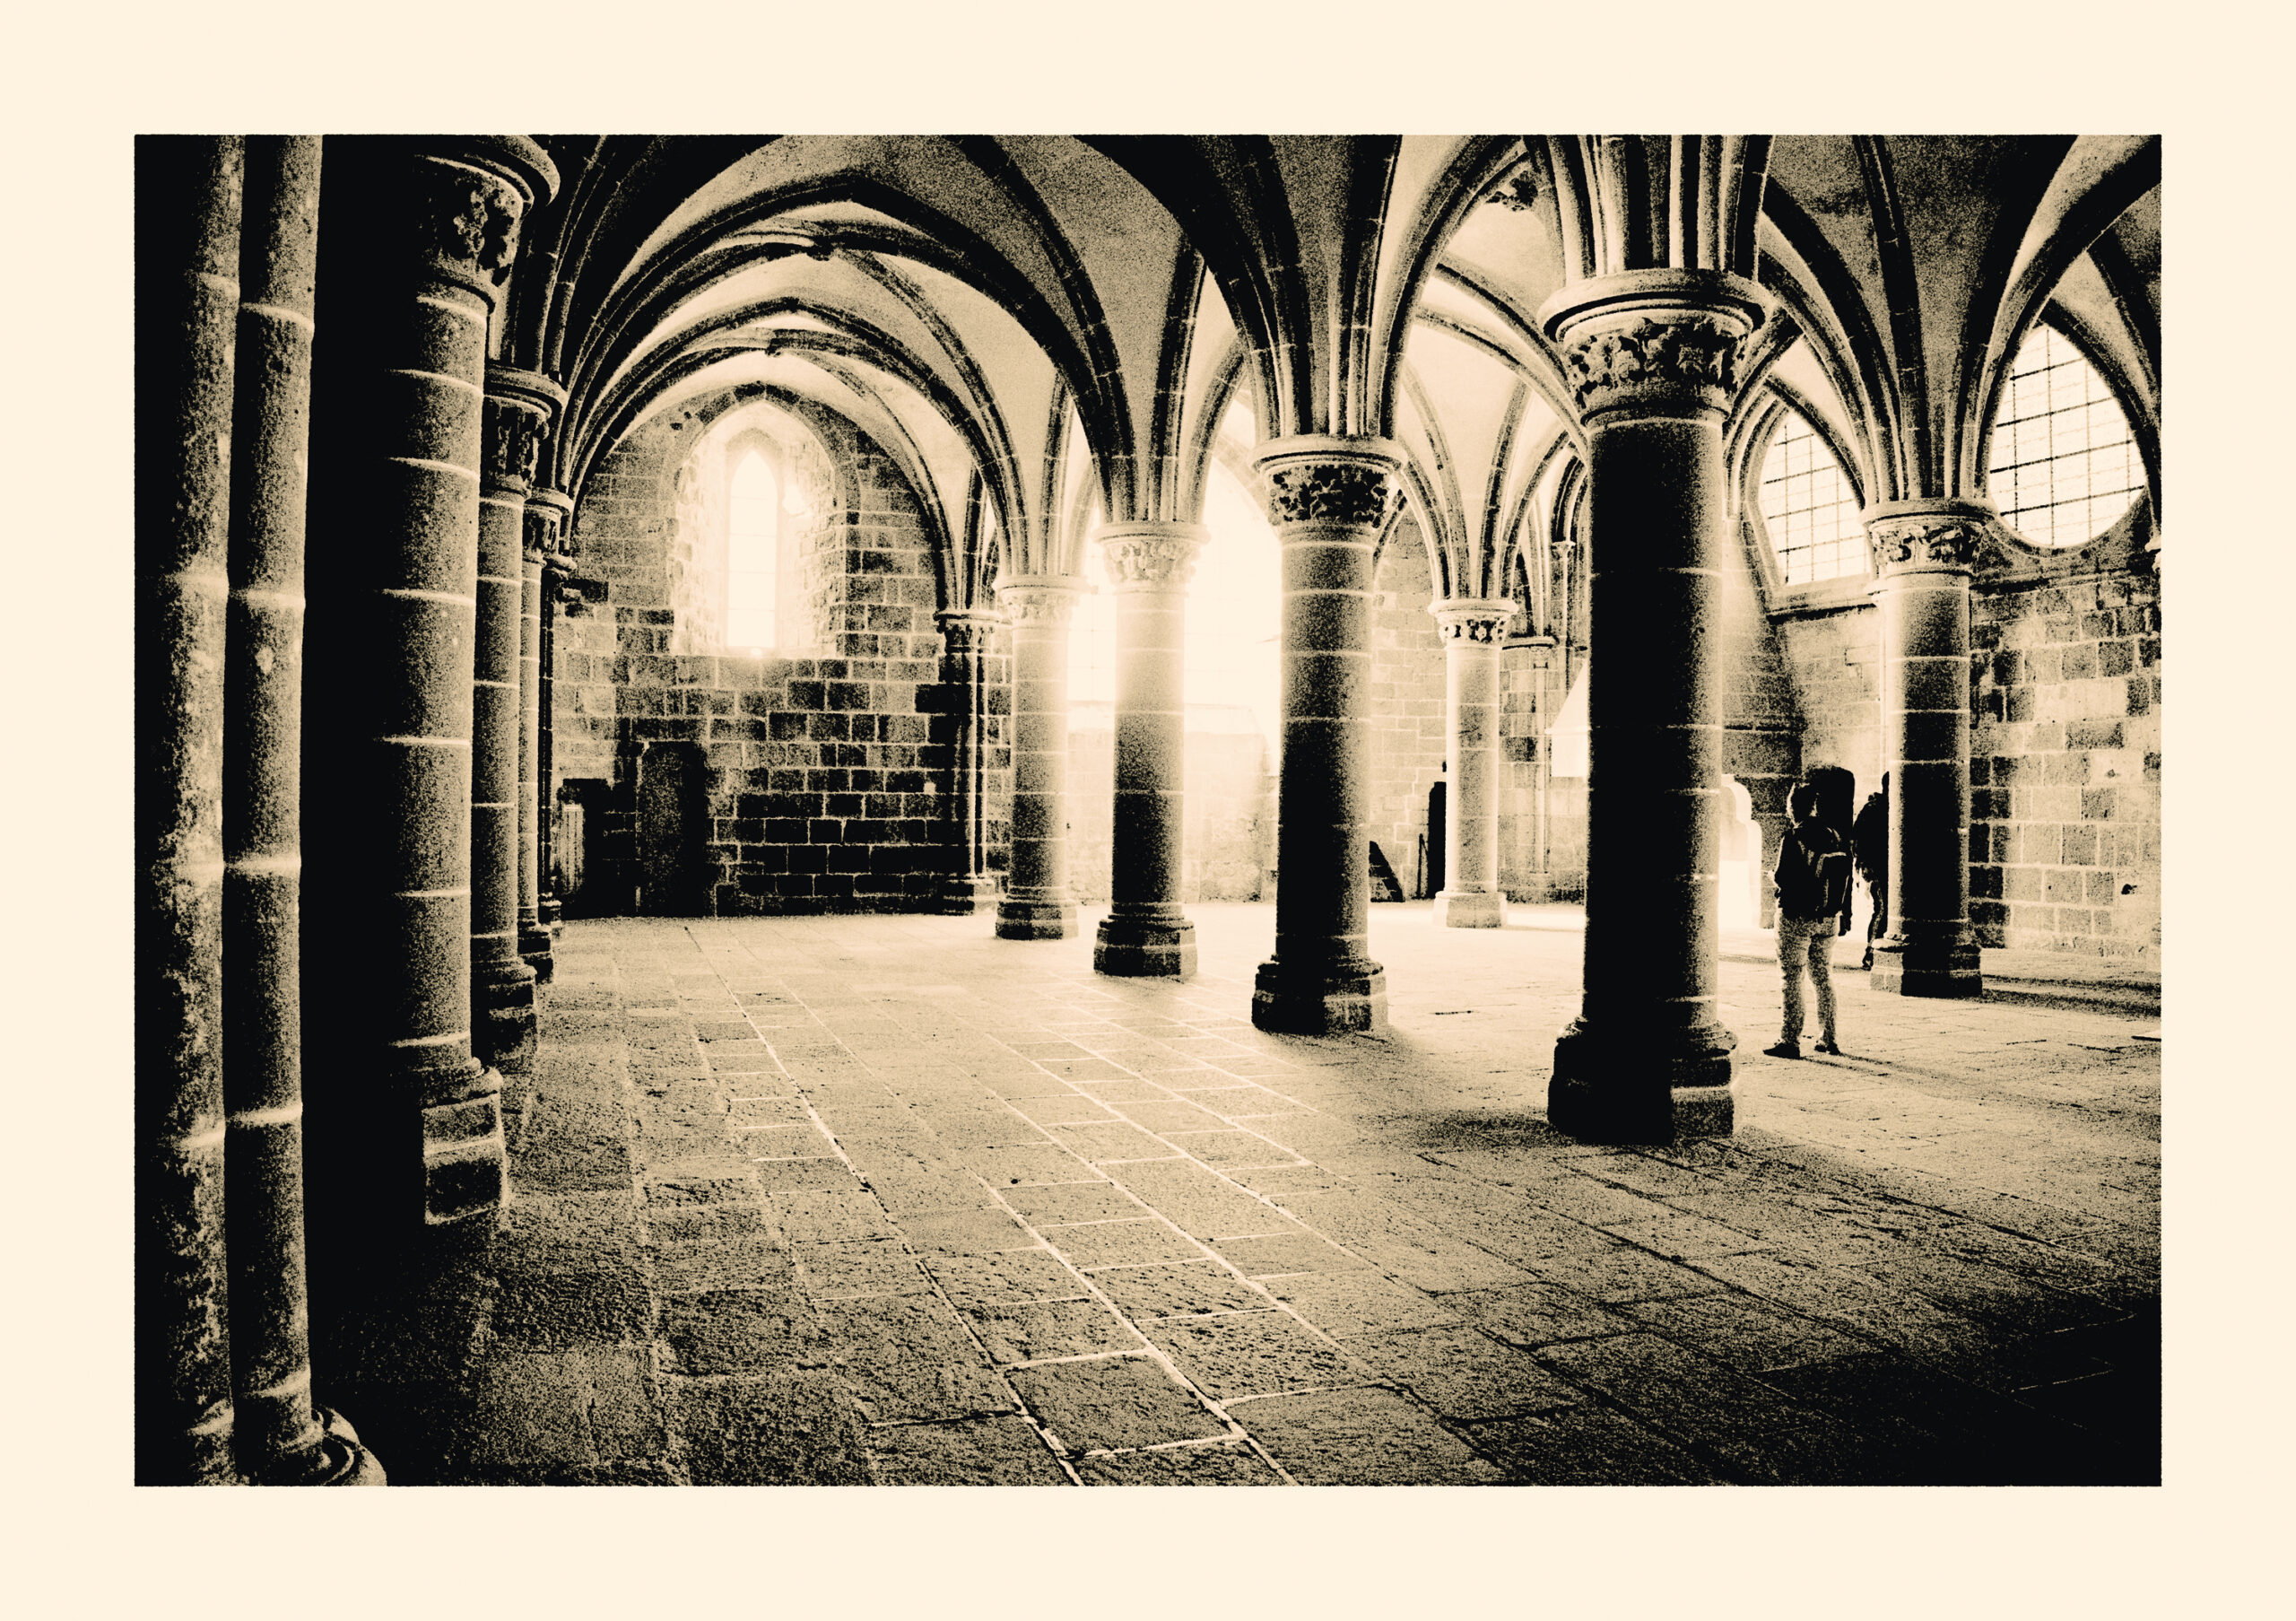
Ok, that looks better as we got a bit more live into the mid-tones, still keeping control over shadows and highlights. But we talked about grain. Let us have a look at some crops from the above image.
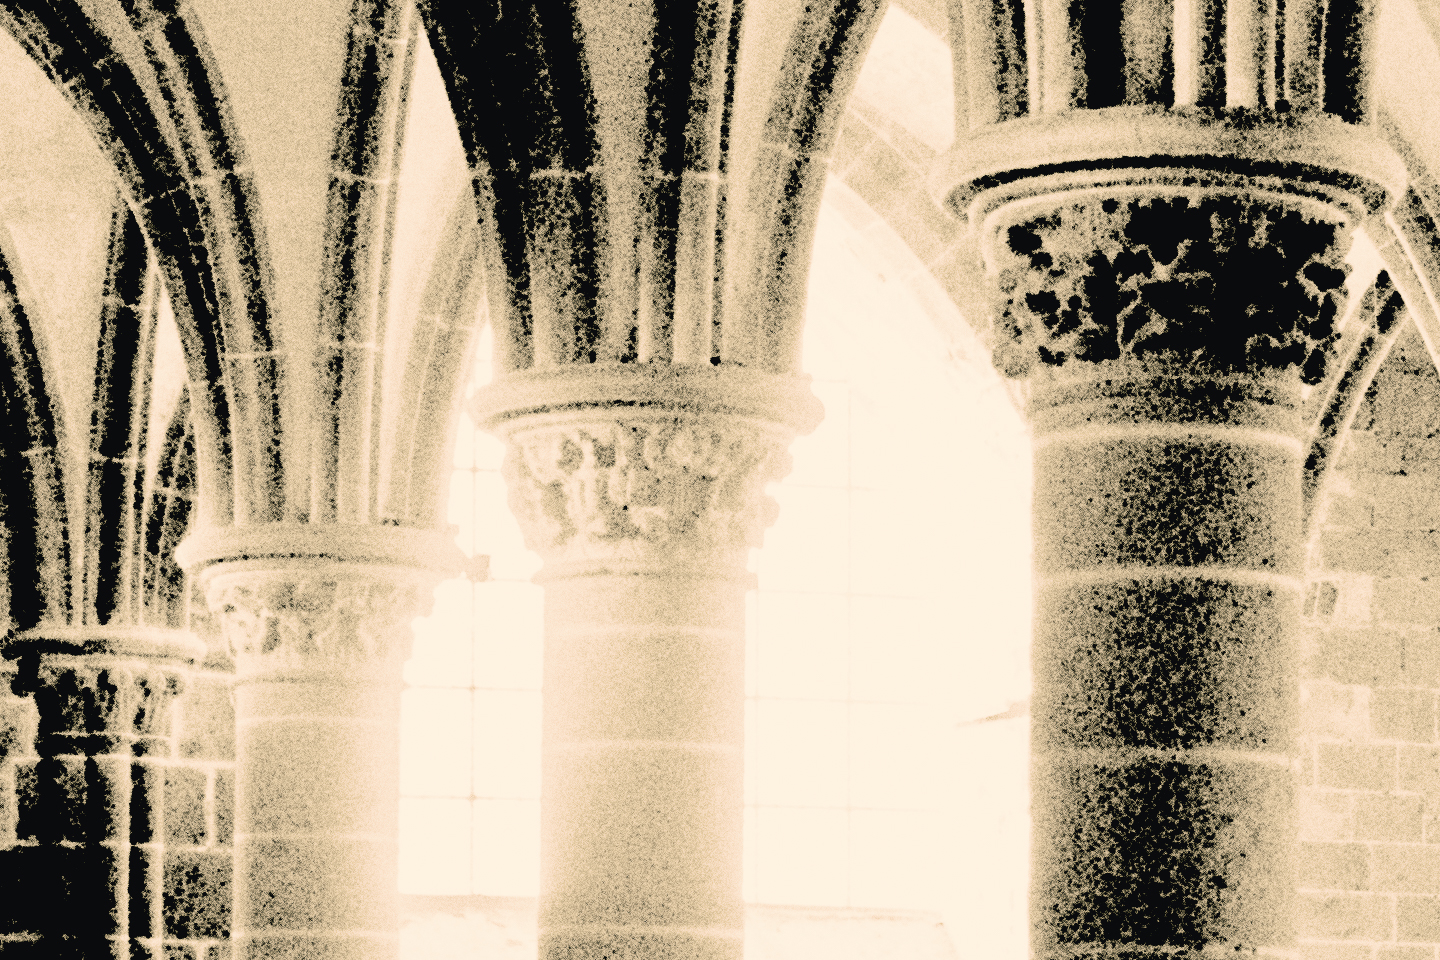
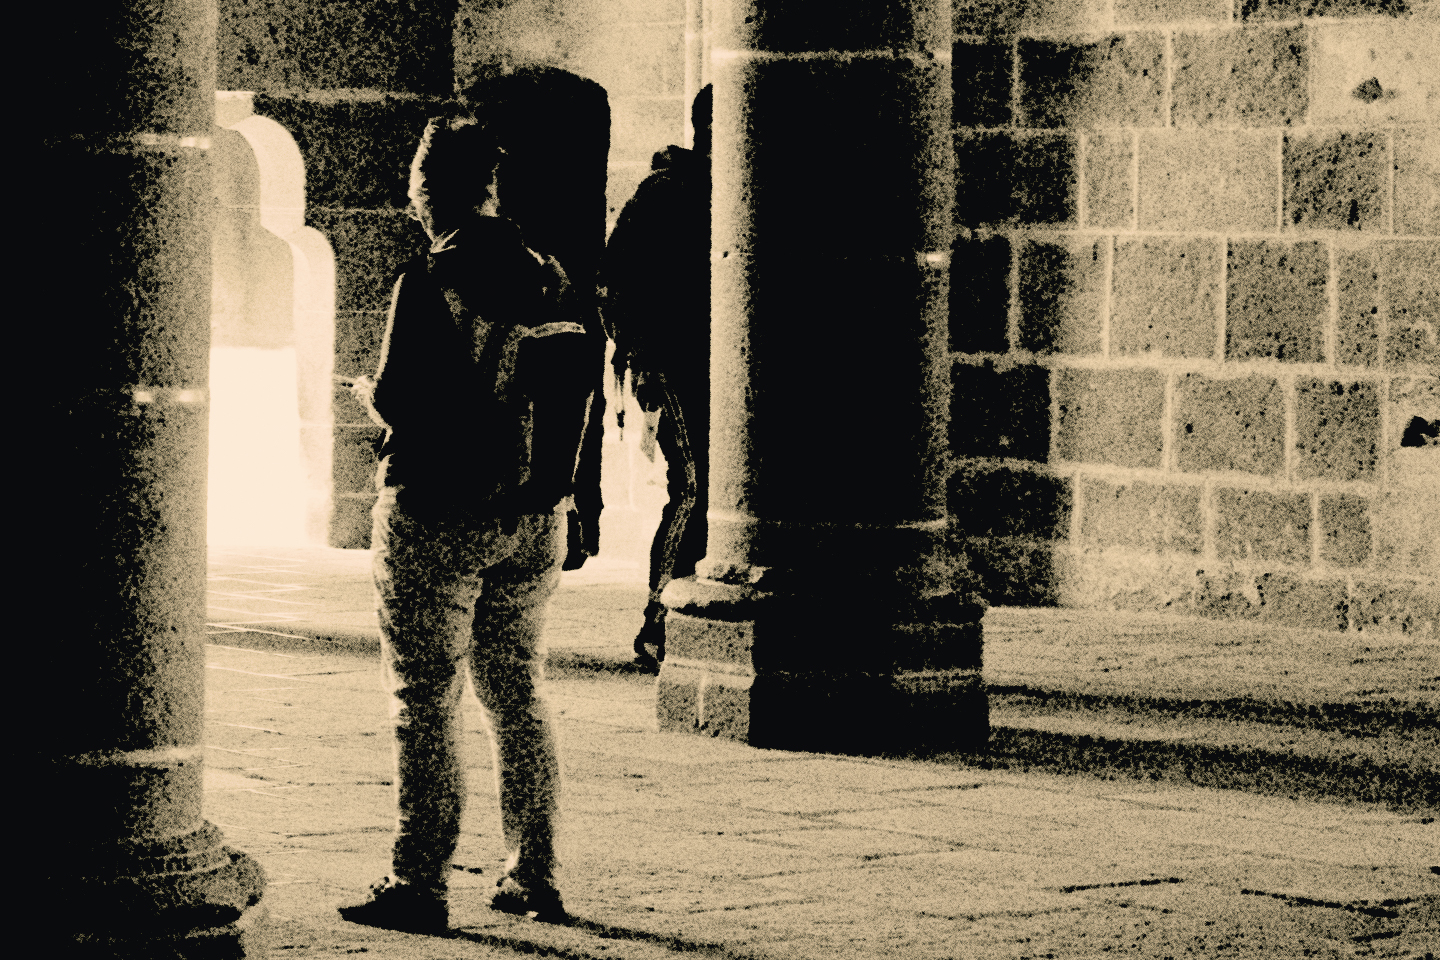
As you can see in the crops above, there is quite a bit of grain visible and it is also very coarse. There is a way to smoothen out the grain a bit by using parameter bromide increase. This is the percentage that the amount of bromide increases from step to step. The nice thing: you can set it to a negative number which decreases bromide. So let us see what happens to the grain once we decrease the bromide in the process. Real lith printers: Do not take it too serious.
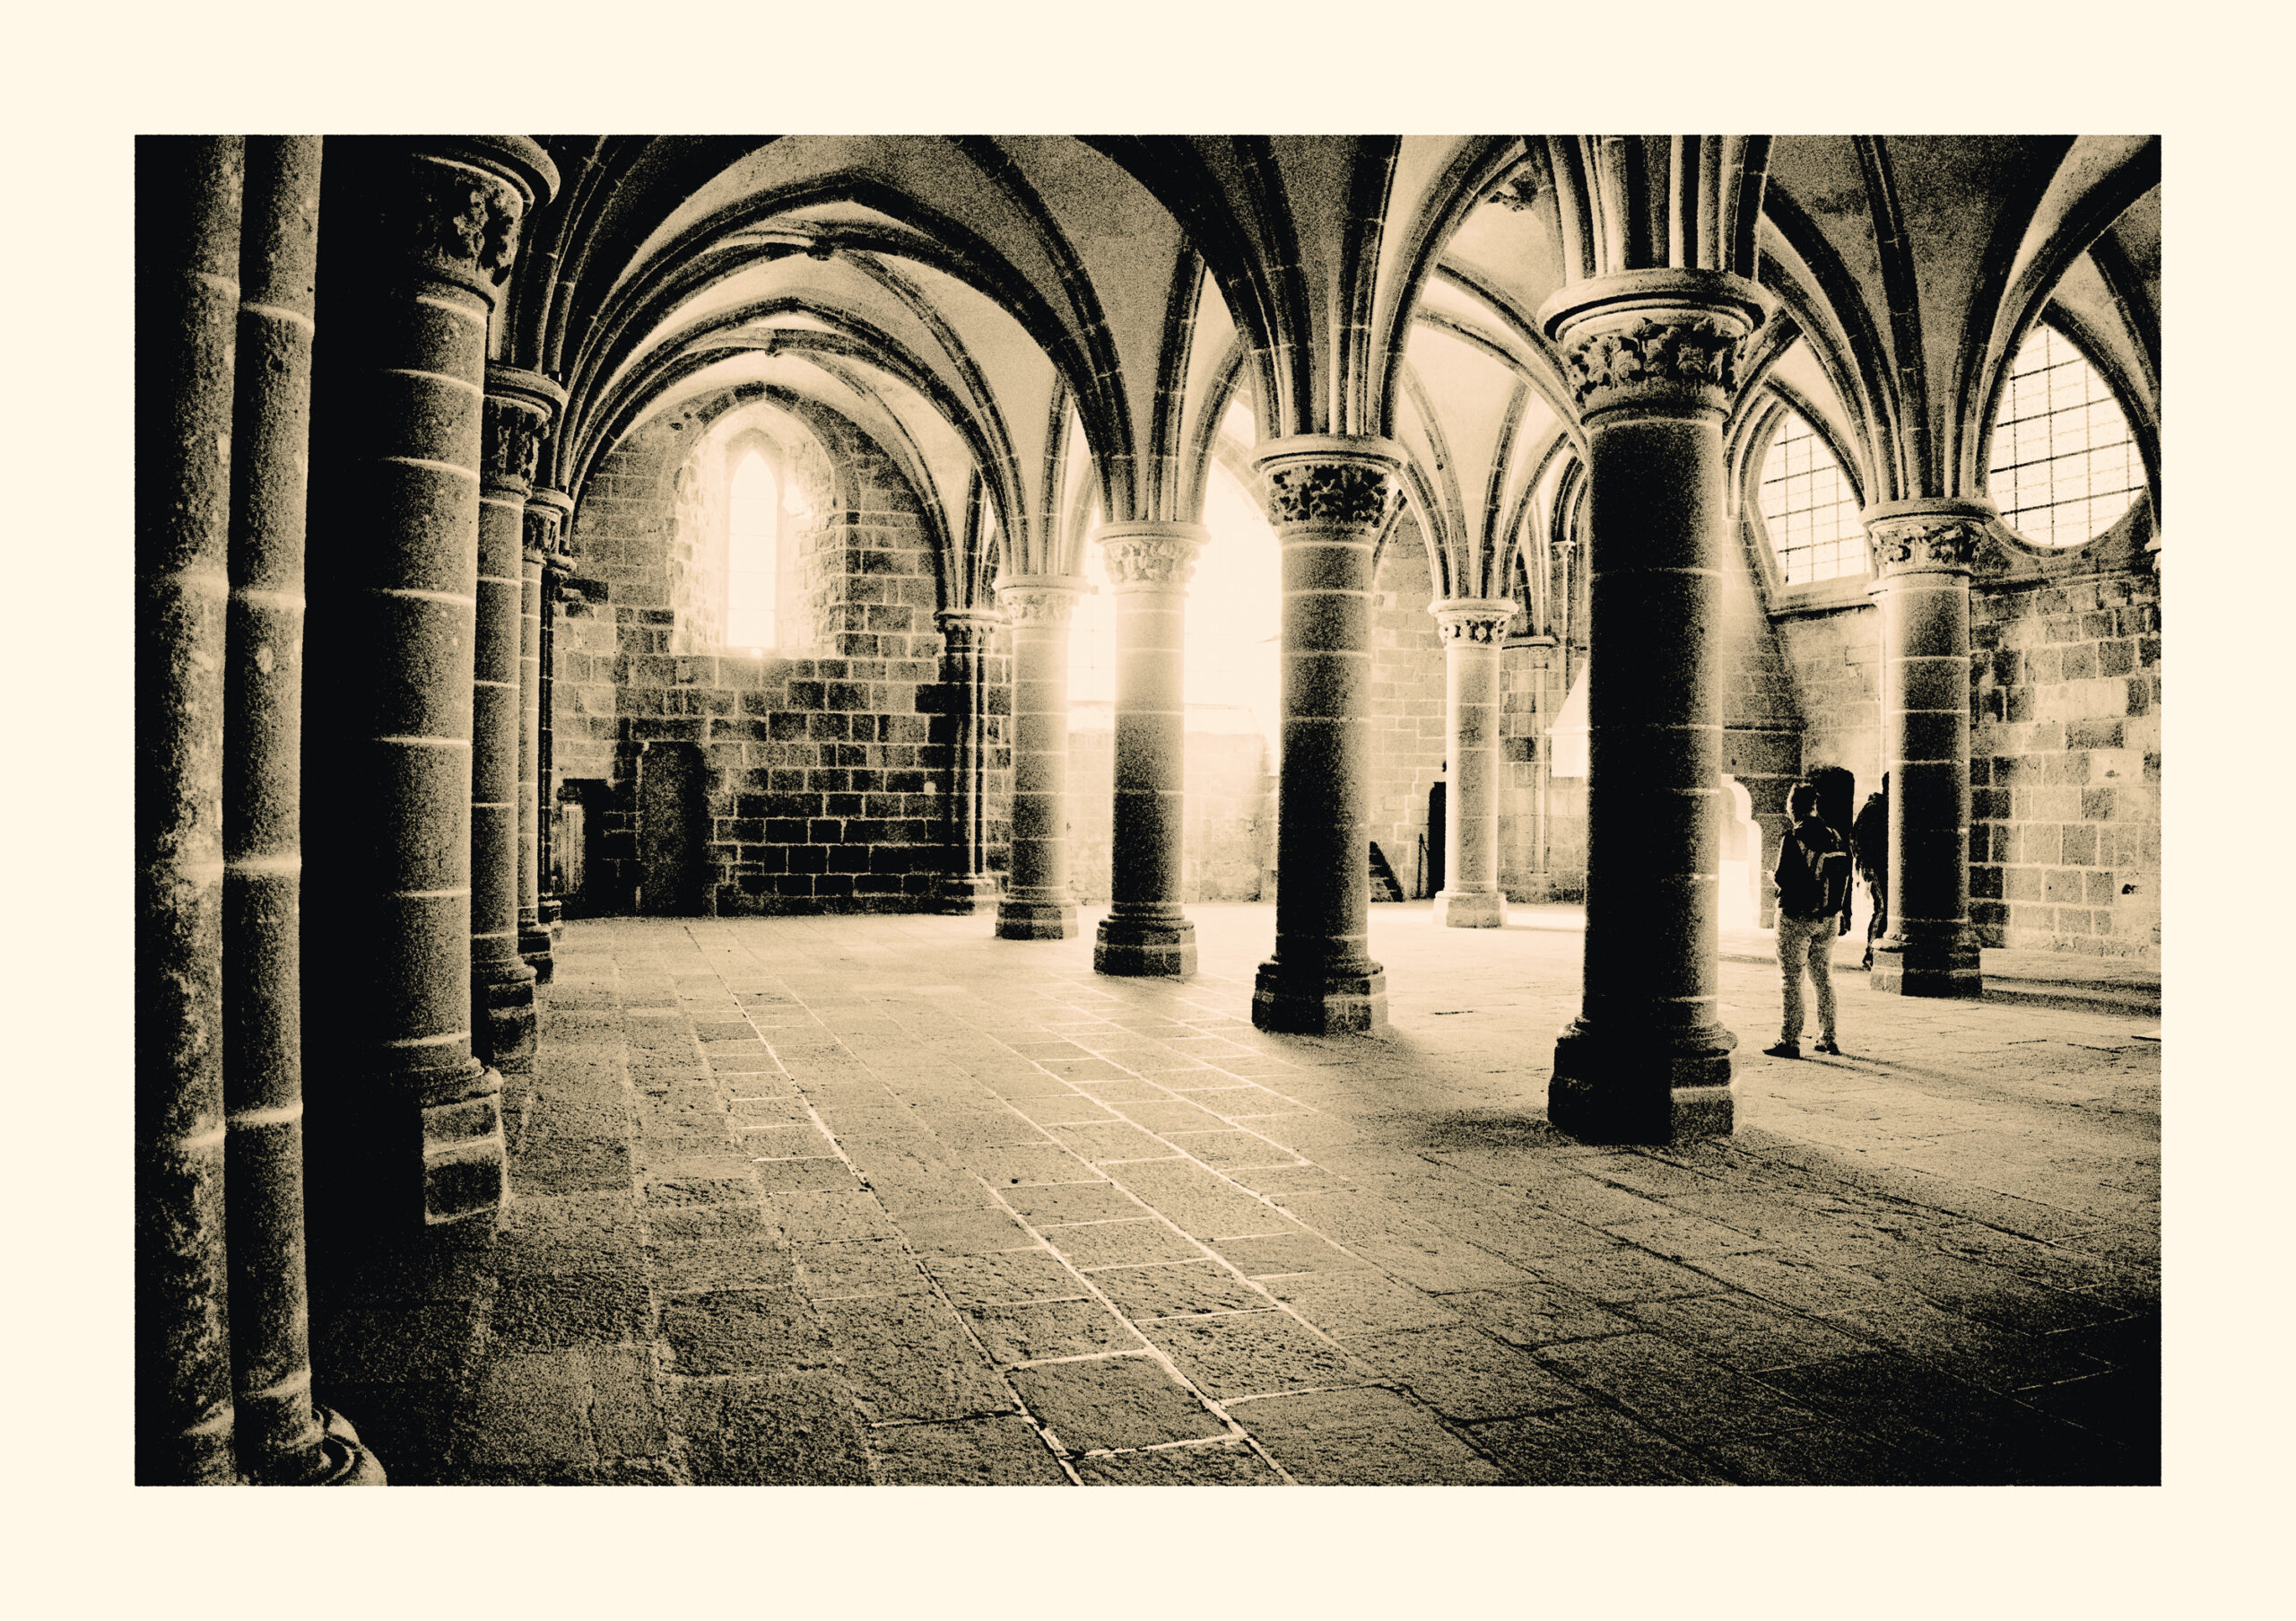
So let us try to smoothen out the grain a bit. We leave everything the same but set bromide increase to -2 and, you remember, more bromide increases the development time. Now we lower the bromide during the processing which would decrease the development time. We want to leave it a 100 for the development time and will achieve this by increasing the dilution again and set it to 16. But we might also get loose on our mid-tones with this. So give them another boost and set the mid-tone gradient to 1.5. Here is what we get:
But we also should have a look what happened to the grain. Here are again two crops:

So you see, the grain appears smoother compared to the above crops. You will have to play around a bit with these settings to get a better feel for them.
Now to come to the end of this episode I went with increasing the bromide even more. I went up with it to 8. But also adjusted the bromide increase by decreasing the value to -3. In addition to that I used a dilution of 12. And since the borders in the images above get quite a bit of development I deselected expose image border in the image adjustments. So here is the final image of this episode:
Hope it was all fun for you. Next time we are going to examine what happens if we go into the other direction with the sulfite/bromide settings.