This post is about a new streaking module coming with DigitalLith version 24.0. It is a streaking module which adds a kind of a cloudy effect and very well suited to replace the blotchy streaking type.
I had something like that in mind for quite some time. But being a bit lazy I just went ahead and placed a prompt on ChatGPT about streaking in images and after a short “conversation” with it, it formed the following sentence “To simulate a cloud pattern, you can use Perlin noise to generate a smooth and natural-looking random pattern.” That was the key word I was looking for: Perlin Noise. With that I was able to make it on my own and come up with a streaking module using Perlin Noise with a parametrization suitable for use in DigitalLith.
That was early in December 2023 and I was able to get it in right before I released version 24.0 of DigitalLith. Usually I use new features for some time until I release them, but with cloudy streaking – given that I only want to release one version per year – I decided not to wait another year until rolling it out.
The parametrization of the cloudy streaking module is simpler than e.g. Blotchy or Bent Area streaking. You just define a strength, a vertical and horizontal expansion and a seed which lets you decide if you want to use the same pattern for multiple developments (for example if you want to have the same pattern in the developed image that you also had in the test development). If you give a -1 this means that you get different patterns for each development.
Of course there are the usual basic parameters which let you define if you want to have the effect more prominent in the highlights or in the shadows or if you do not want to take the negative density into account.
As in the other episodes of the Case Studies Series, you can download the test image to follow the steps in this post: Click! and I also give you a preset which already has the basic coloring and development parameters.: Click!
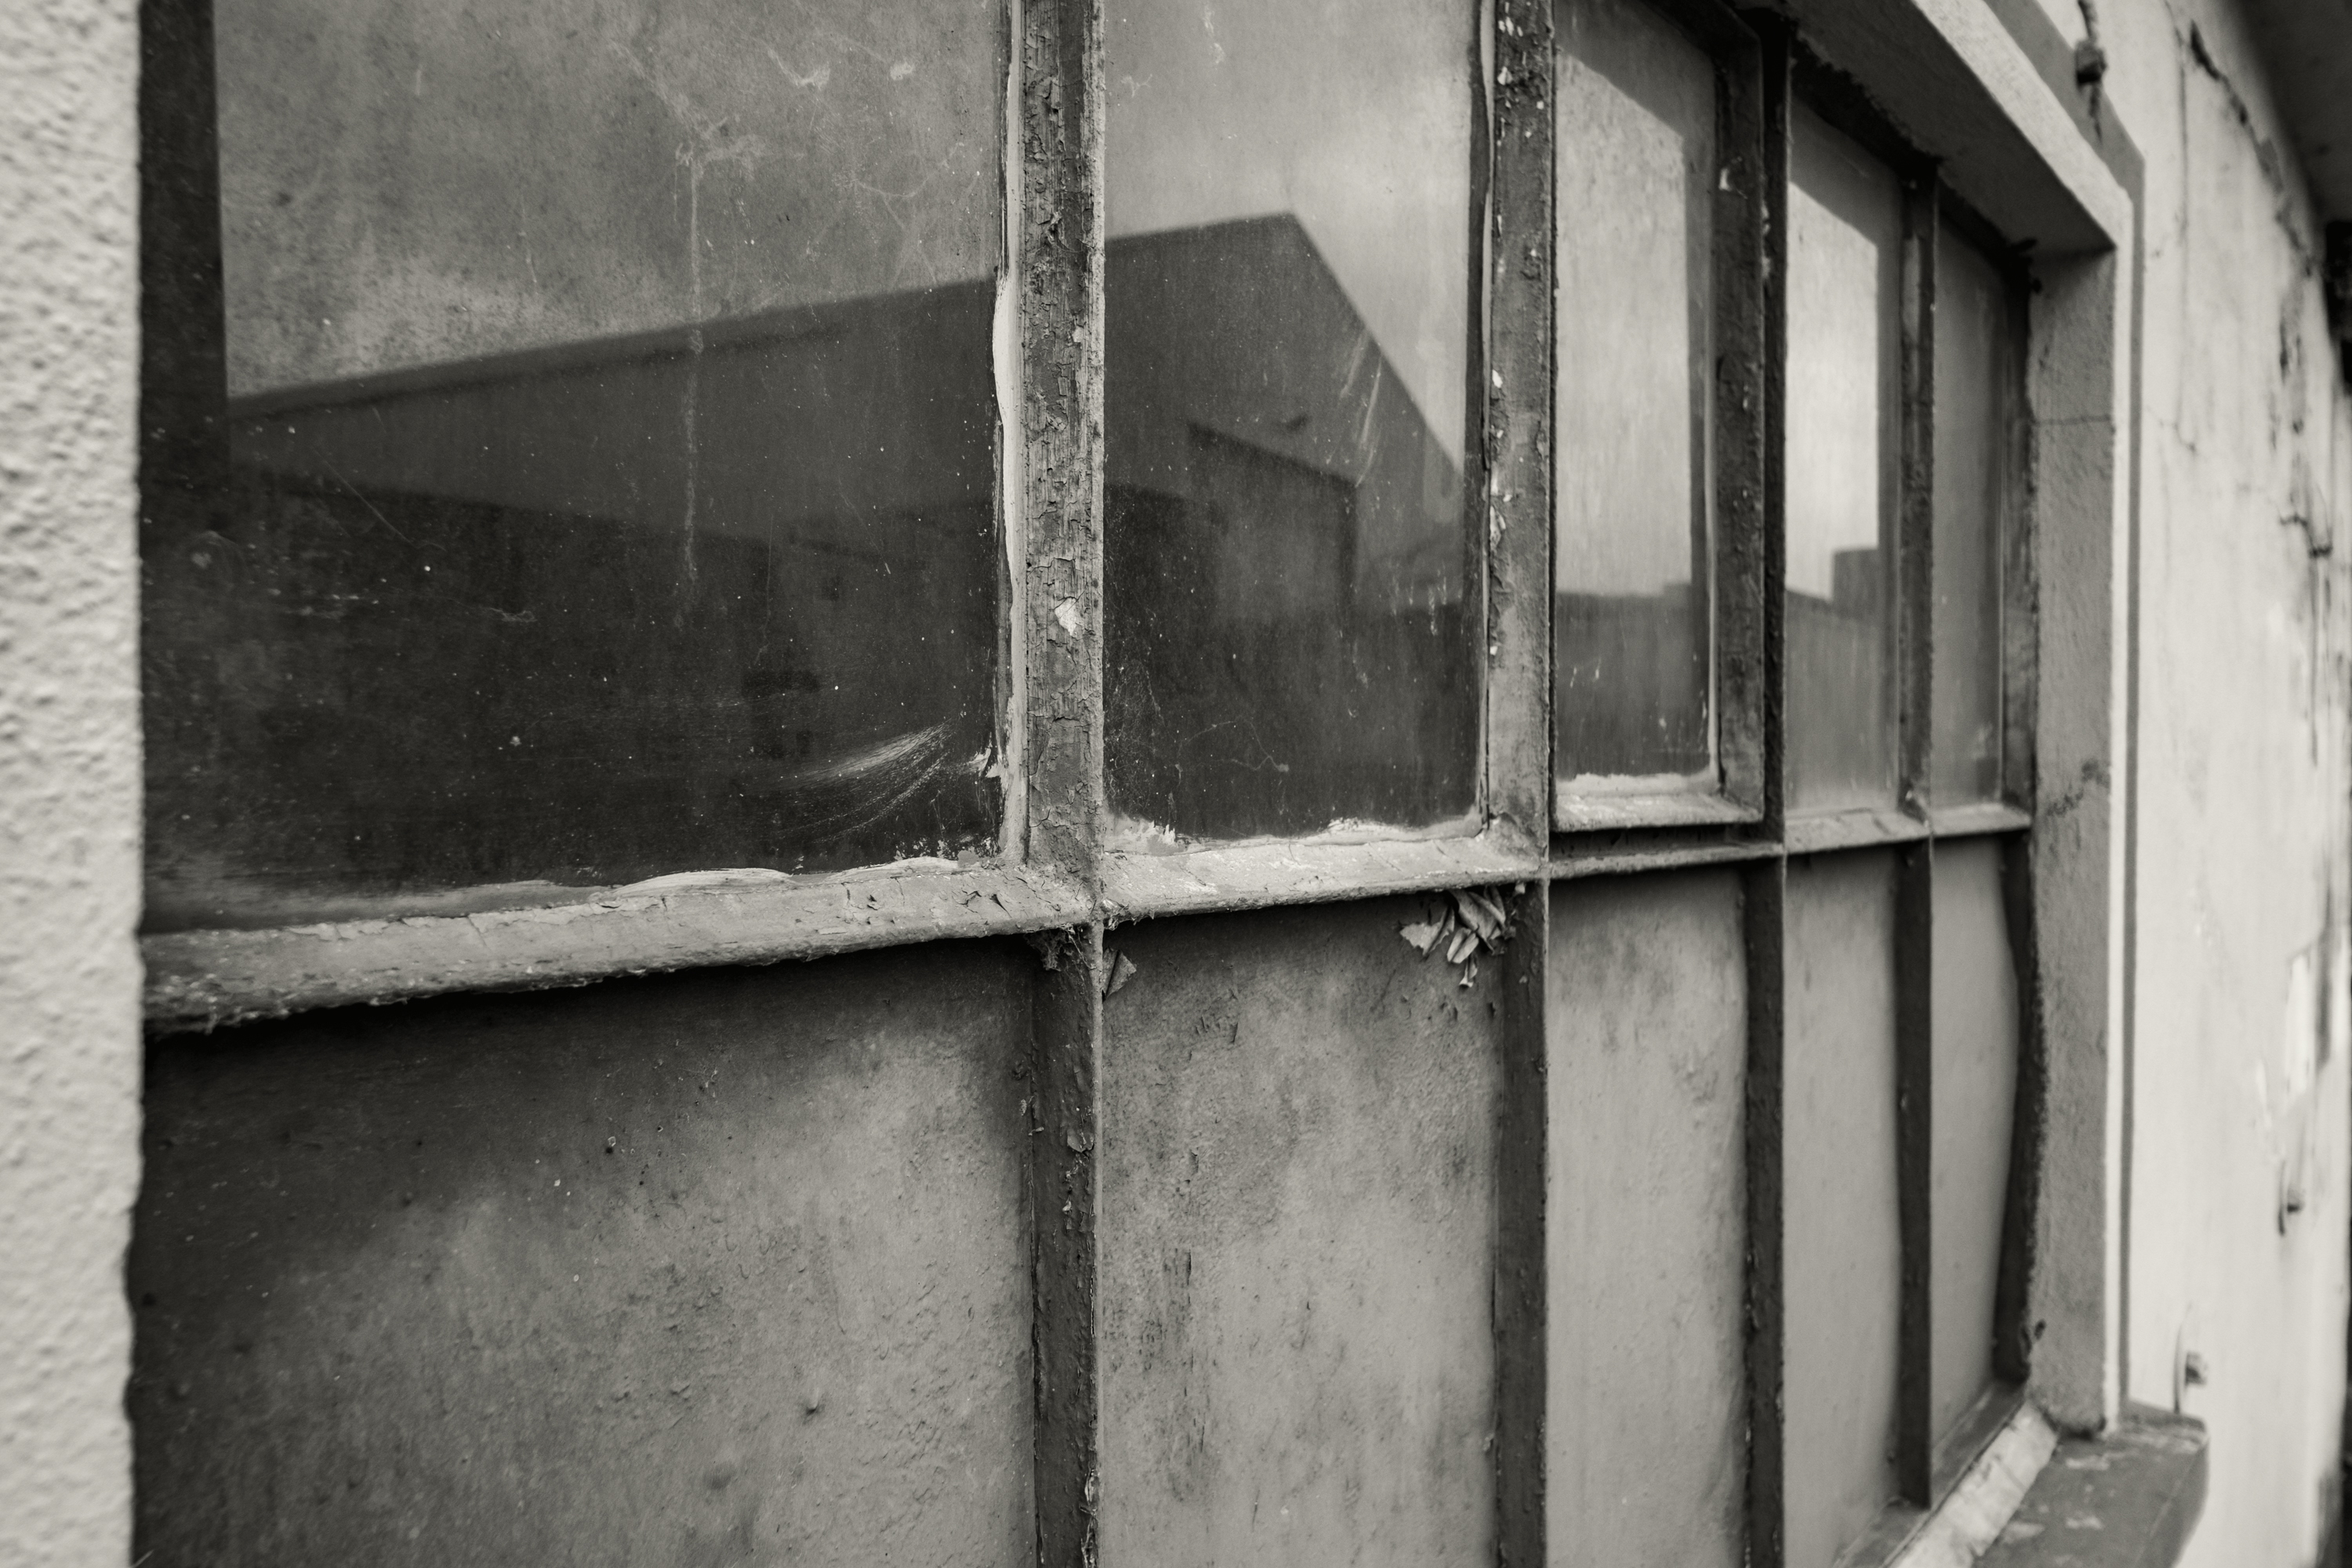
Here is the image using the above preset and without any streaking applied.
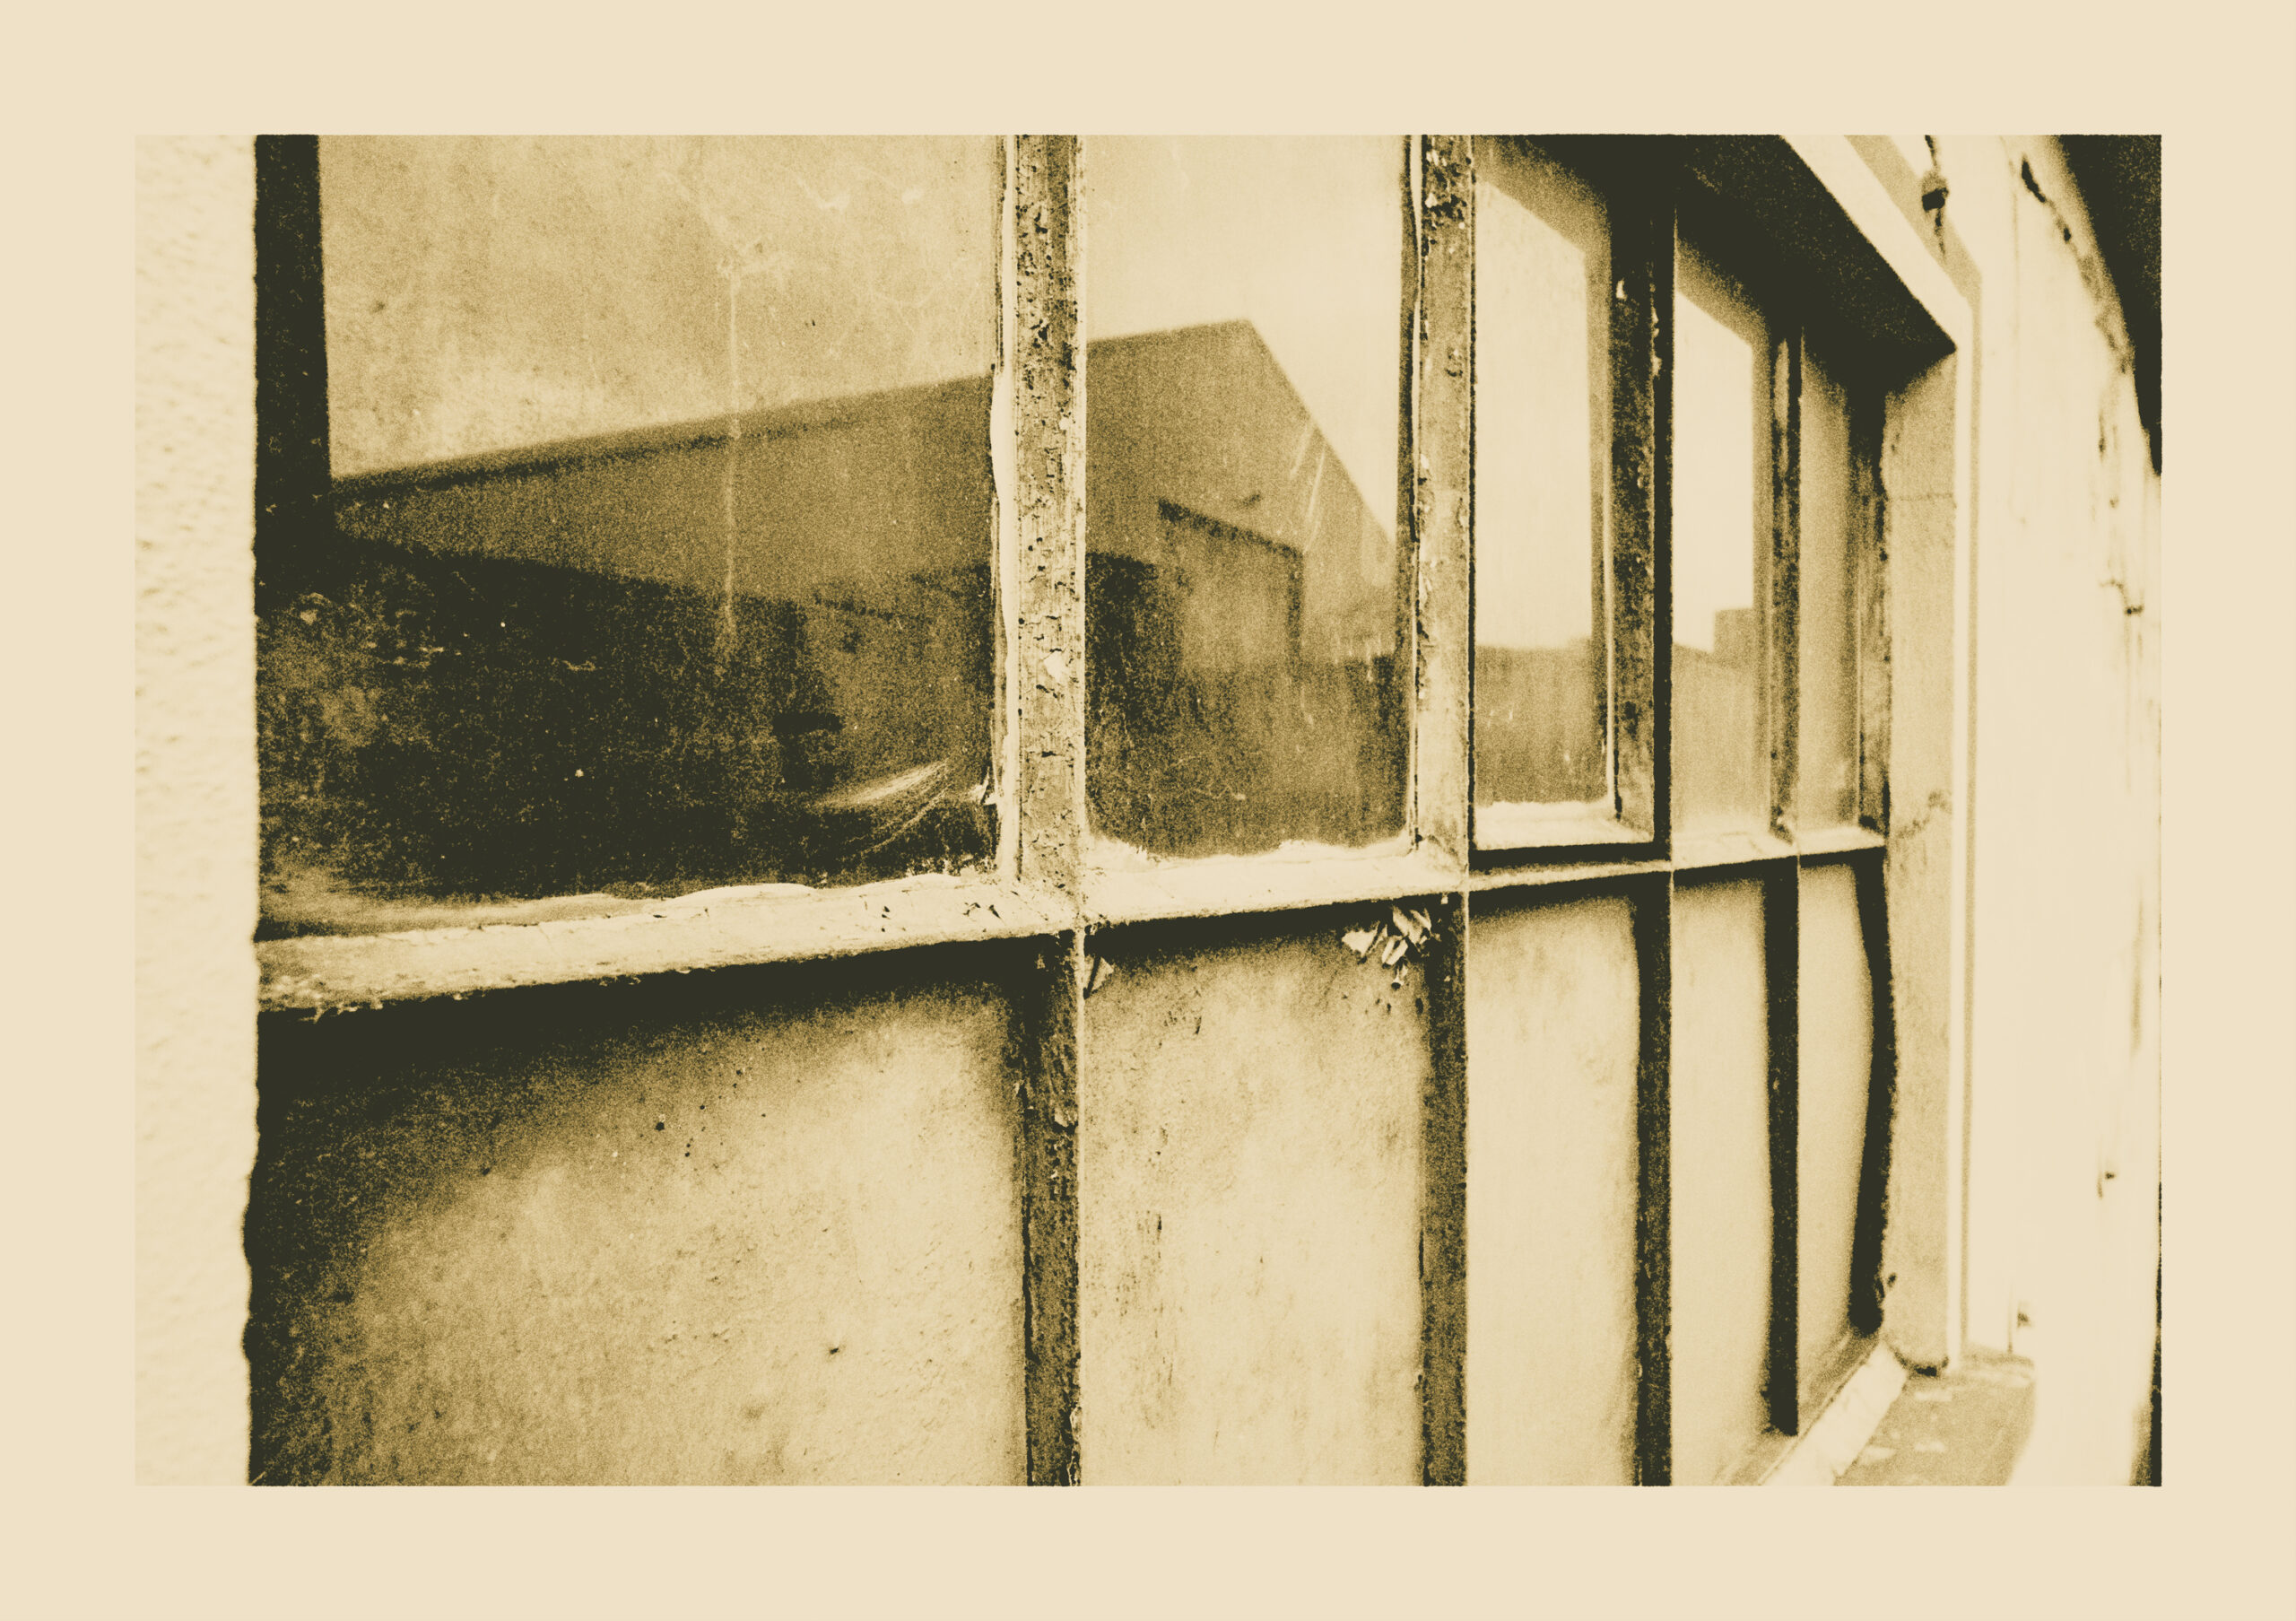
Now let us add some cloudy streaking. Here I am after some vertical streaks. For that I set the horizontal scale to 10 and the vertical scale to 30. For the moment I leave the seed at -1 and the strength at 0,2 which might be not enough. In addition I want the effect also be visible on the border and the effect should be stronger in the highlights so I also check Invert and Apply on border. A test development might show an image similar to the one below
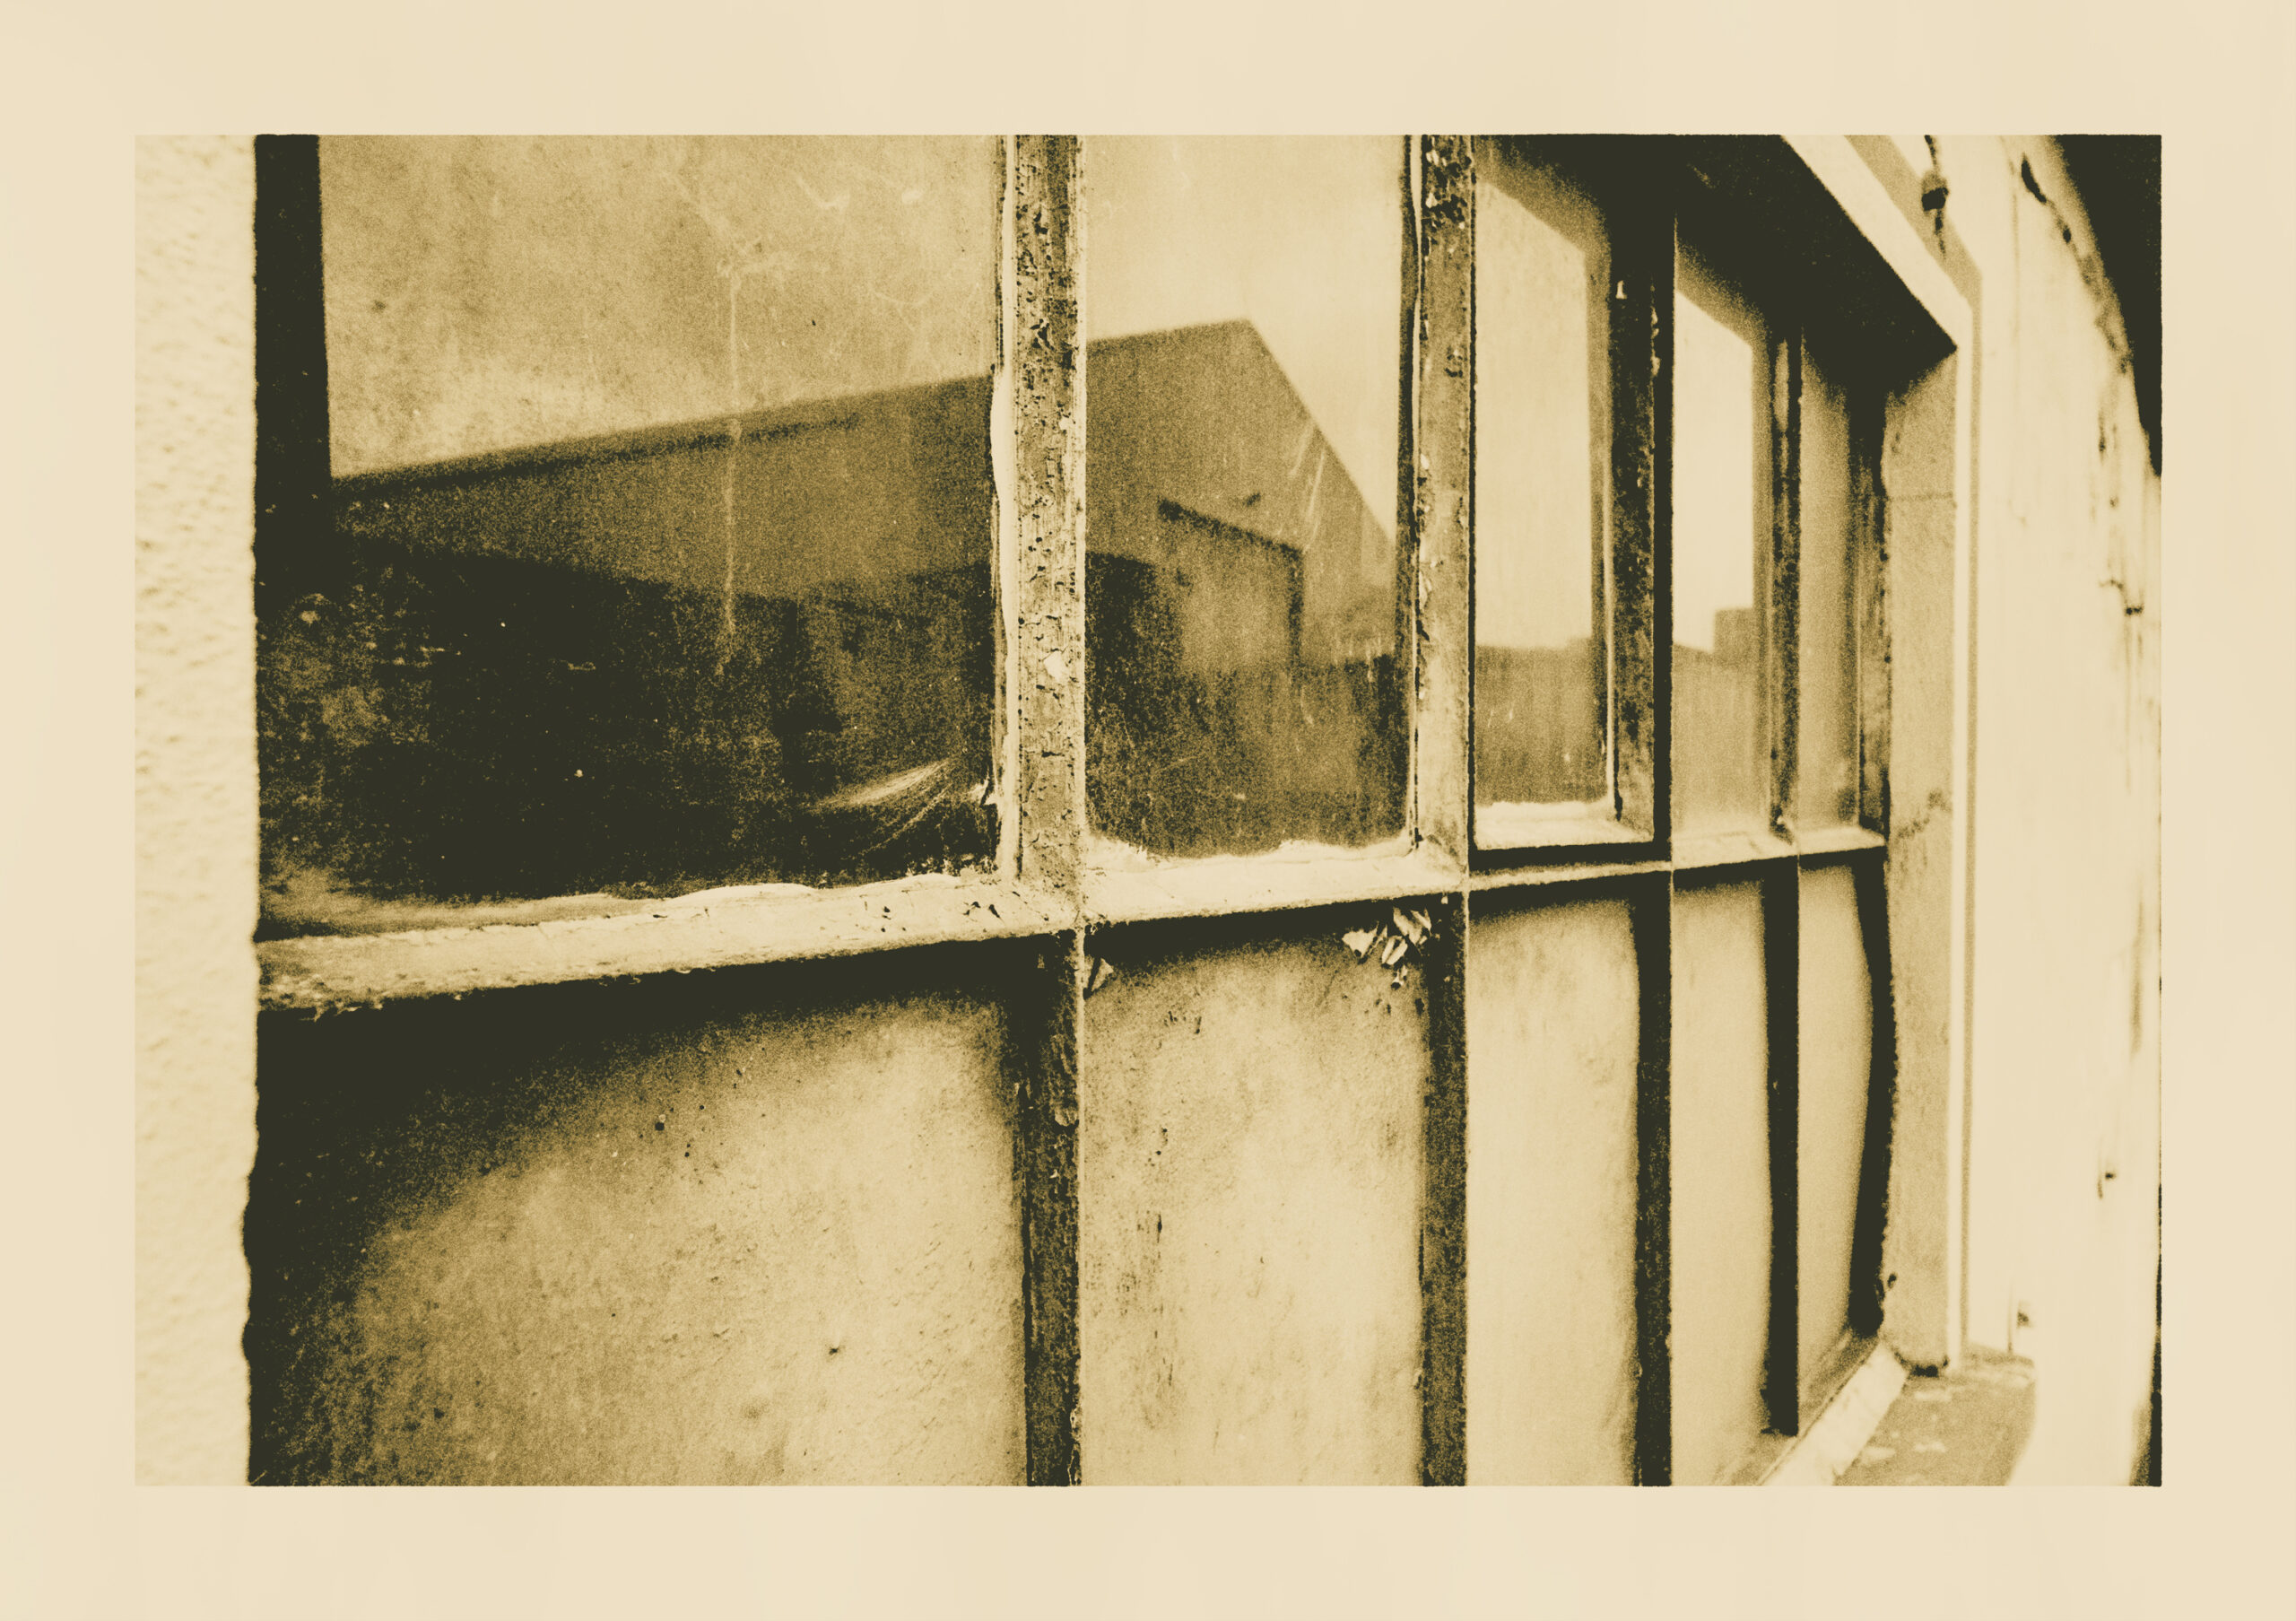
As you see it adds a bit of overall density but the effect is not very prominent (if at all). So let us increase the strength to 0.5 and we also click on seed to fix the streaking when we want to compare different parameters. For that reason let us click on seed which gave me the number 1522711427. You can copy it into your seed parameter or use a different one. The result of this development is this:
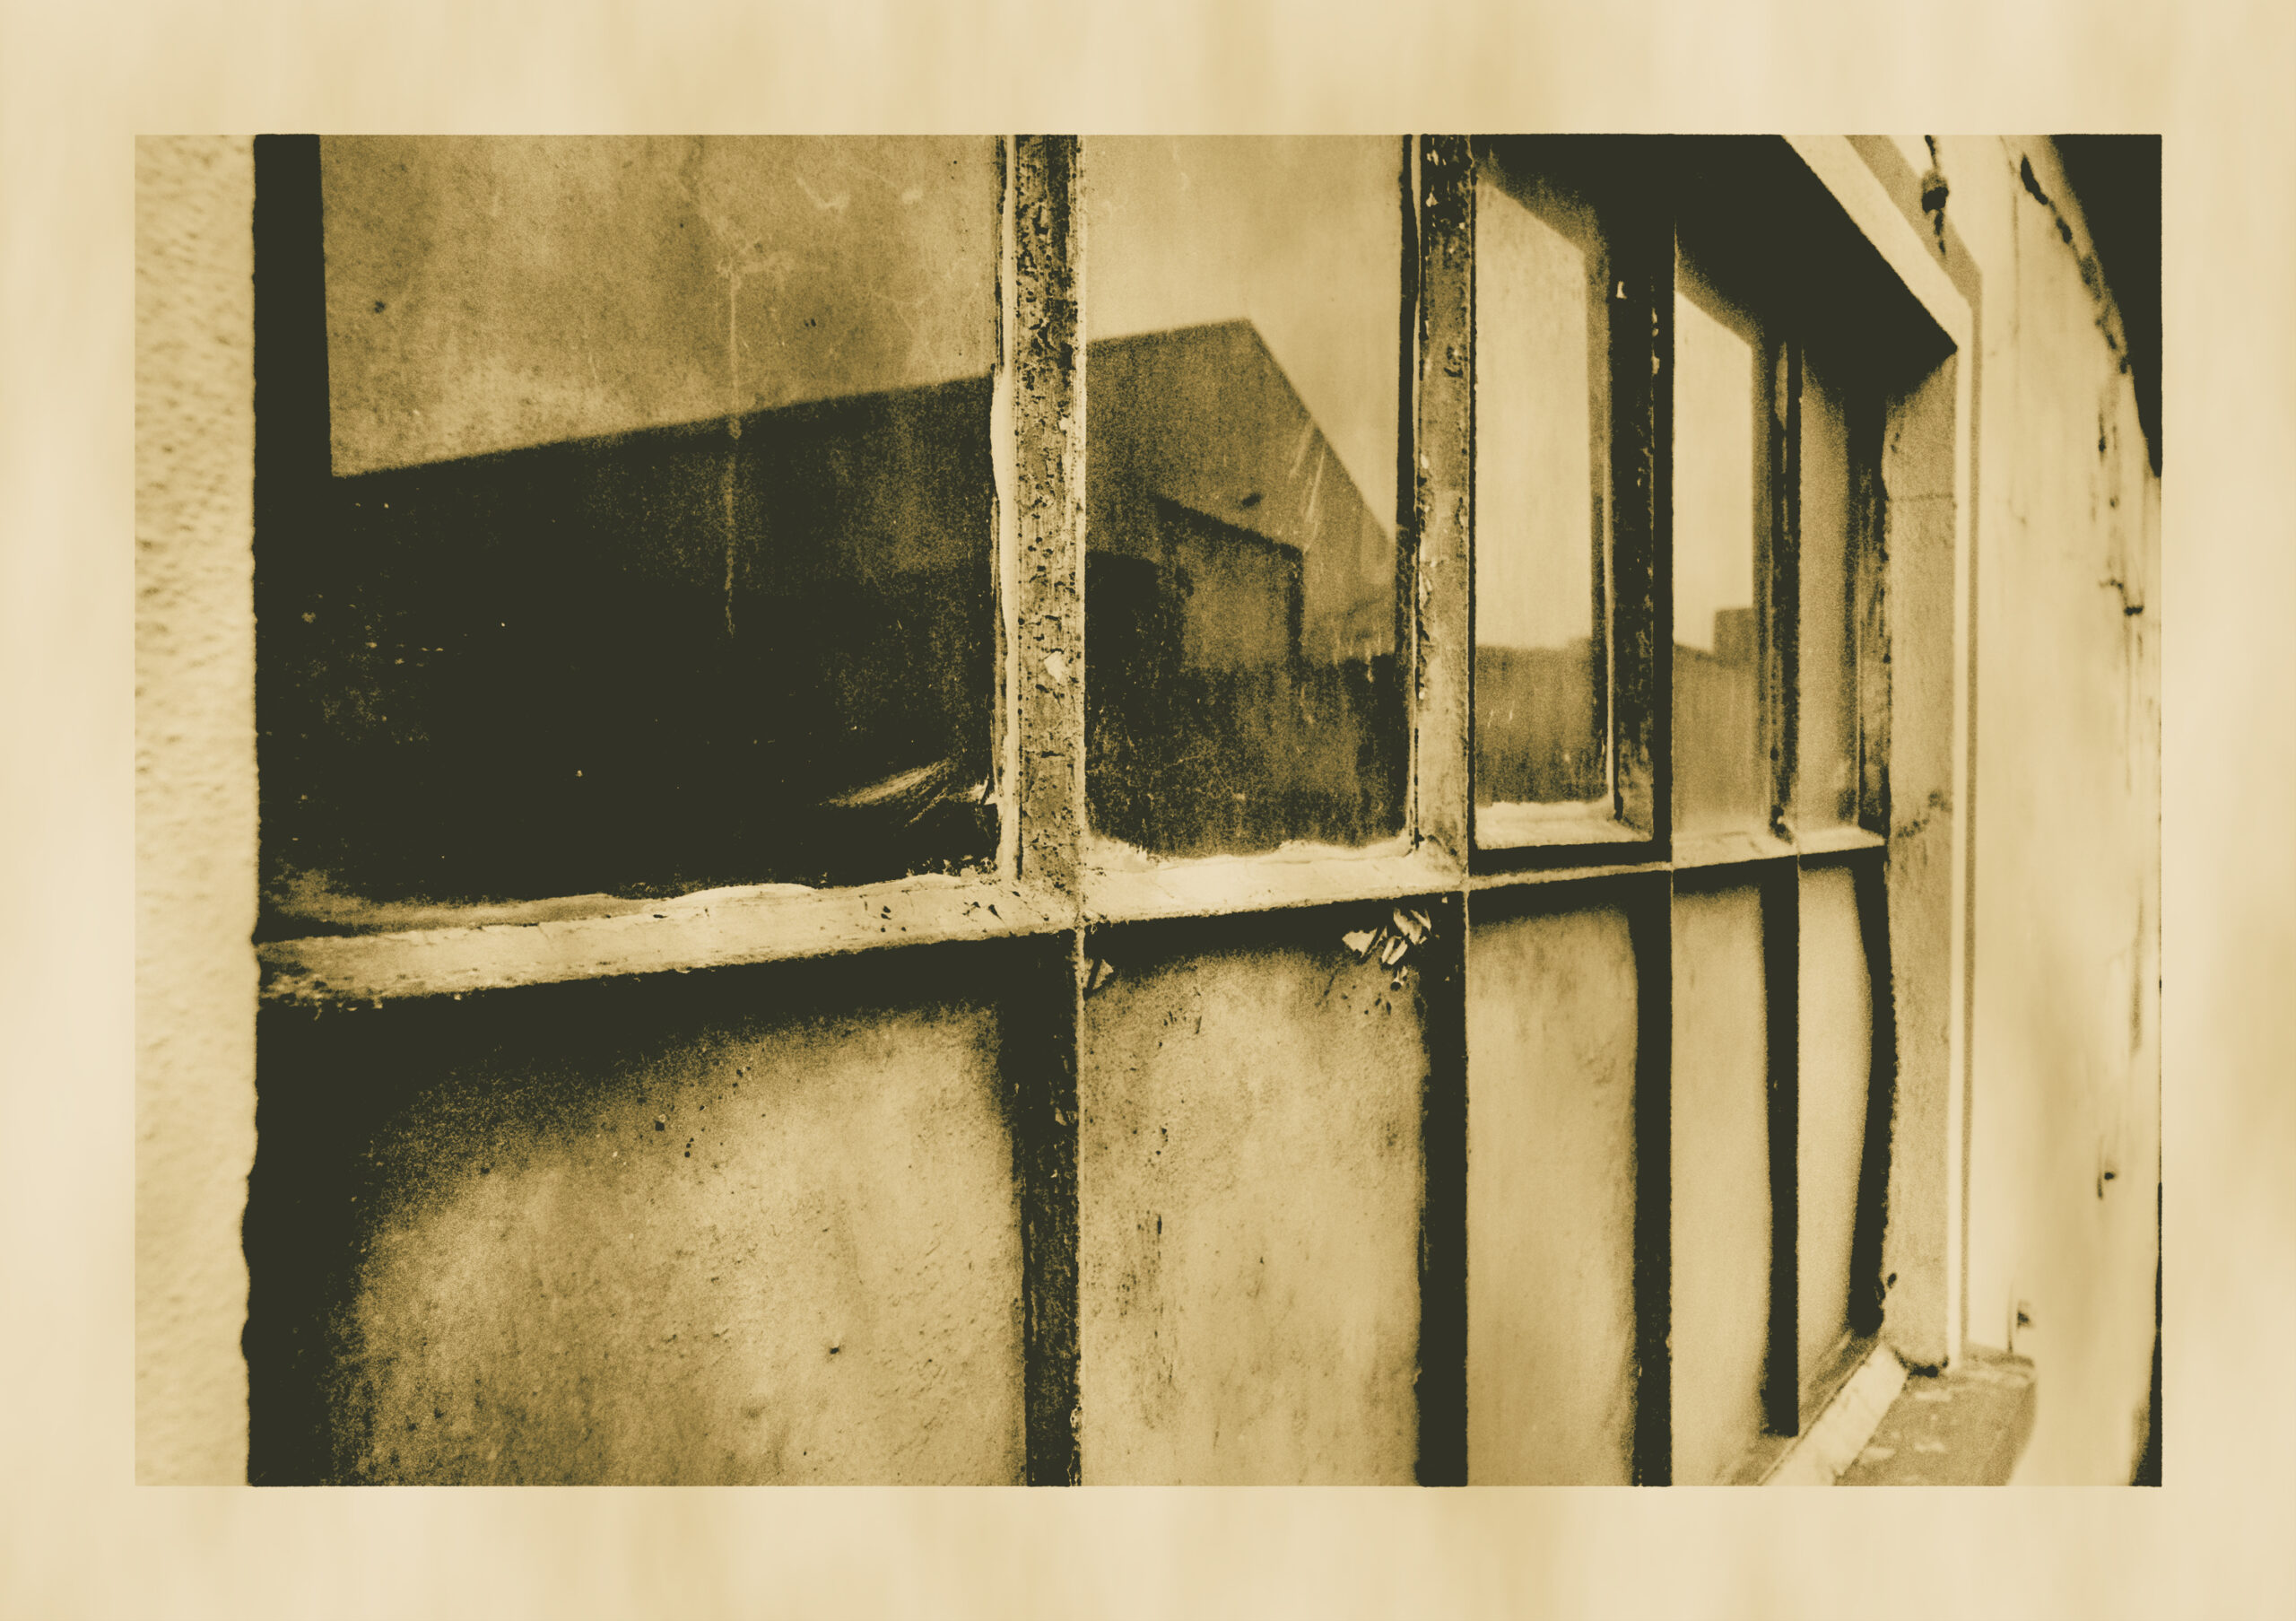
With the increased strength the effect is quite visible on the border and the overall density is too high. So let us increase the dilution and set it to 40. This gets us near the starting image, except there is the streaking visible in the highlights. See
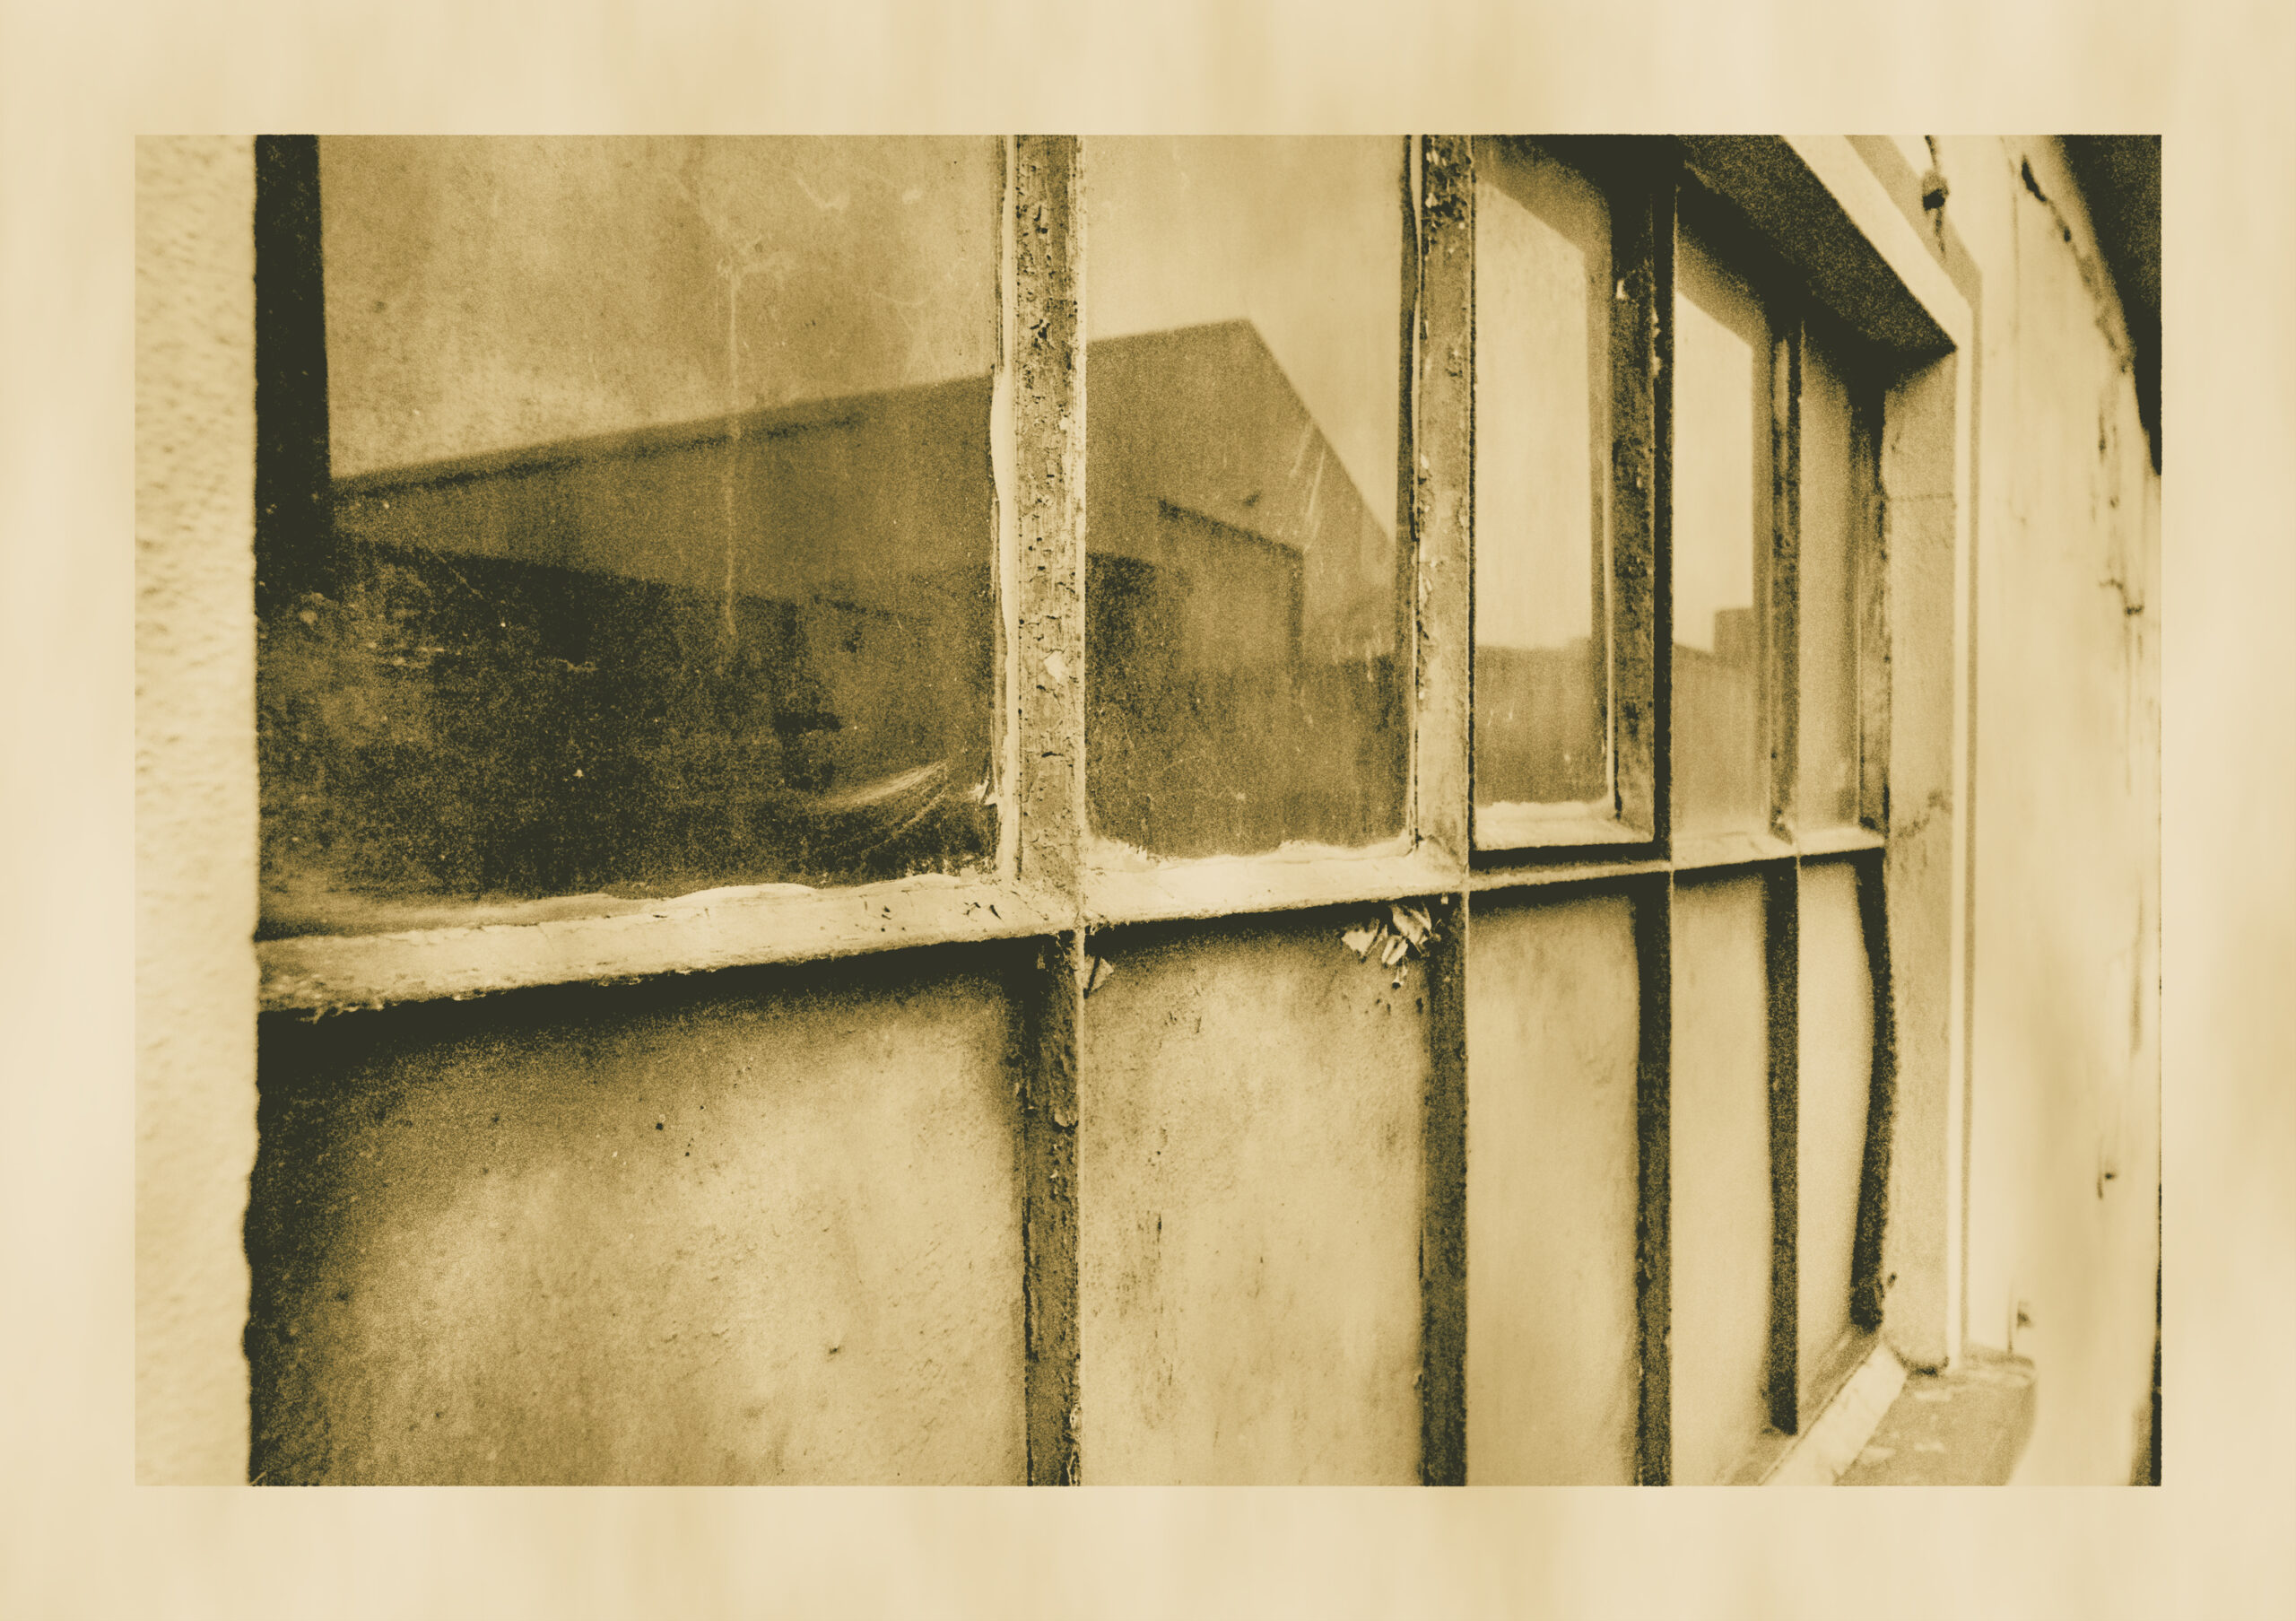
Since the streaking is still a bit too prominent for my liking I decrease the strength back to 0.4
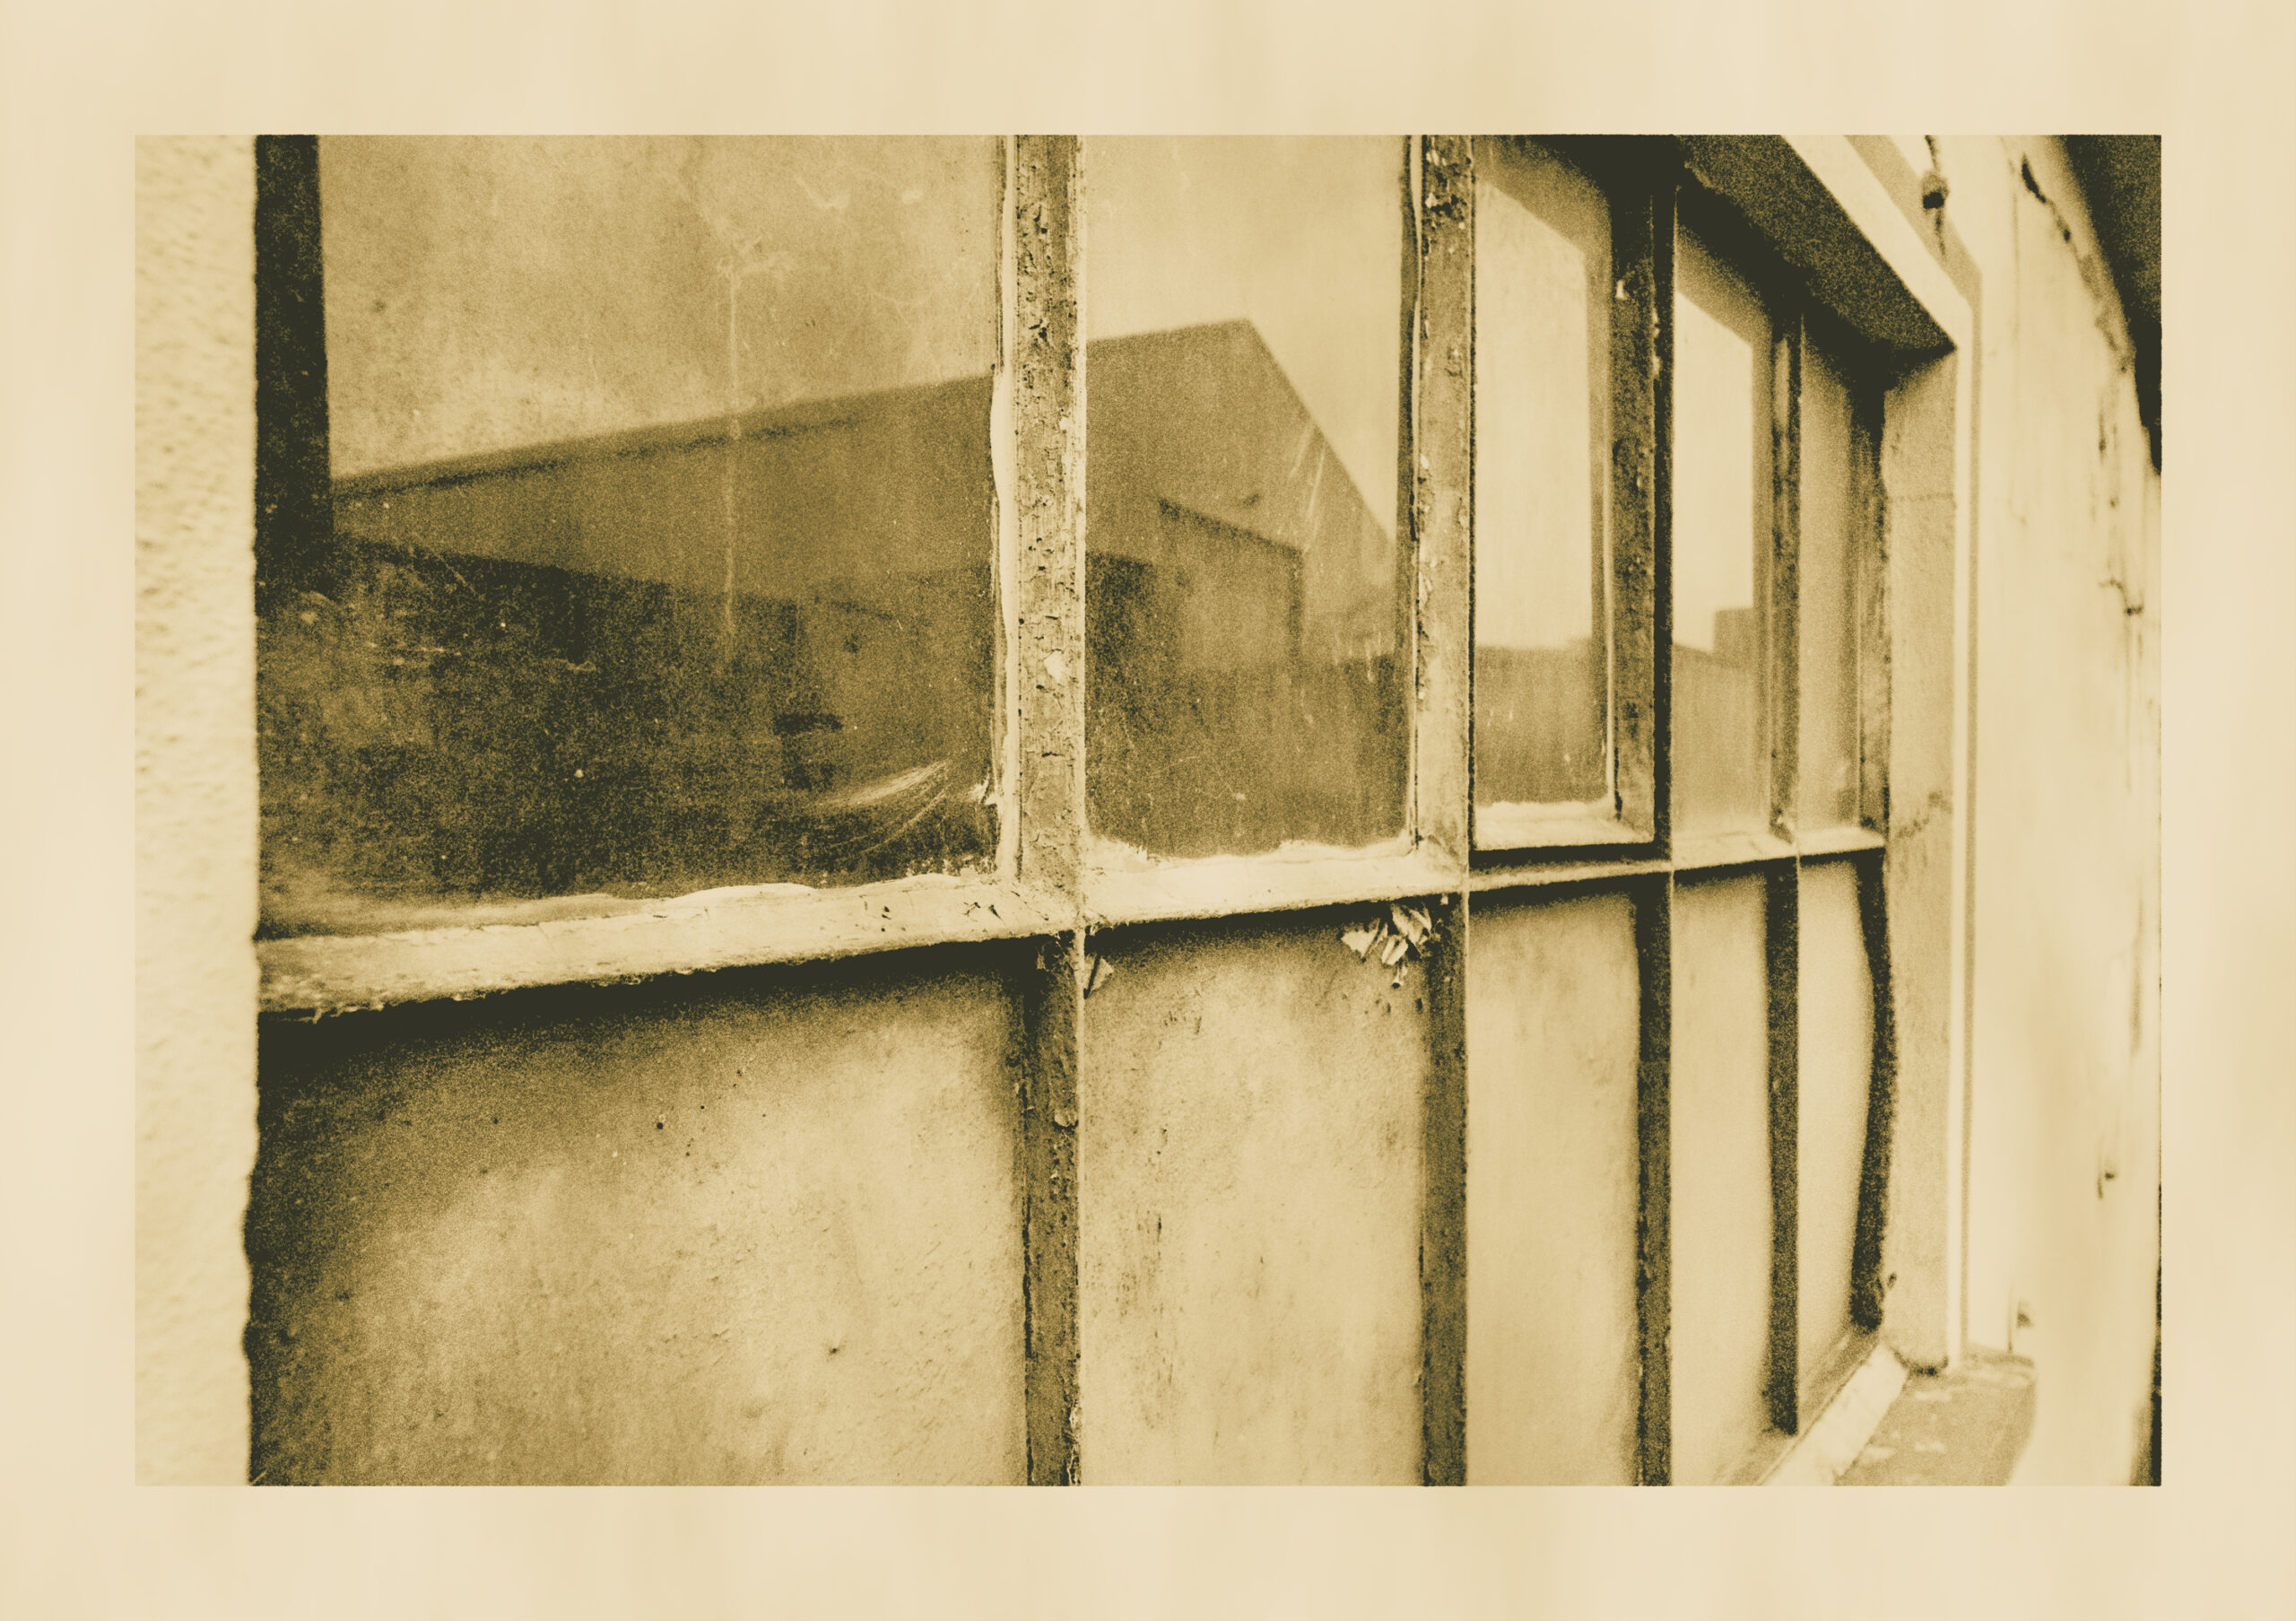
You see, now the effect is more subtle but visible and density-wise we are nearly at the point where we started. Maybe we want a bit more. So after a decrease of the dilution to 38 we are there.
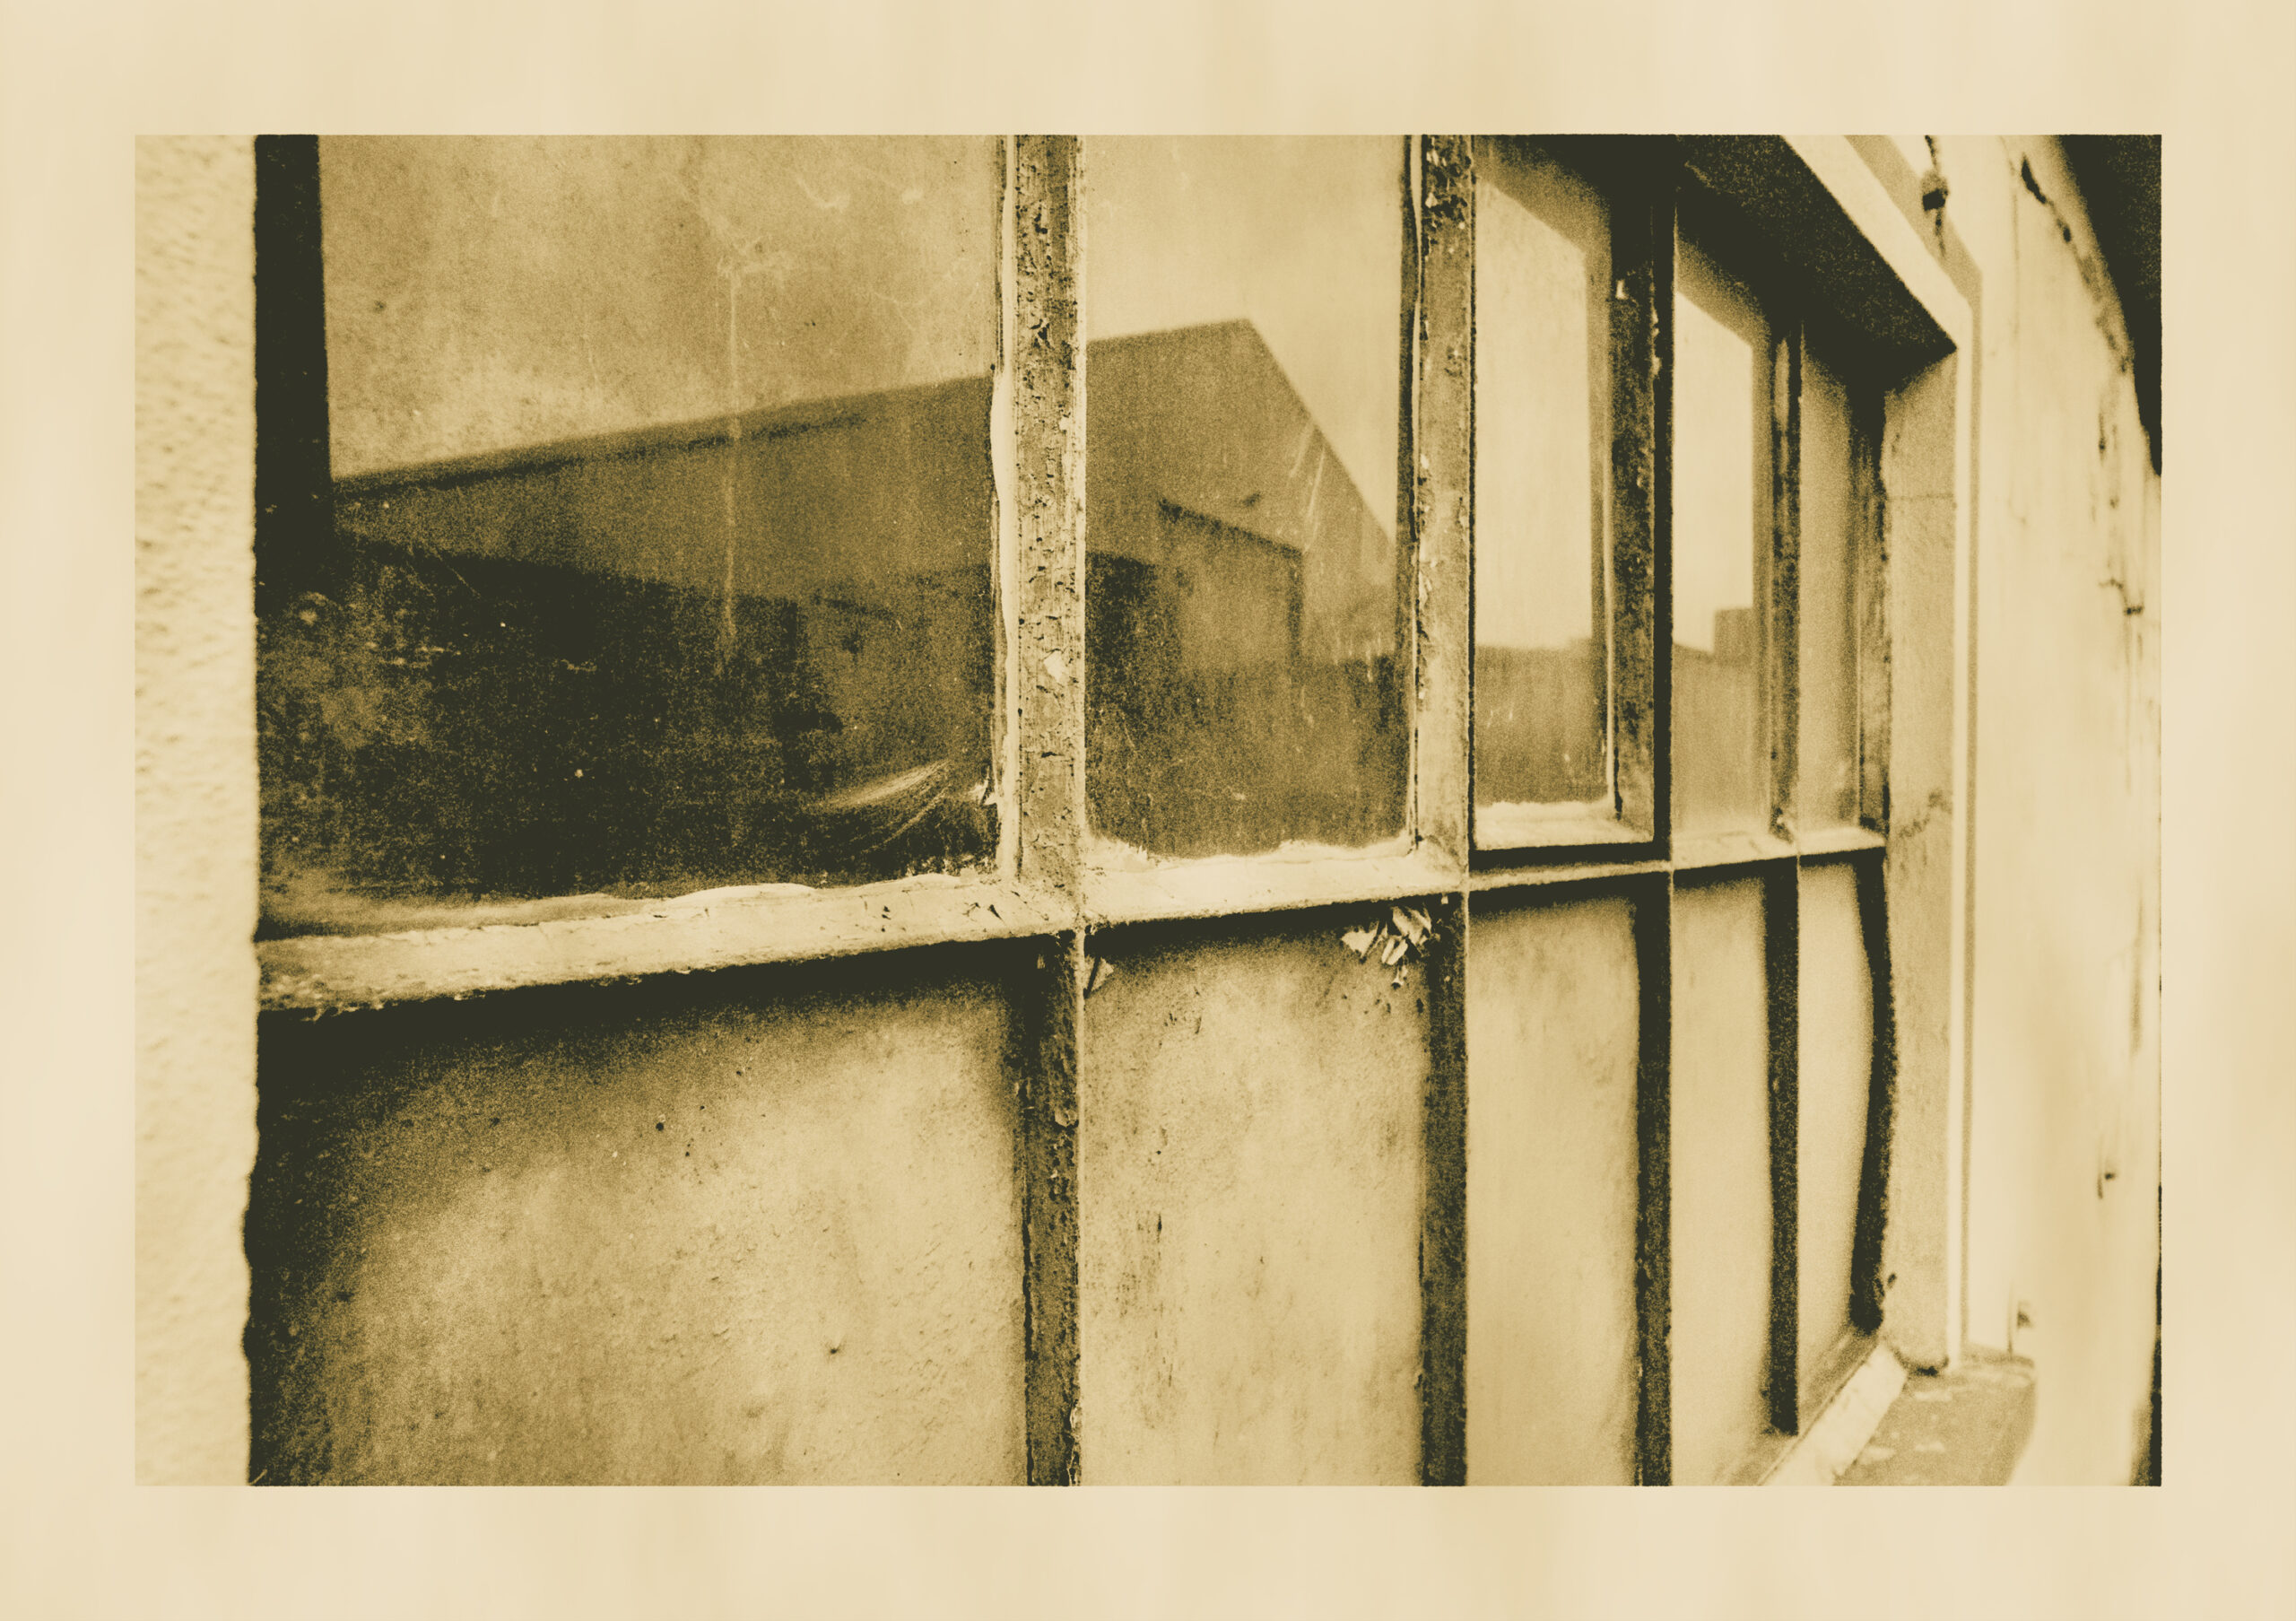
And that is also the end of this case study. You might want to play around more with the parameters and see how to use different horizontal and vertical scales as well as other combinations.
Here is the preset for the development we ended with: Click!